
I’ve found a few mistakes I’ve made and wish I could take back. So here are some current thoughts. Some apply specifically to containers, some to gardening in general, since this was originally a response to a neighbor’s query on Nextdoor.com about getting started with container gardening.
1. I wish I had started with Sub-Irrigated Planters (SIP) from the beginning, for all those veggies for which it’s appropriate (doesn’t work for potatoes, sweet potatoes, probably carrots, beets, and other super deep taproot veggies like okra). It’s a lot more work before you can get a plant into the container, but it saves so much water, makes the soil environment more stable between waterings (and you can even go without watering for periods you could not possibly get away with otherwise), and it reduces or completely eliminates mess from the pots draining onto the deck or concrete (you DO have drainage holes in all containers, right? It’s either a SIP, or it NEEDS drainage). Plenty of videos on Youtube explain how it’s done, and it’s probably not for everybody – especially folks with a strong aversion to plastics. But… we’re in a super-drought, folks! Anything to save water is a good thing.
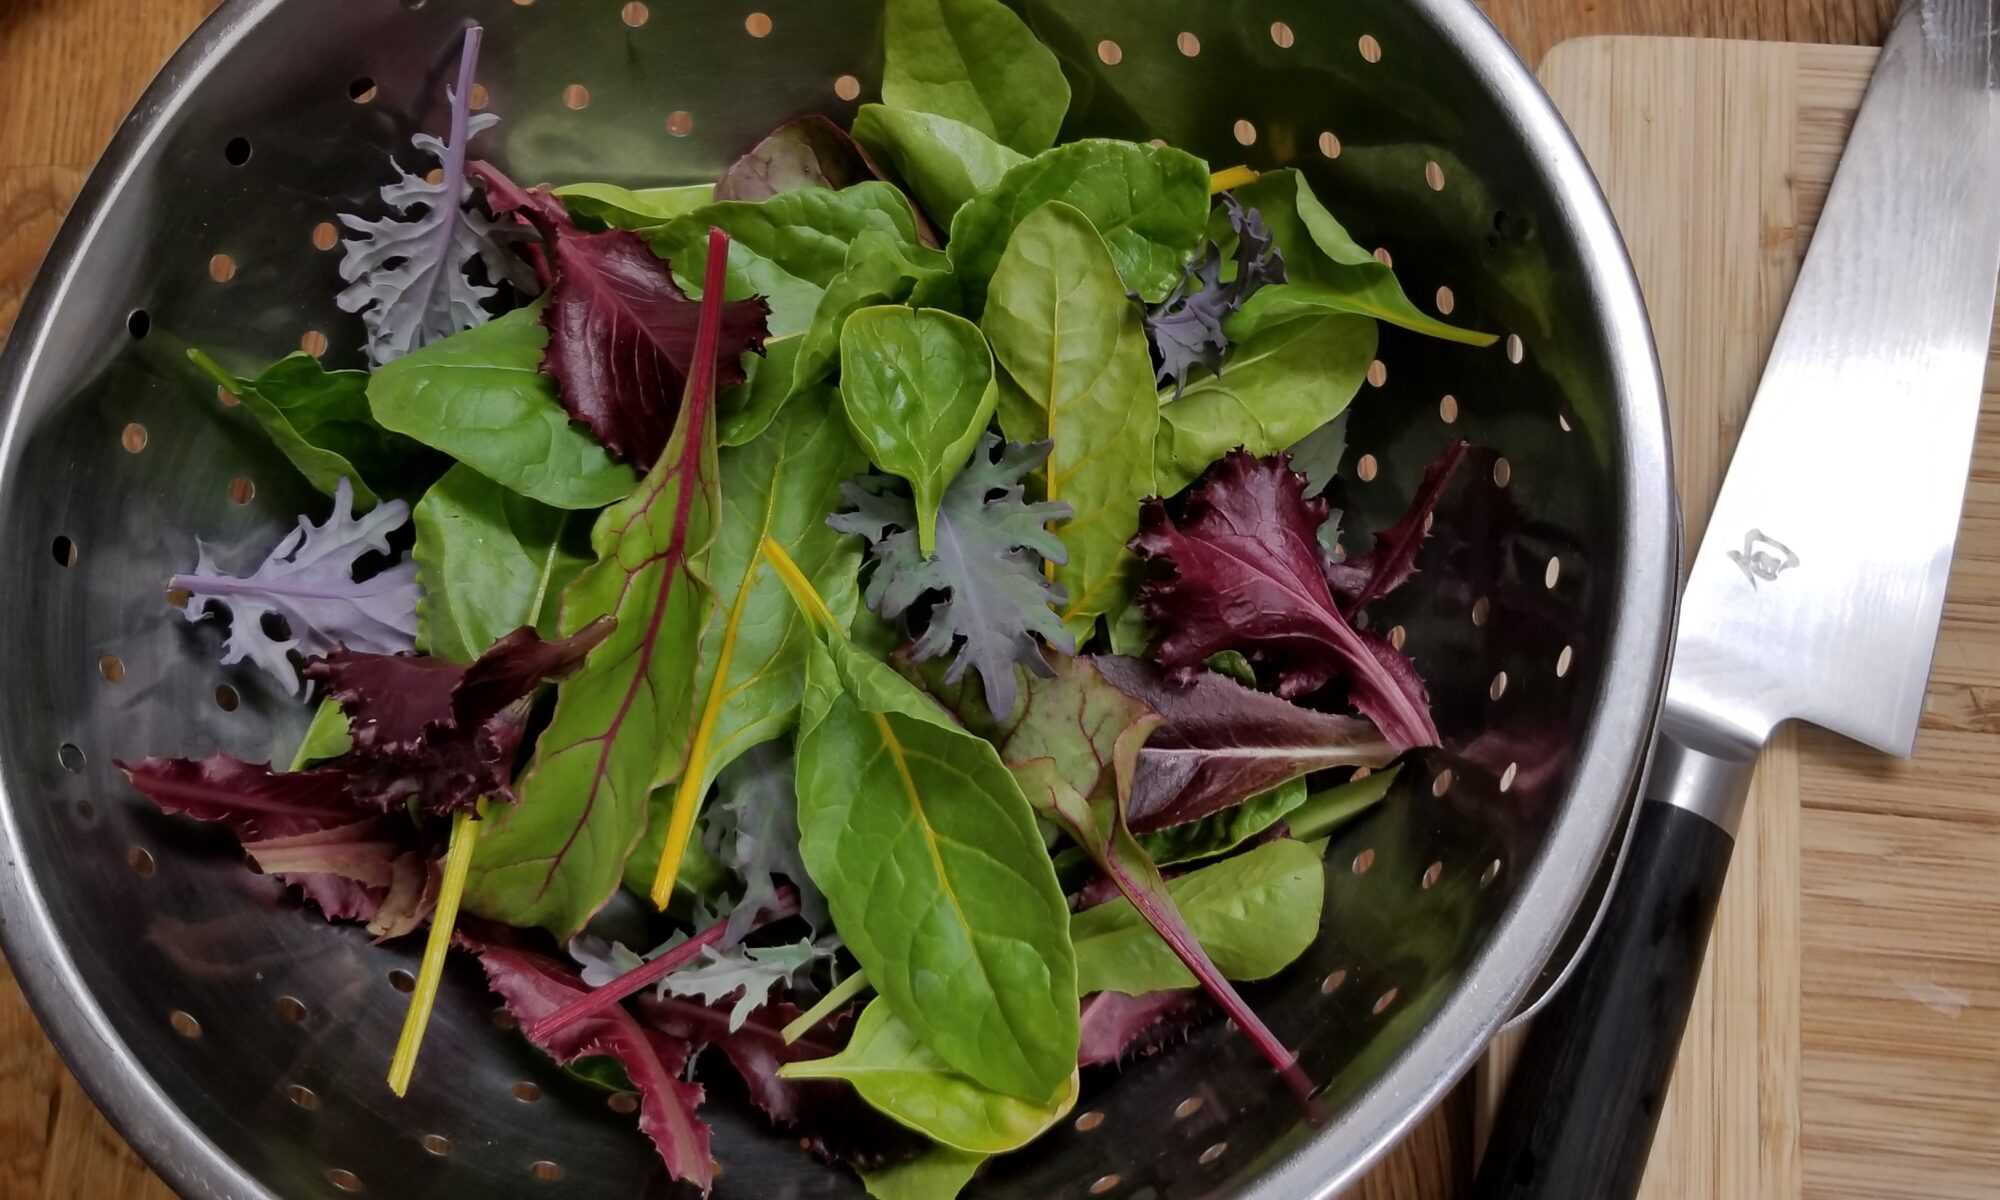
2. I wish I realized the quality differences between bagged soils/potting mixes at the big box stores. The cheapest ones do NOT have enough fertilizer already added, or worse, are nothing but partly/poorly composted wood chips stuffed into a bag – no compost, no fertilizer, no perlite. The most expensive ones are loaded with artificial fertilizers that make your plants “explode” with growth – but… they’re “drug addicts” as I’ve heard one organic gardener describe them. The bagged mixes labeled organic “patio” or “container” are a much better start. But even these WILL need to be augmented with fertilizer as your plants grow – some will need quite a bit. At this point I’m just mixing my own potting mix going forward, as I use up the remainder of my pre-mixed bags (which I’m definitely “improving” with more perlite and more organic fertilizer as I use them). There are many websites with DIY soil mix recipes, and these will even save a BUNCH of money if you need enough of the stuff. Plus you get to customize the mix toward the use (trees vs seedlings, citrus vs tomatoes, etc).
3. Observe your plants carefully. It’s easy to over water when we have consecutive cool days like the last week or so. This will manifest itself in wilting and/or yellowing leaves. And it’s quite easy to UNDER water when the days are super hot, like a 4-5 day heat wave we had about 3 weeks ago – I had to water twice every day. I always water in the morning, as early as I can (these COVID-19 lockdown days, that’s about 9am), and on a hot, dry day, I’ve found many plants are bone dry and wilting by 3pm. If you stick a finger through the mulch layer into the soil a little way from where you think you might damage roots, and about an inch deep, and the soil is cool and feels lightly damp and sticks a tiny bit to your skin when you pull your finger out – that’s great. You’ll notice that un-glazed clay pots dry out FAST, and plastic dries out the slowest. Black pots get hotter and dry out faster than lighter colors, etc. And some plants (like eggplant!) wilt quickly and pathetically if their soil gets dry at all.
4. Frequently inspect your garden at NIGHT with a flashlight or better yet, a hands-free headlamp. This is the only time you can observe certain pests and take the necessary steps to quell them. Plus it’s just NICE at night. So cool and even quieter…
5. Take notes and pictures, dates etc, whether in a journal or some other method. This is SO valuable.