Sowed: 8 Sumter Cuke seeds in 4 pots, 8 “Tasty Green” cukes in 4 pots. All seedling pots were filled with the bottom half consisting of Kellog “Patio Plus” beefed up with a scoop of chicken manure, a heavy dusting of Kellog vegetable fertilizer, and two small scoops of perlite. Then topped with the coco coir-based seed starting blend with lots of vermiculite but no perlite, reconstituted/expanded using boiled banana peel water, and tossed with organic fertilizer, some peat, some lime, a little Epsom, and a good scoop of sand.
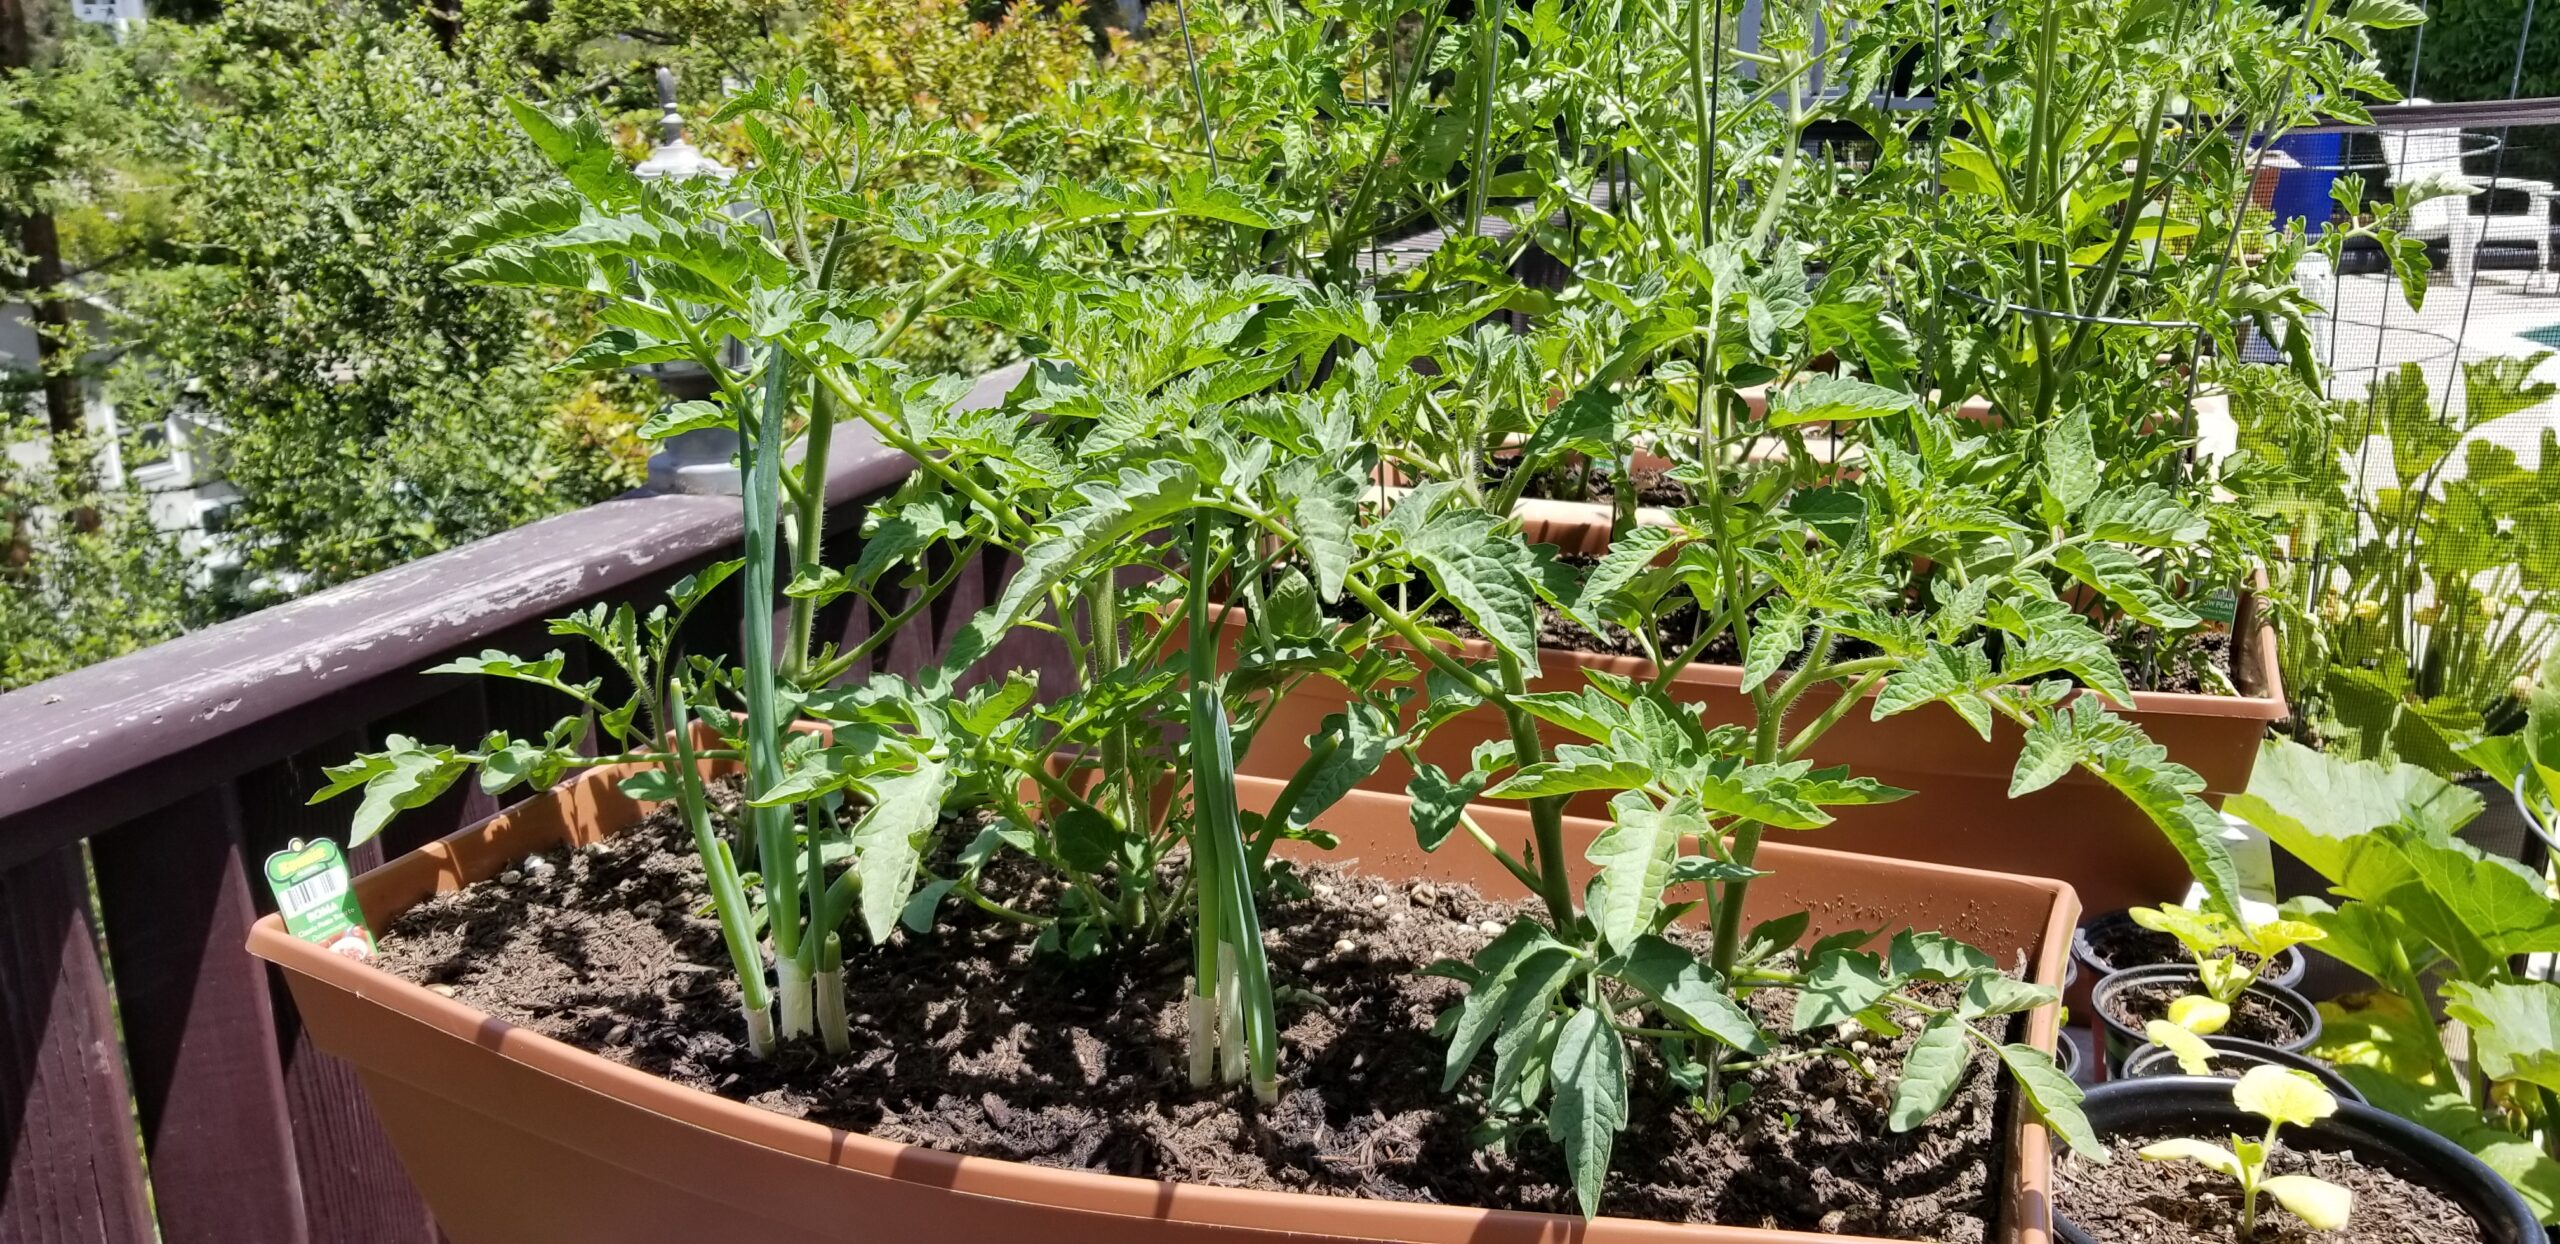
Planted: 5 more young spinach plants into the front (3rd row) of elevated SIP #3.
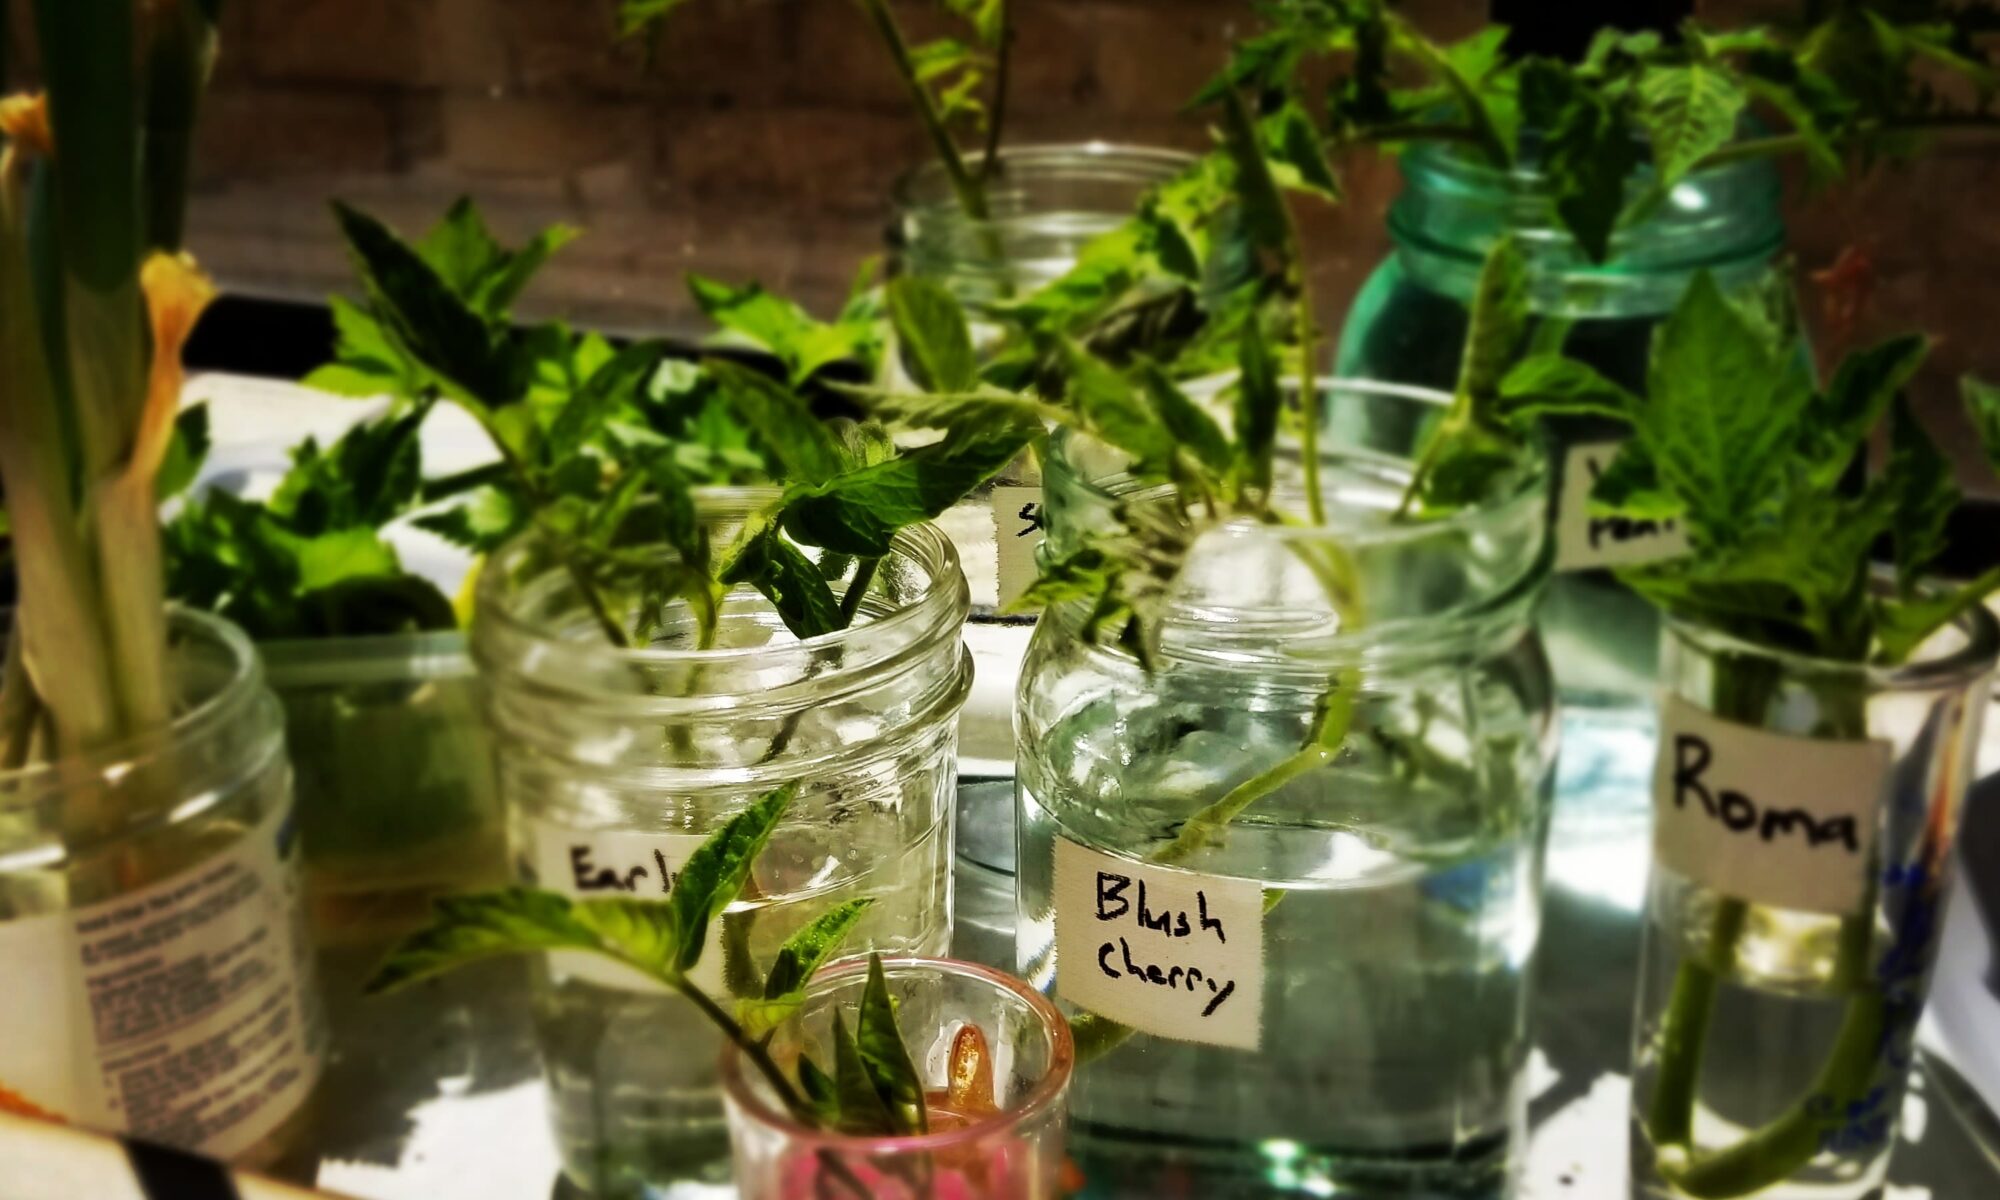
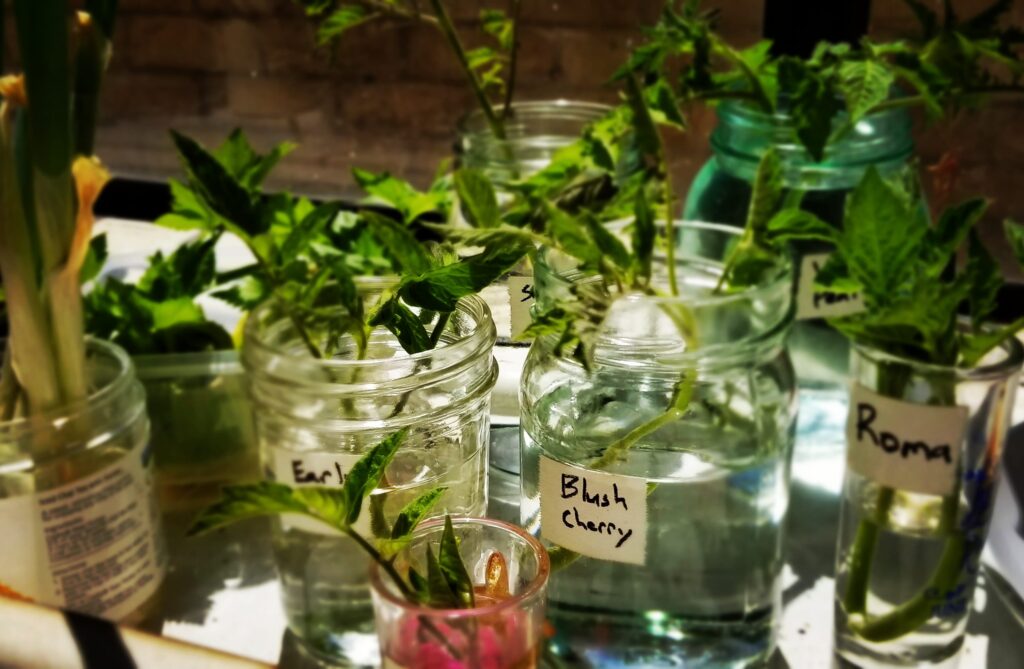
Cuttings: most of the tomatoes contributed sucker cuttings to the kitchen windowsill today.
Fertigated: added two heaping spoonfuls of Alaska Fish Fertlizer to the ~16 gallons of quasi compost tea before watering this morning. Maya commented that it smells “like a day at the beach”. Which I thought was pretty funny/gross.
Germinated: 5 of the 6 pole beans “Tender Green Improved” are up, 2 of them already quite large with strong leaves. 3 of the 4 Scarlet Pole Runner beans are up, but only one is all the way out with leaves
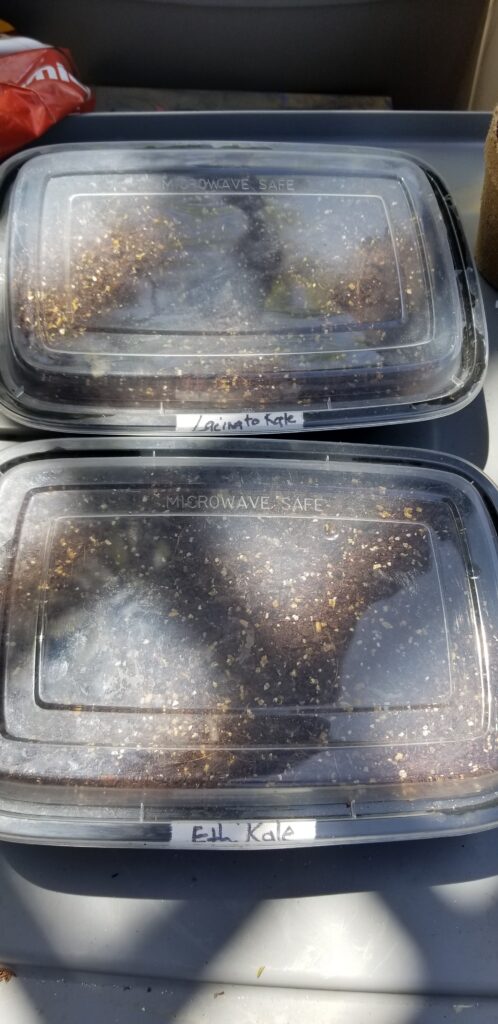
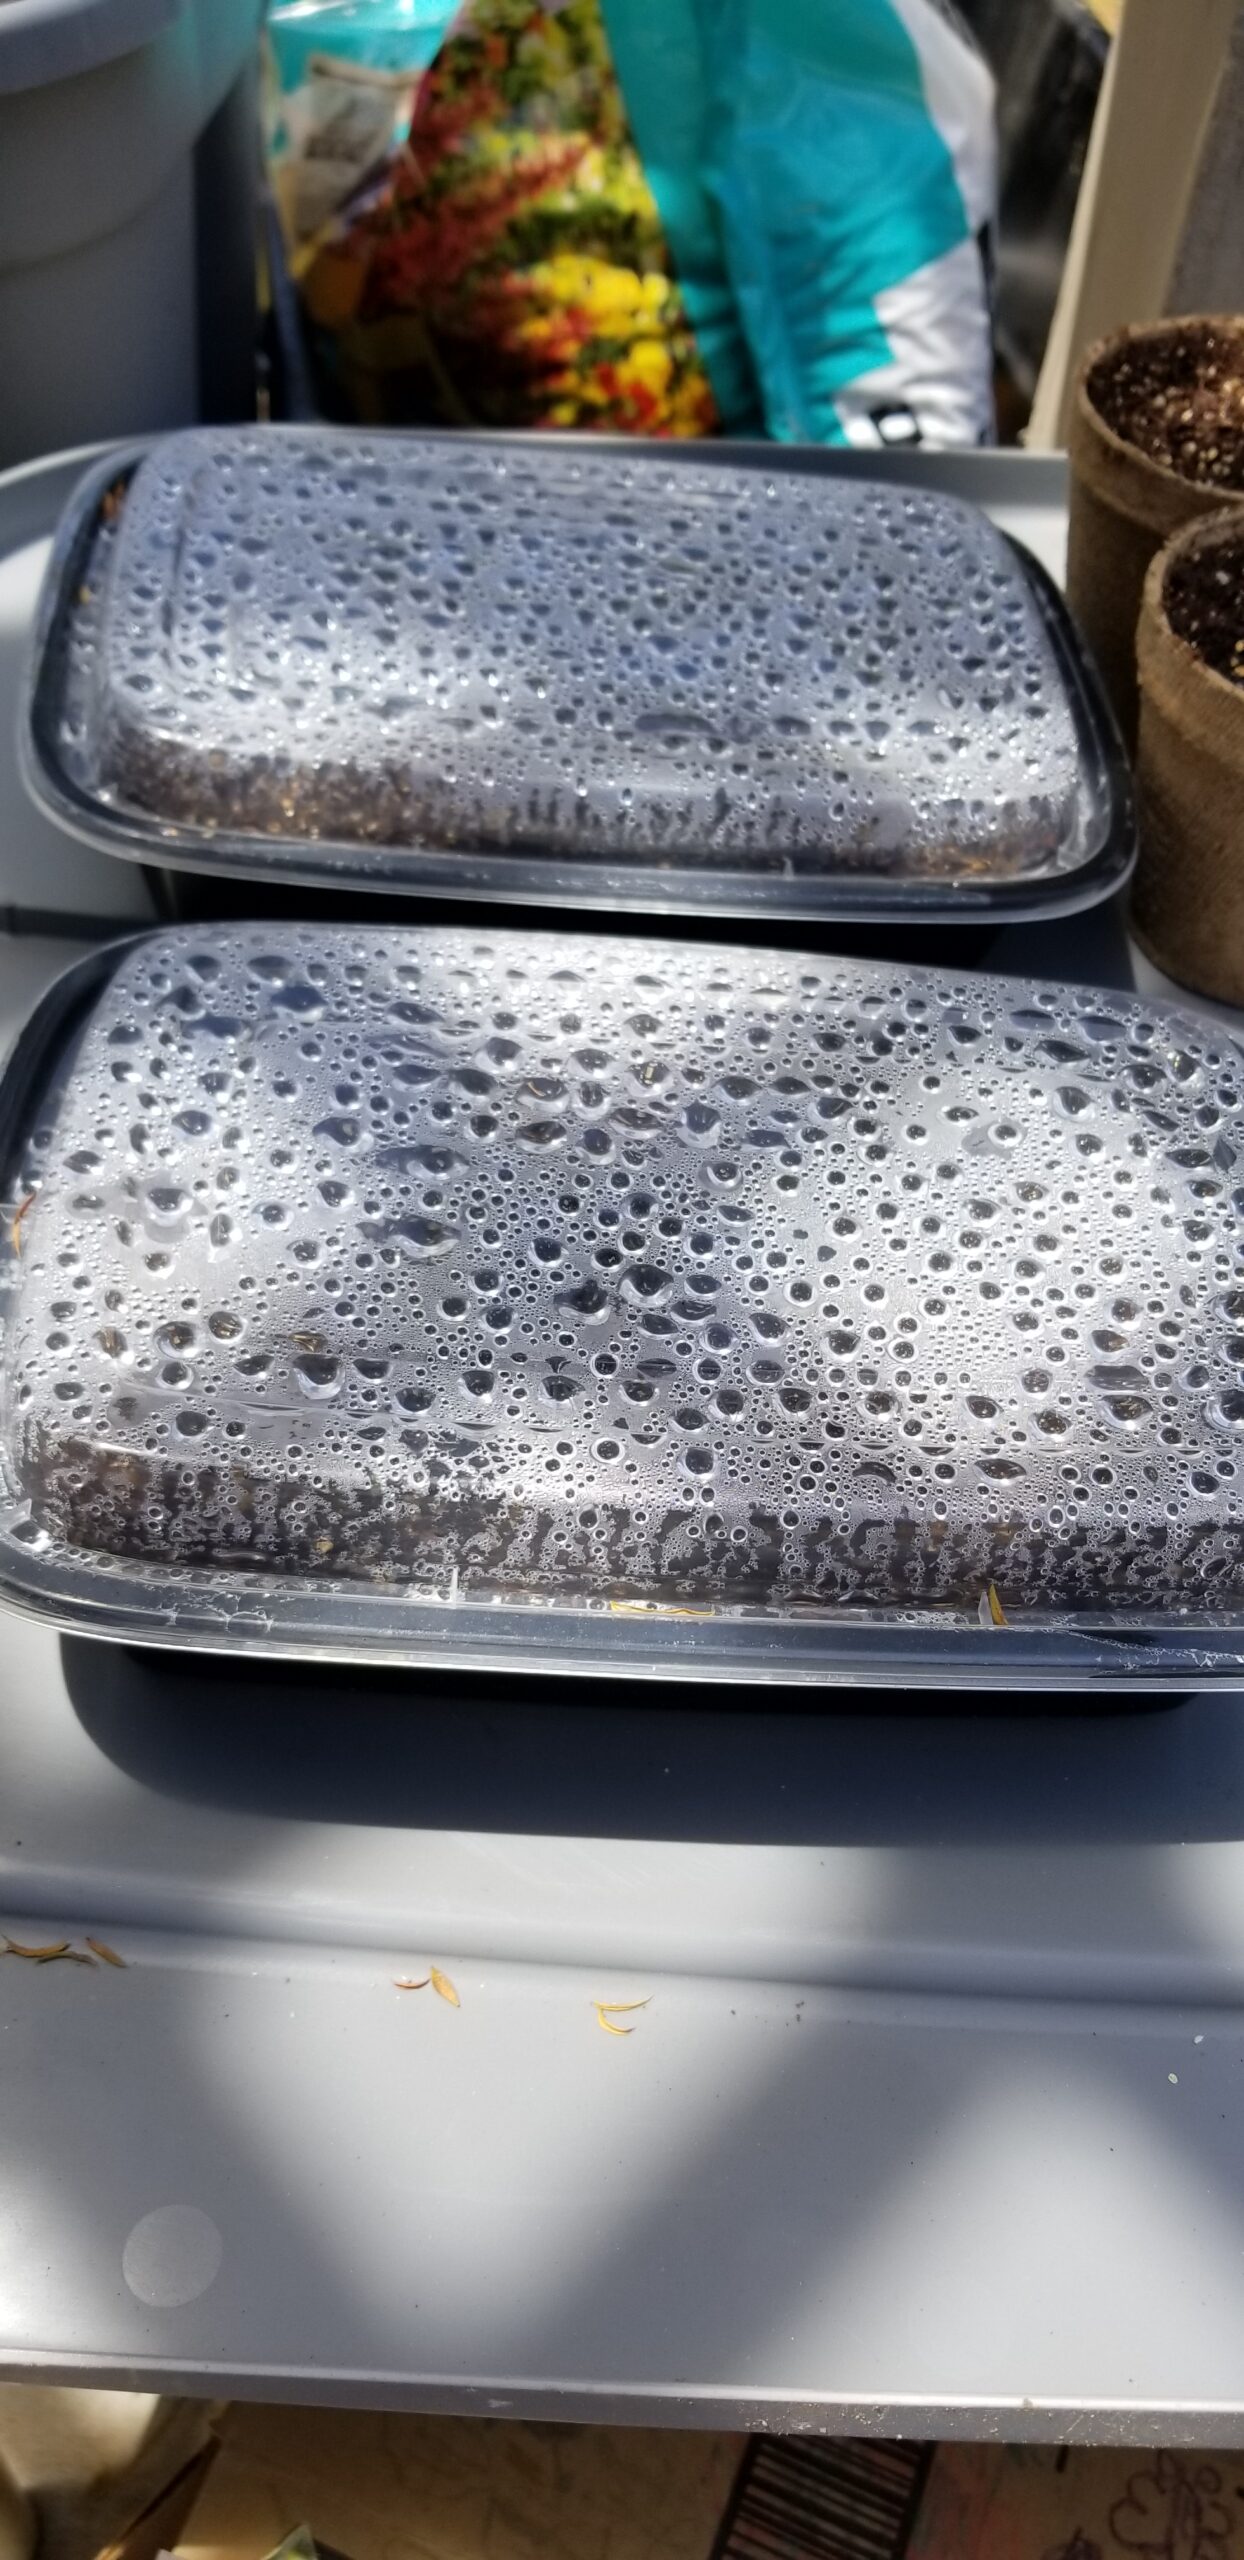
Sowed: ~30 Ethiopian Kale seeds in 3 rows of 5 divets, in a Chinese takeout container with lid and my latest batch of seed starting mix. Same for Lacinato Kale and Edible Red Amaranth. These are intended for elevated SIP #4, I think.
Planted: transplanted 10 young spinach plants from a 36″ window box into elevated SIP #3 (front two rows).
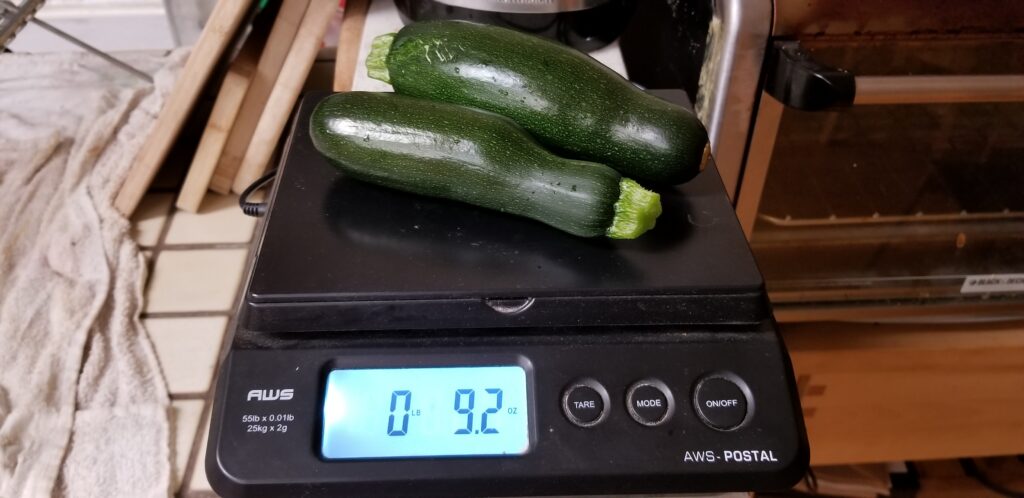
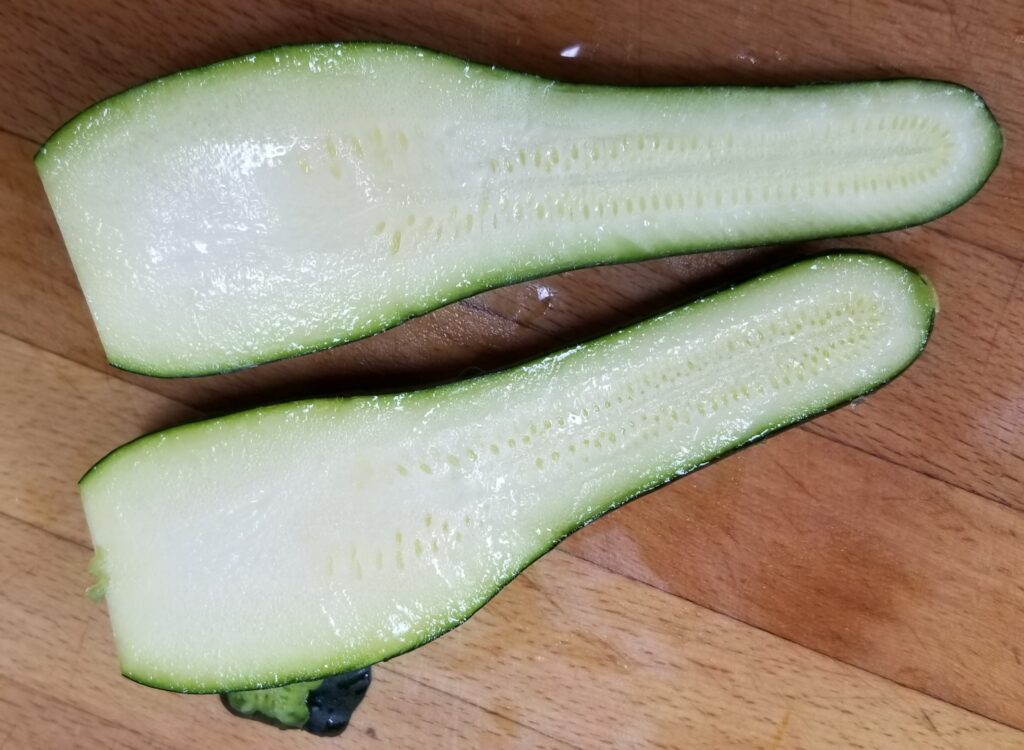
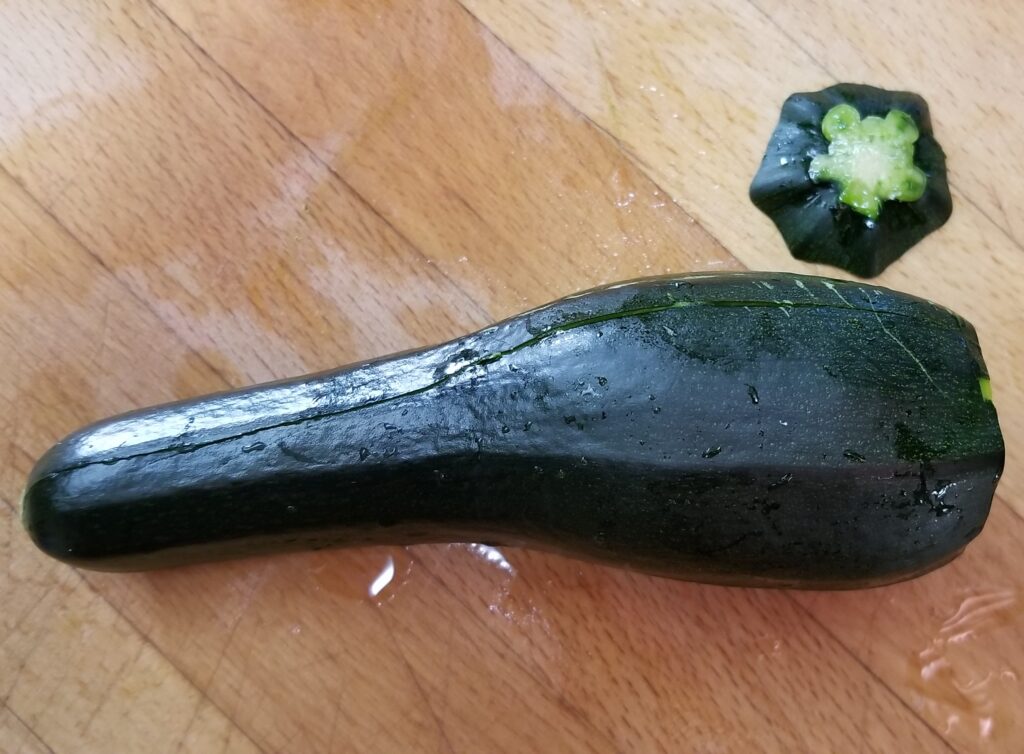
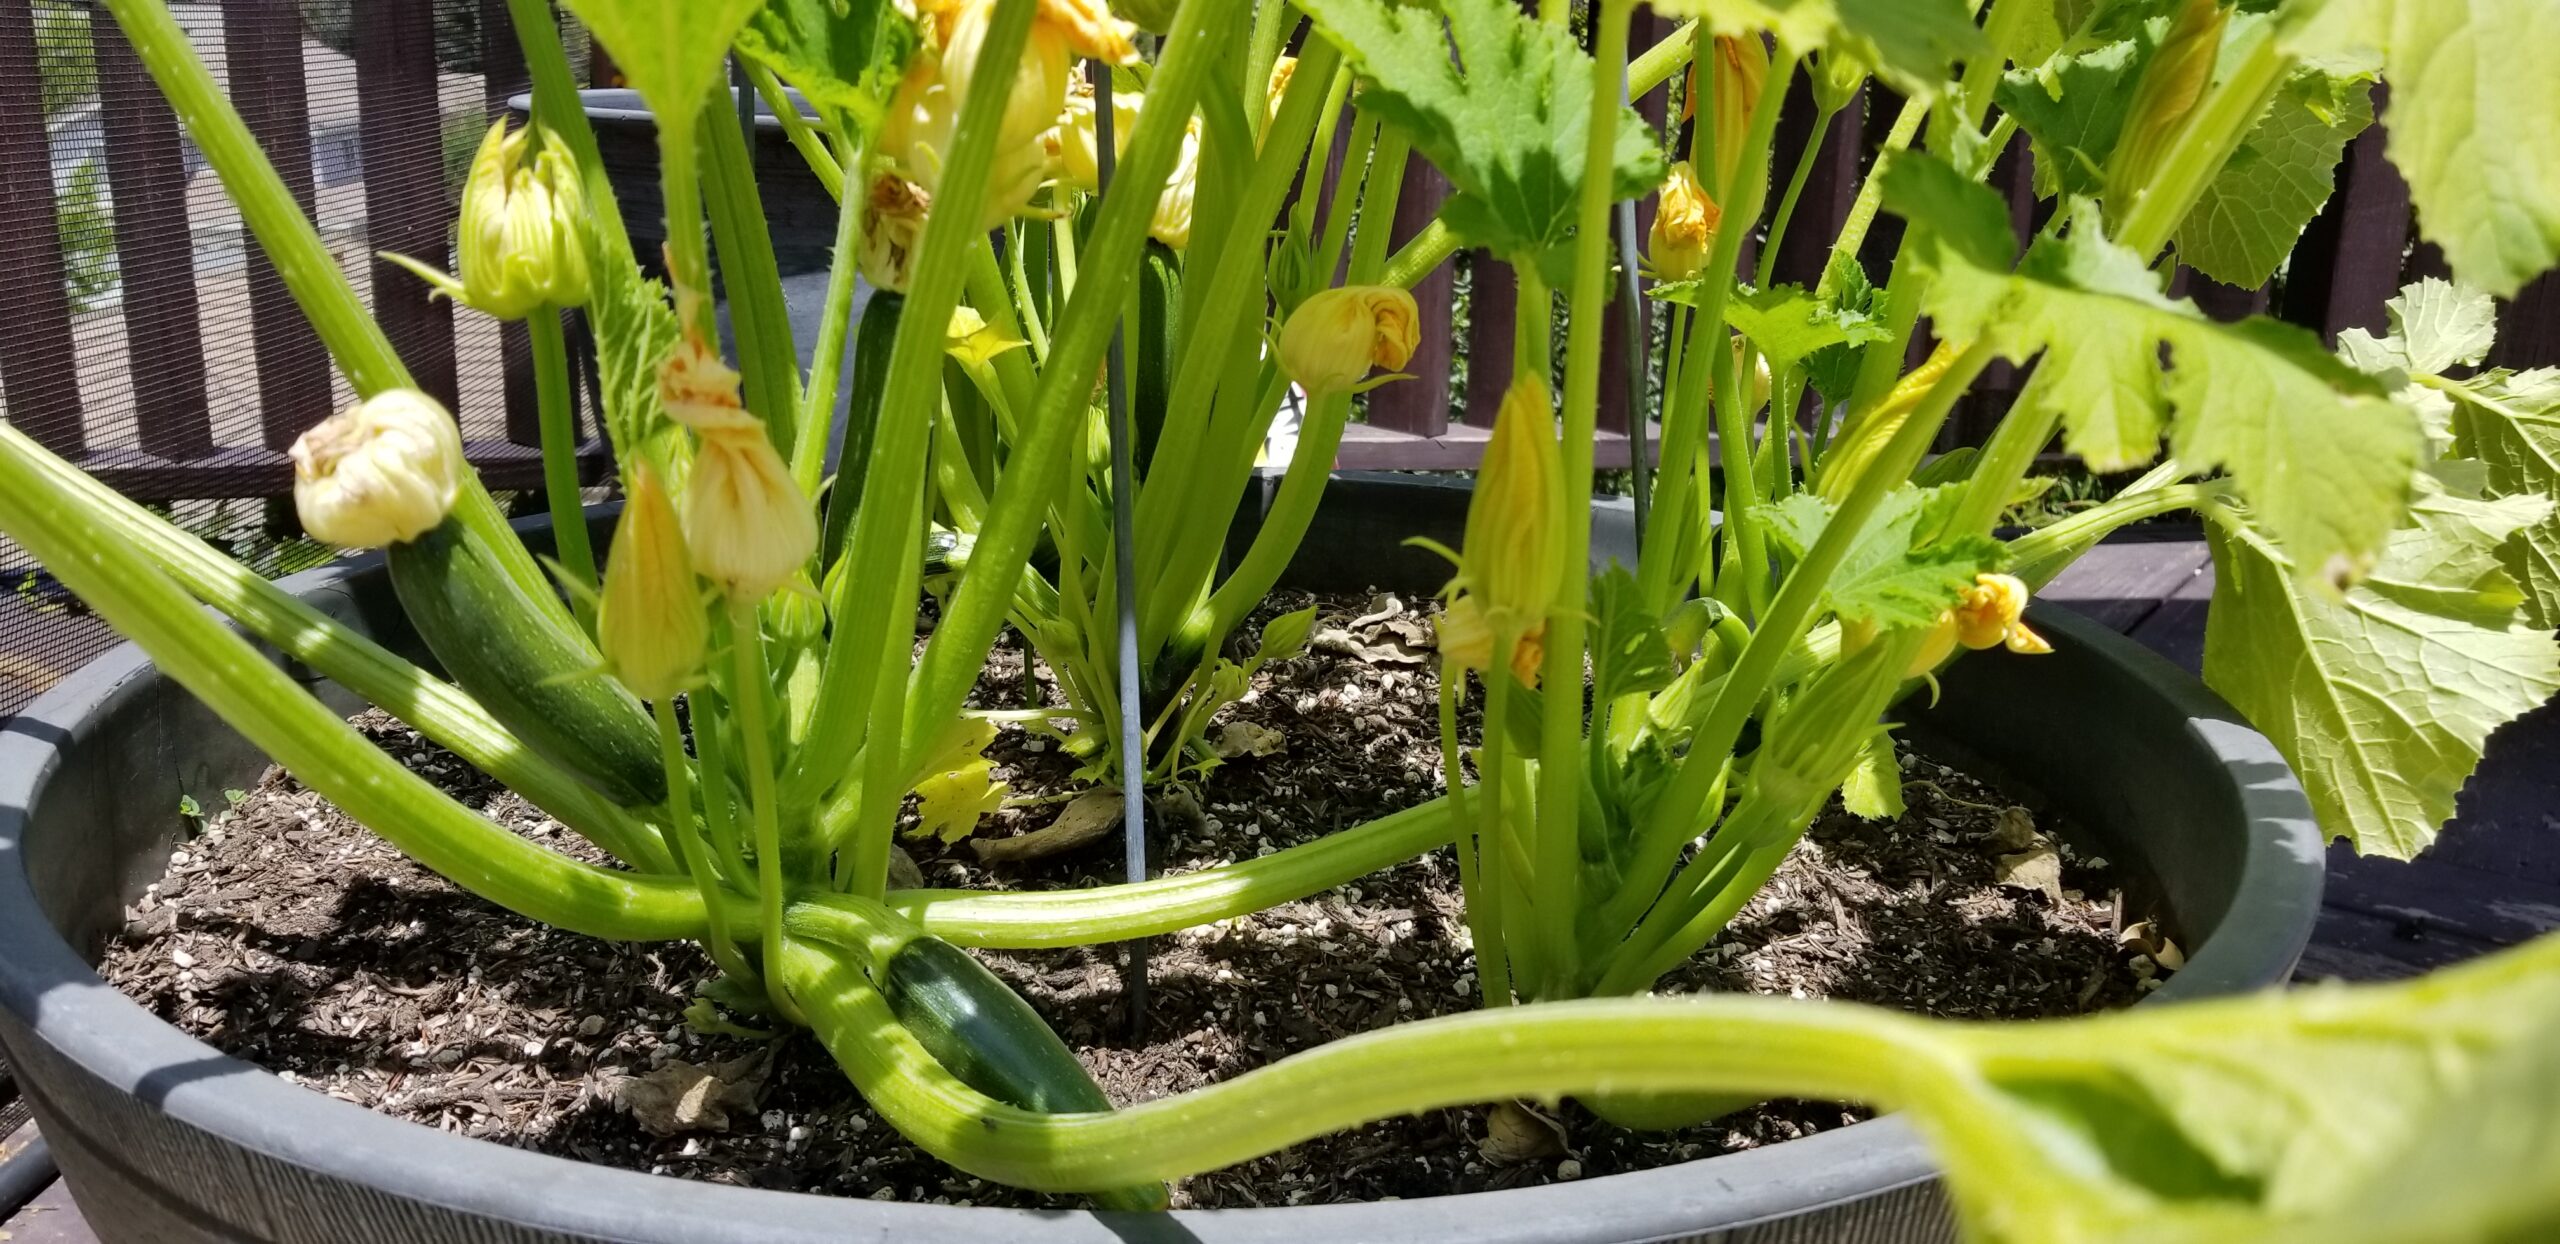
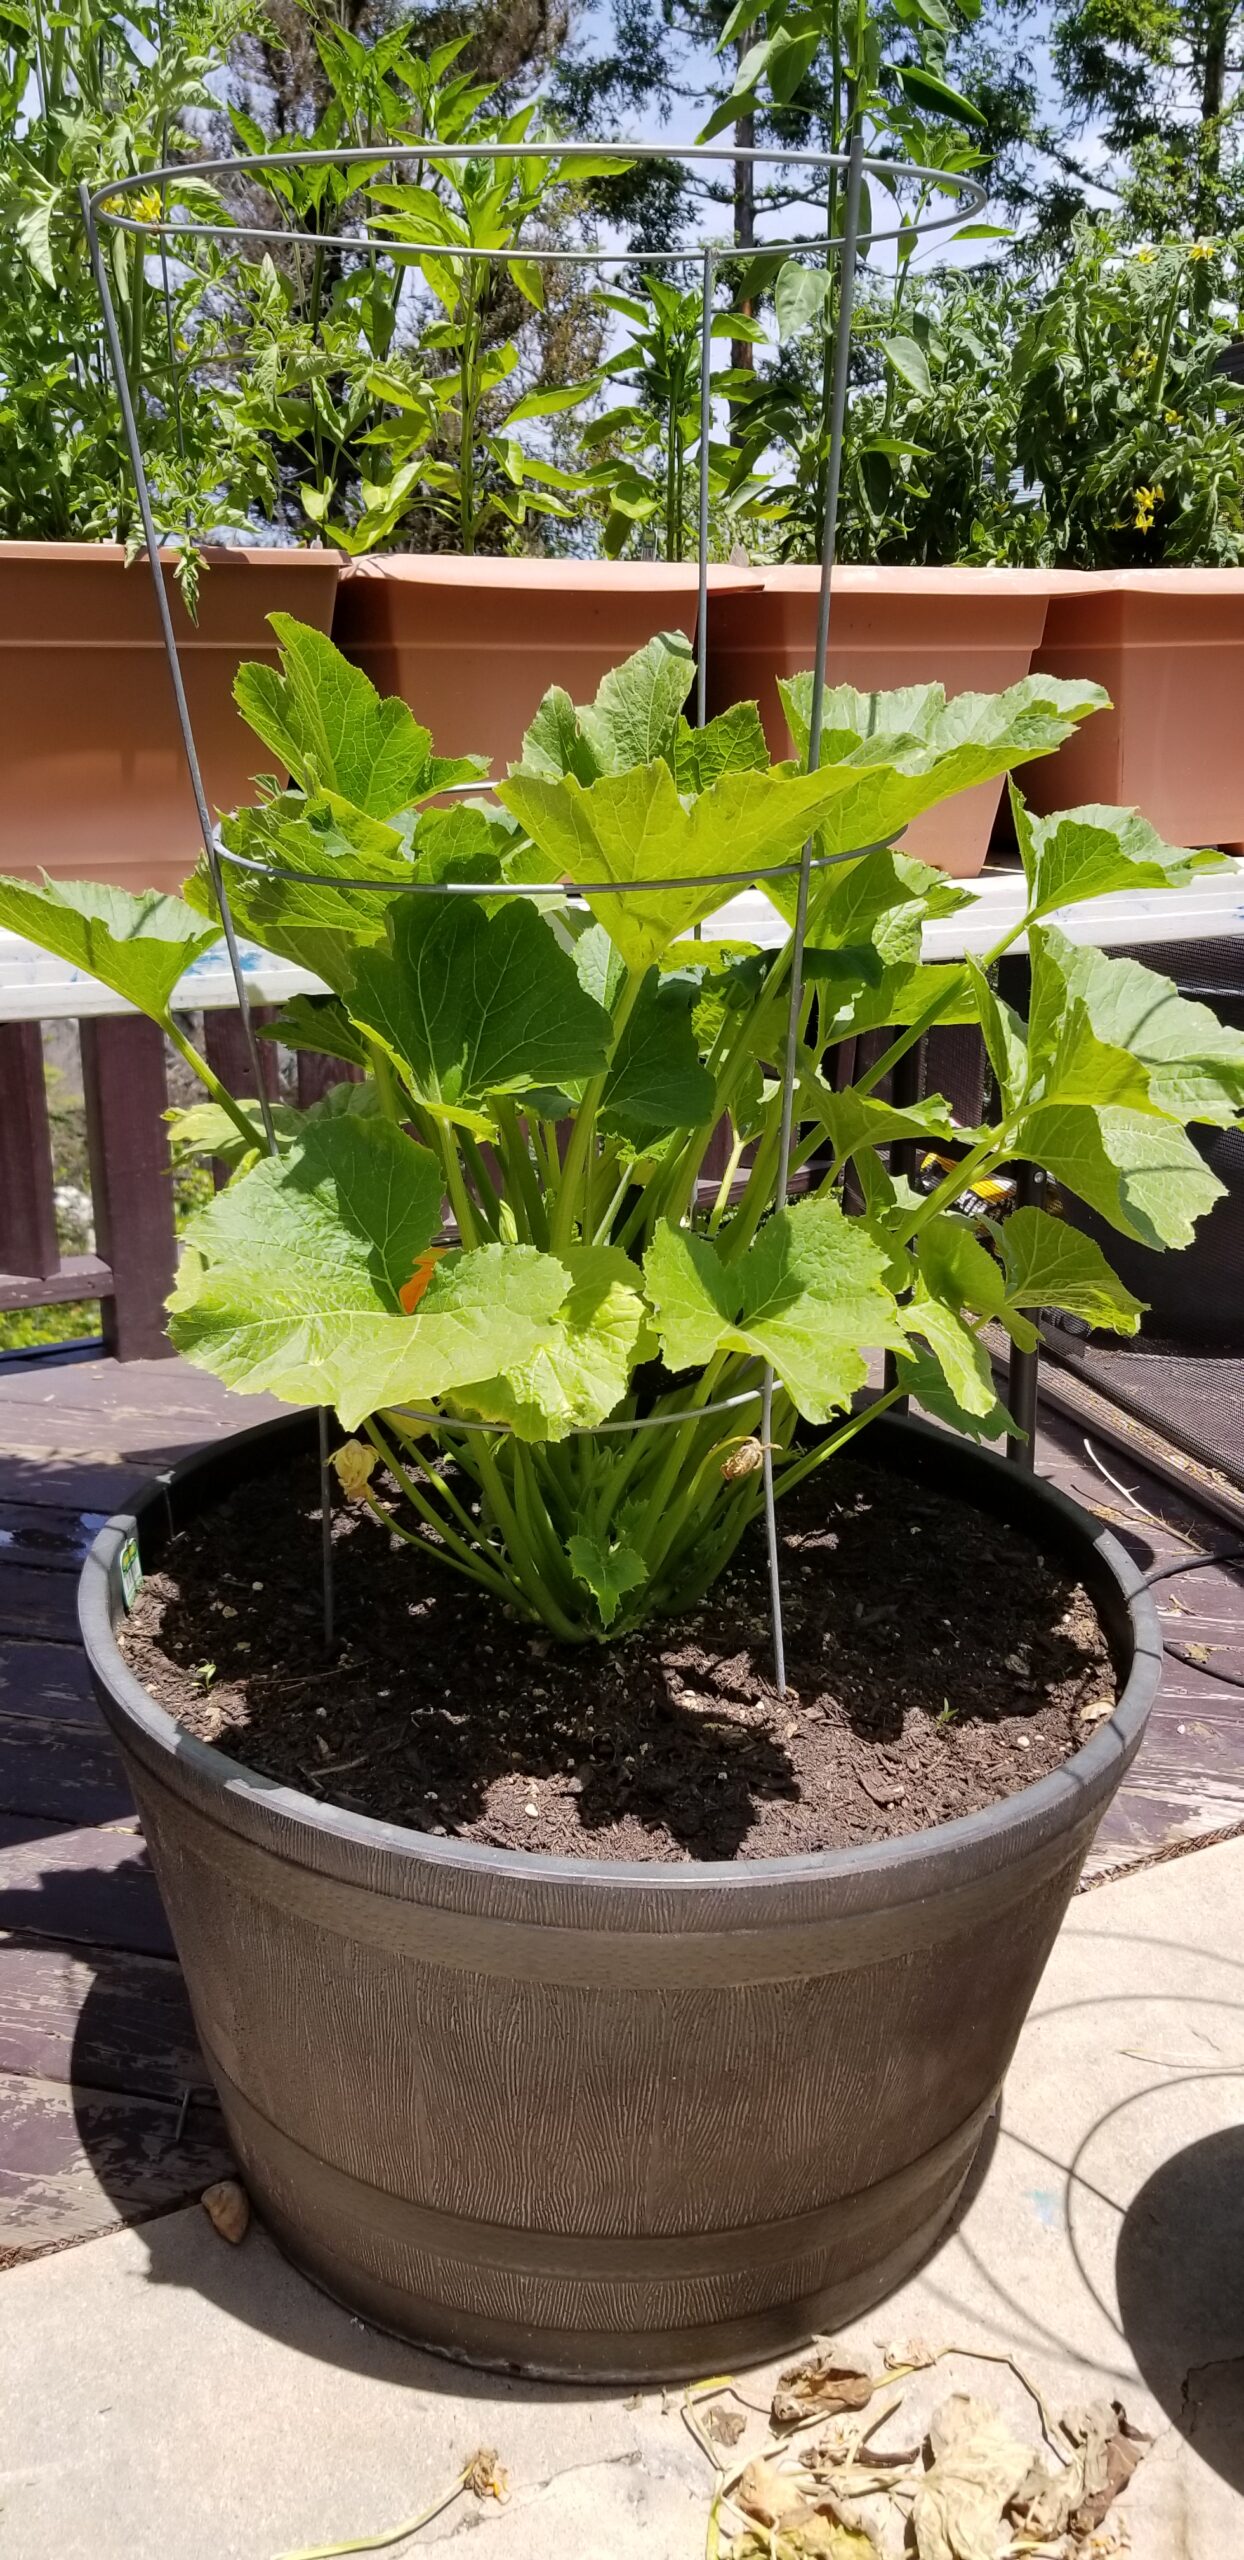
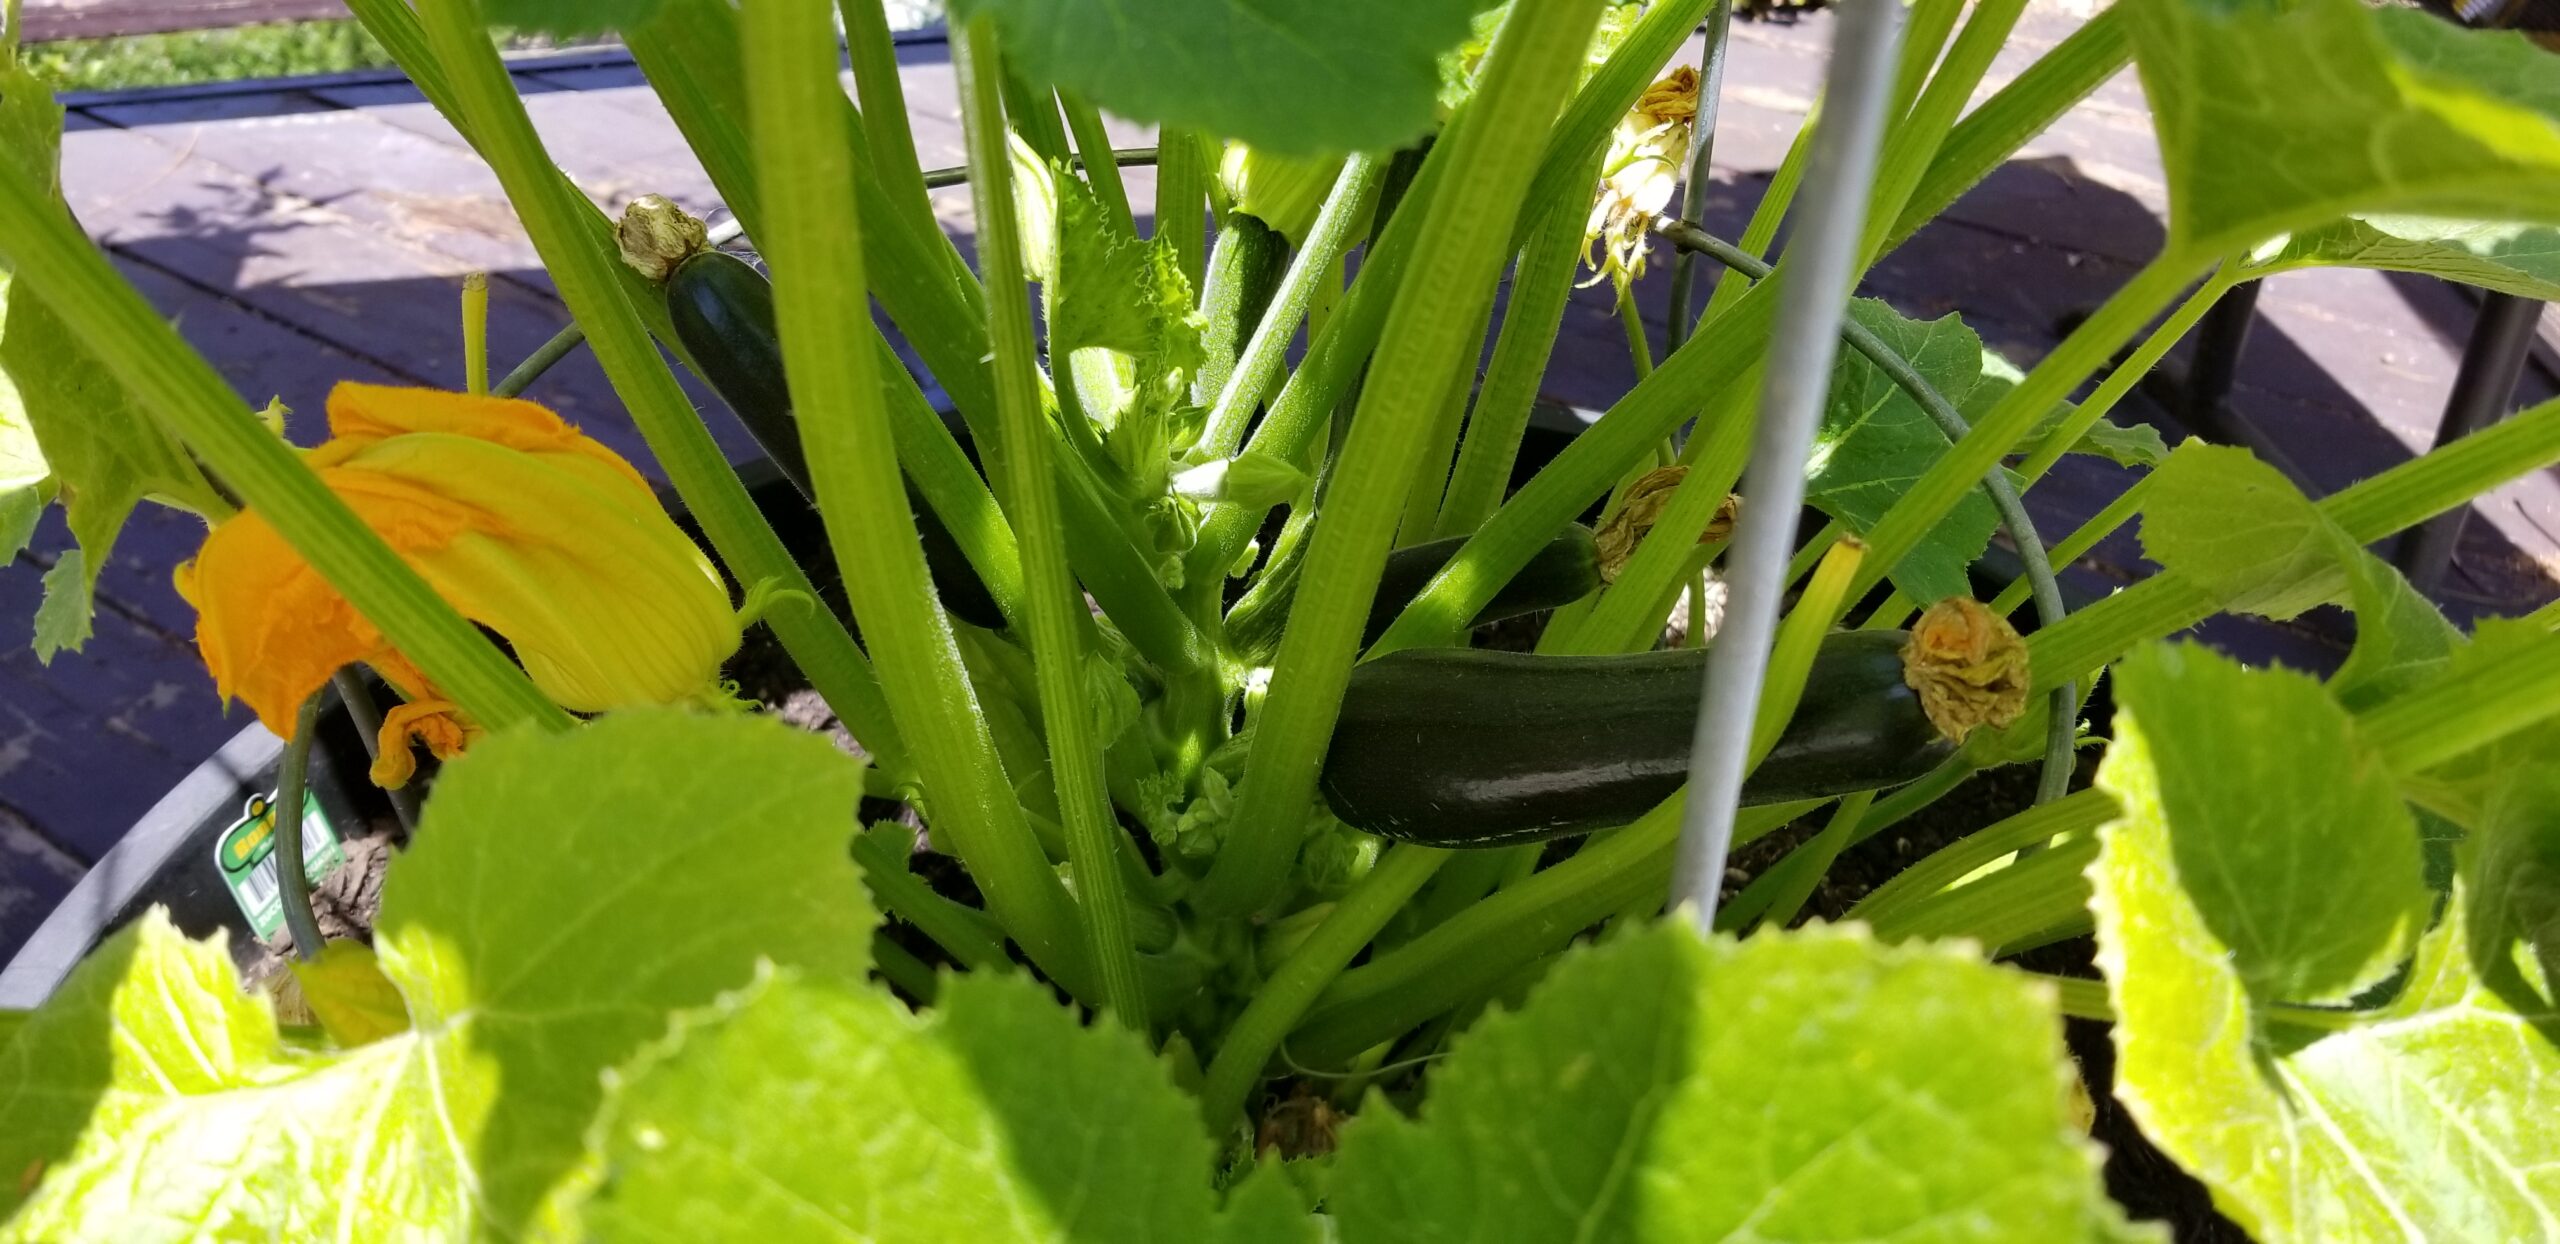
Harvested: 2 zucchinis from the Calabacita planter. 9.2 oz total, about 6-7 inches long.
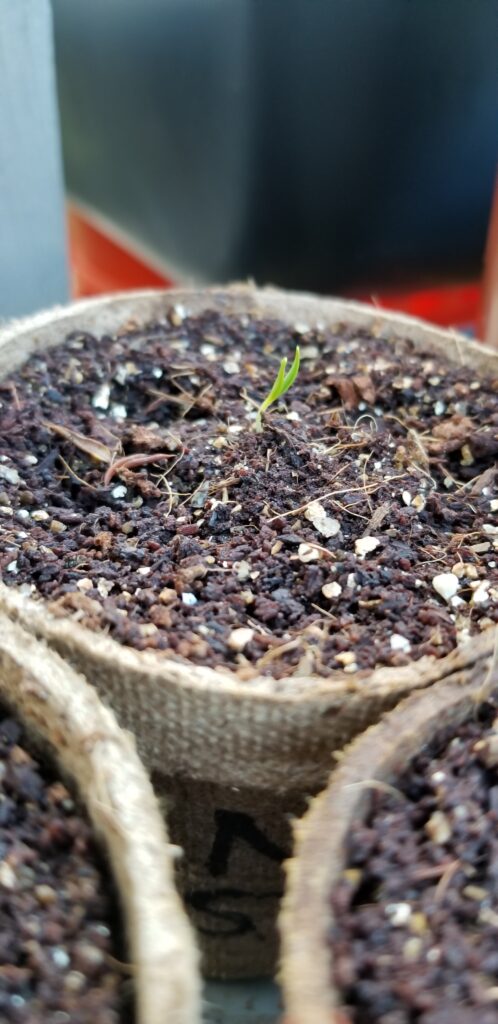
First New Zealand Spinach/Worrigal Greens seedling popped up! Also got seedlings of pole beans (finally!), 3 of the “Improved” and 1, maybe 2 of the Scarlet.
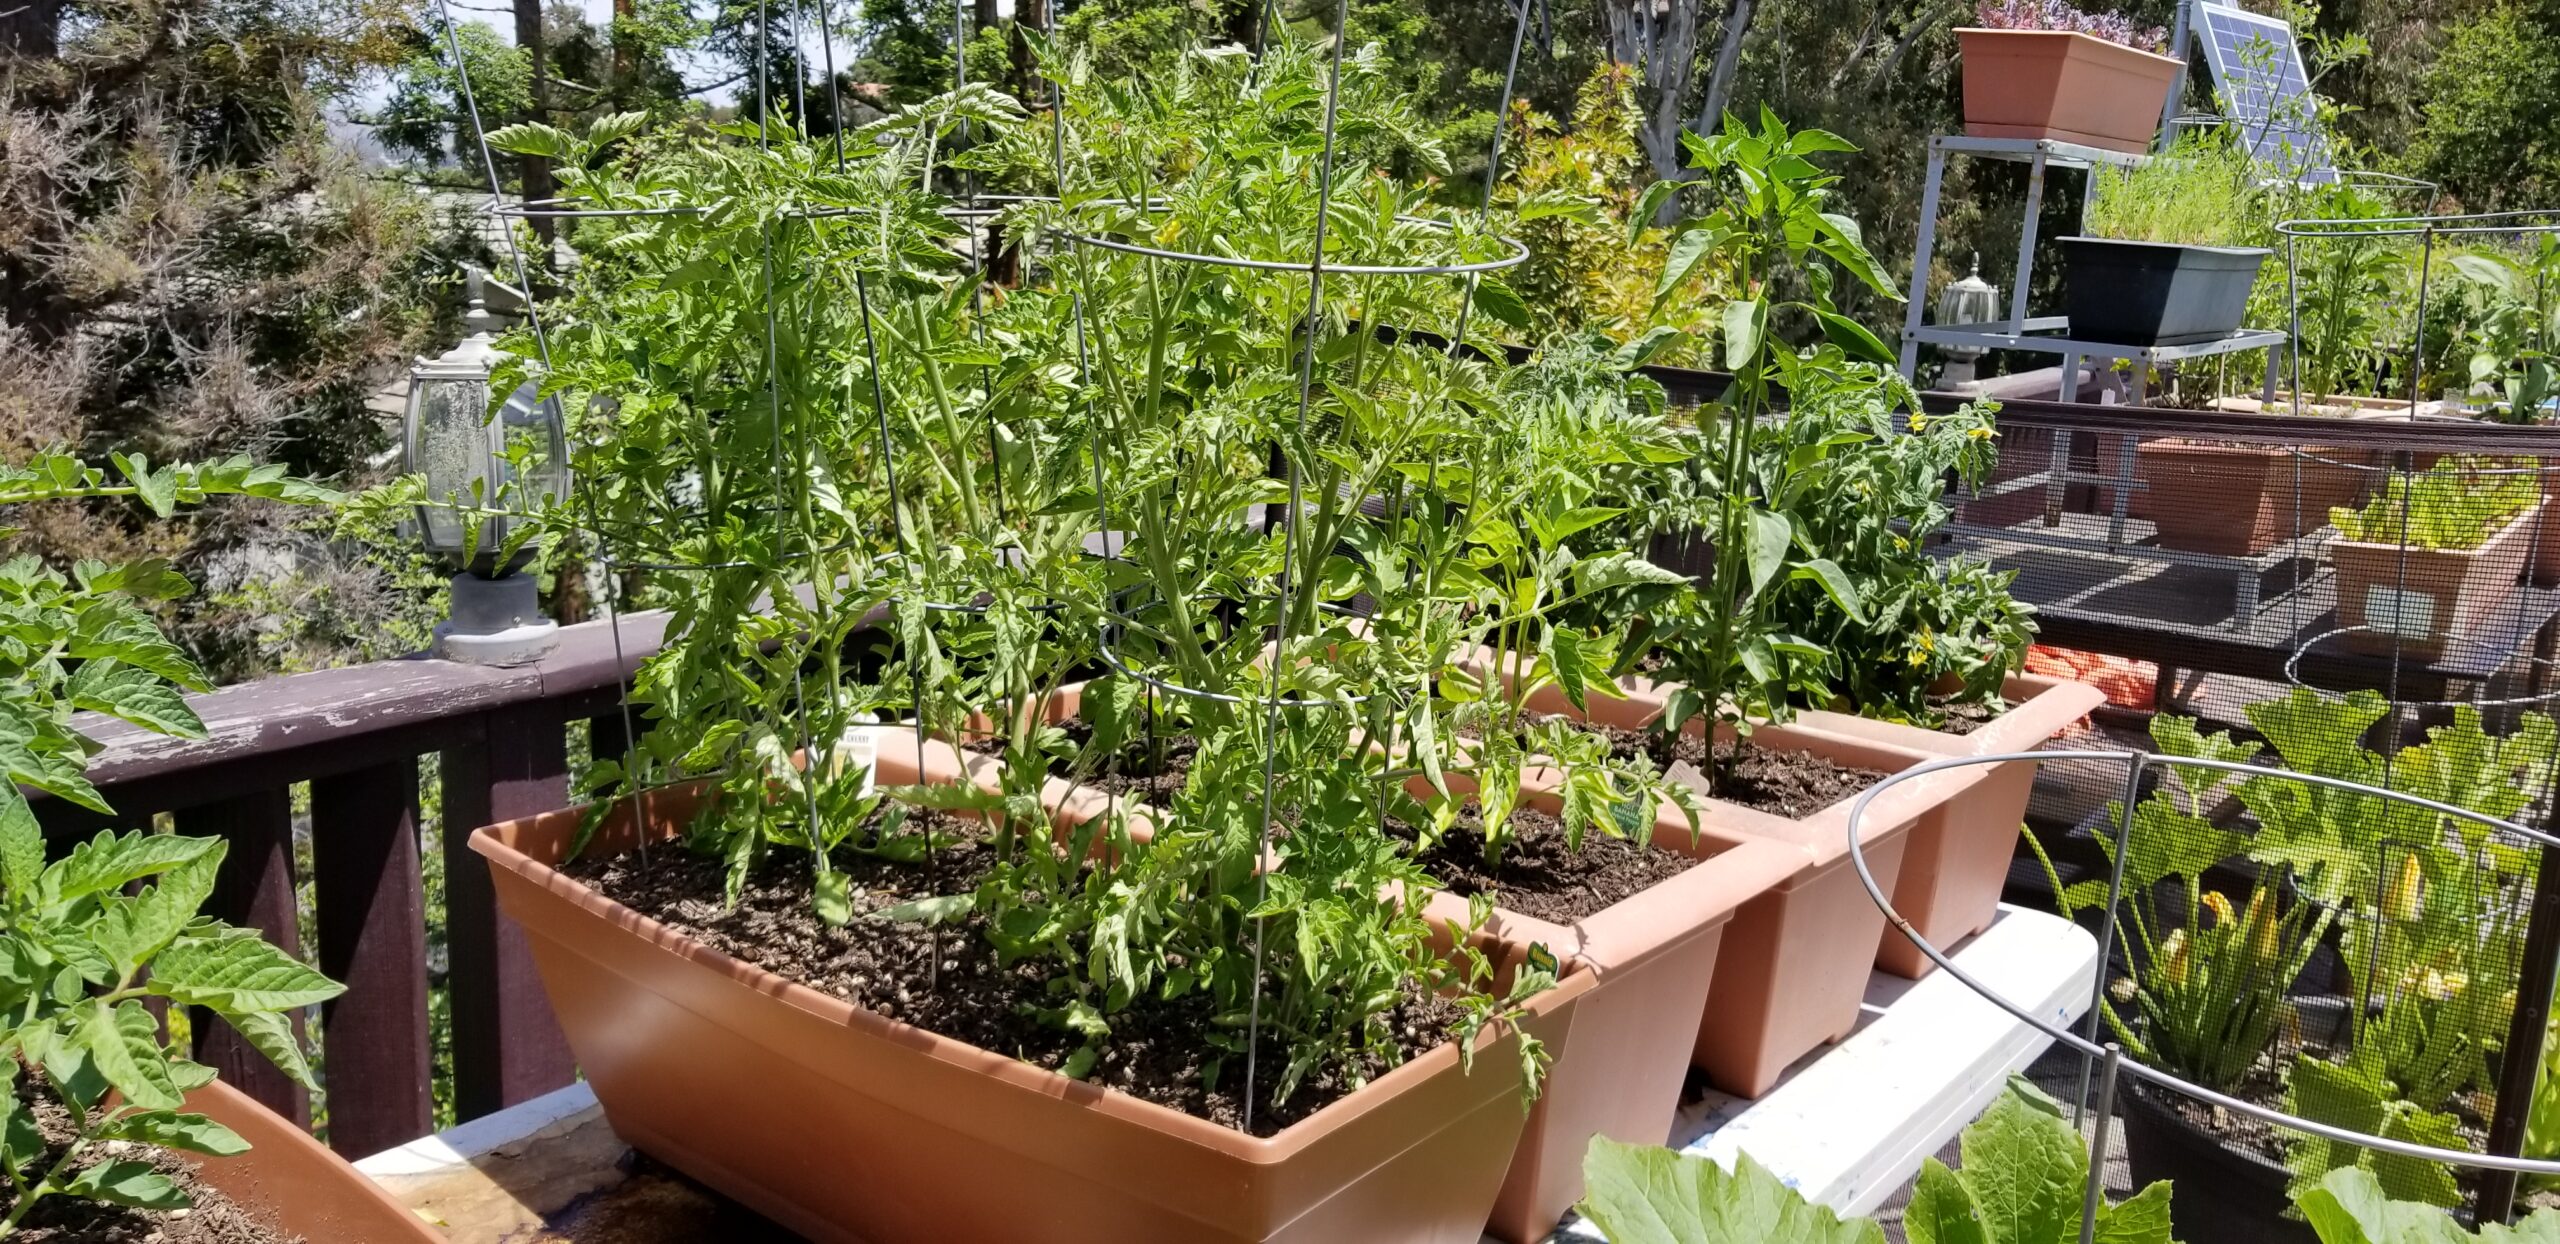
Finished building and filling the 2nd Table (Elevated) SIP, placed in slot #3. So it will be ready to receive seedlings tomorrow evening. Going in will be 2 or 3 Fordhook “Giant” Chard, about 10 typical rainbow chard, and 8 arugula seedlings. Maybe I’ll direct-sow some standard spinach up front. The back will be for pole beans, like slot #2.
The calabacita zucchini plant is pumping out fruits and flowers, but seems to be suffering for it? Yellowing and wilty leaves when it seemed so strong just several days ago? Not sure if that’s due to the energy expenditure of fruiting and how I should address it (feed? with what concentrations?)
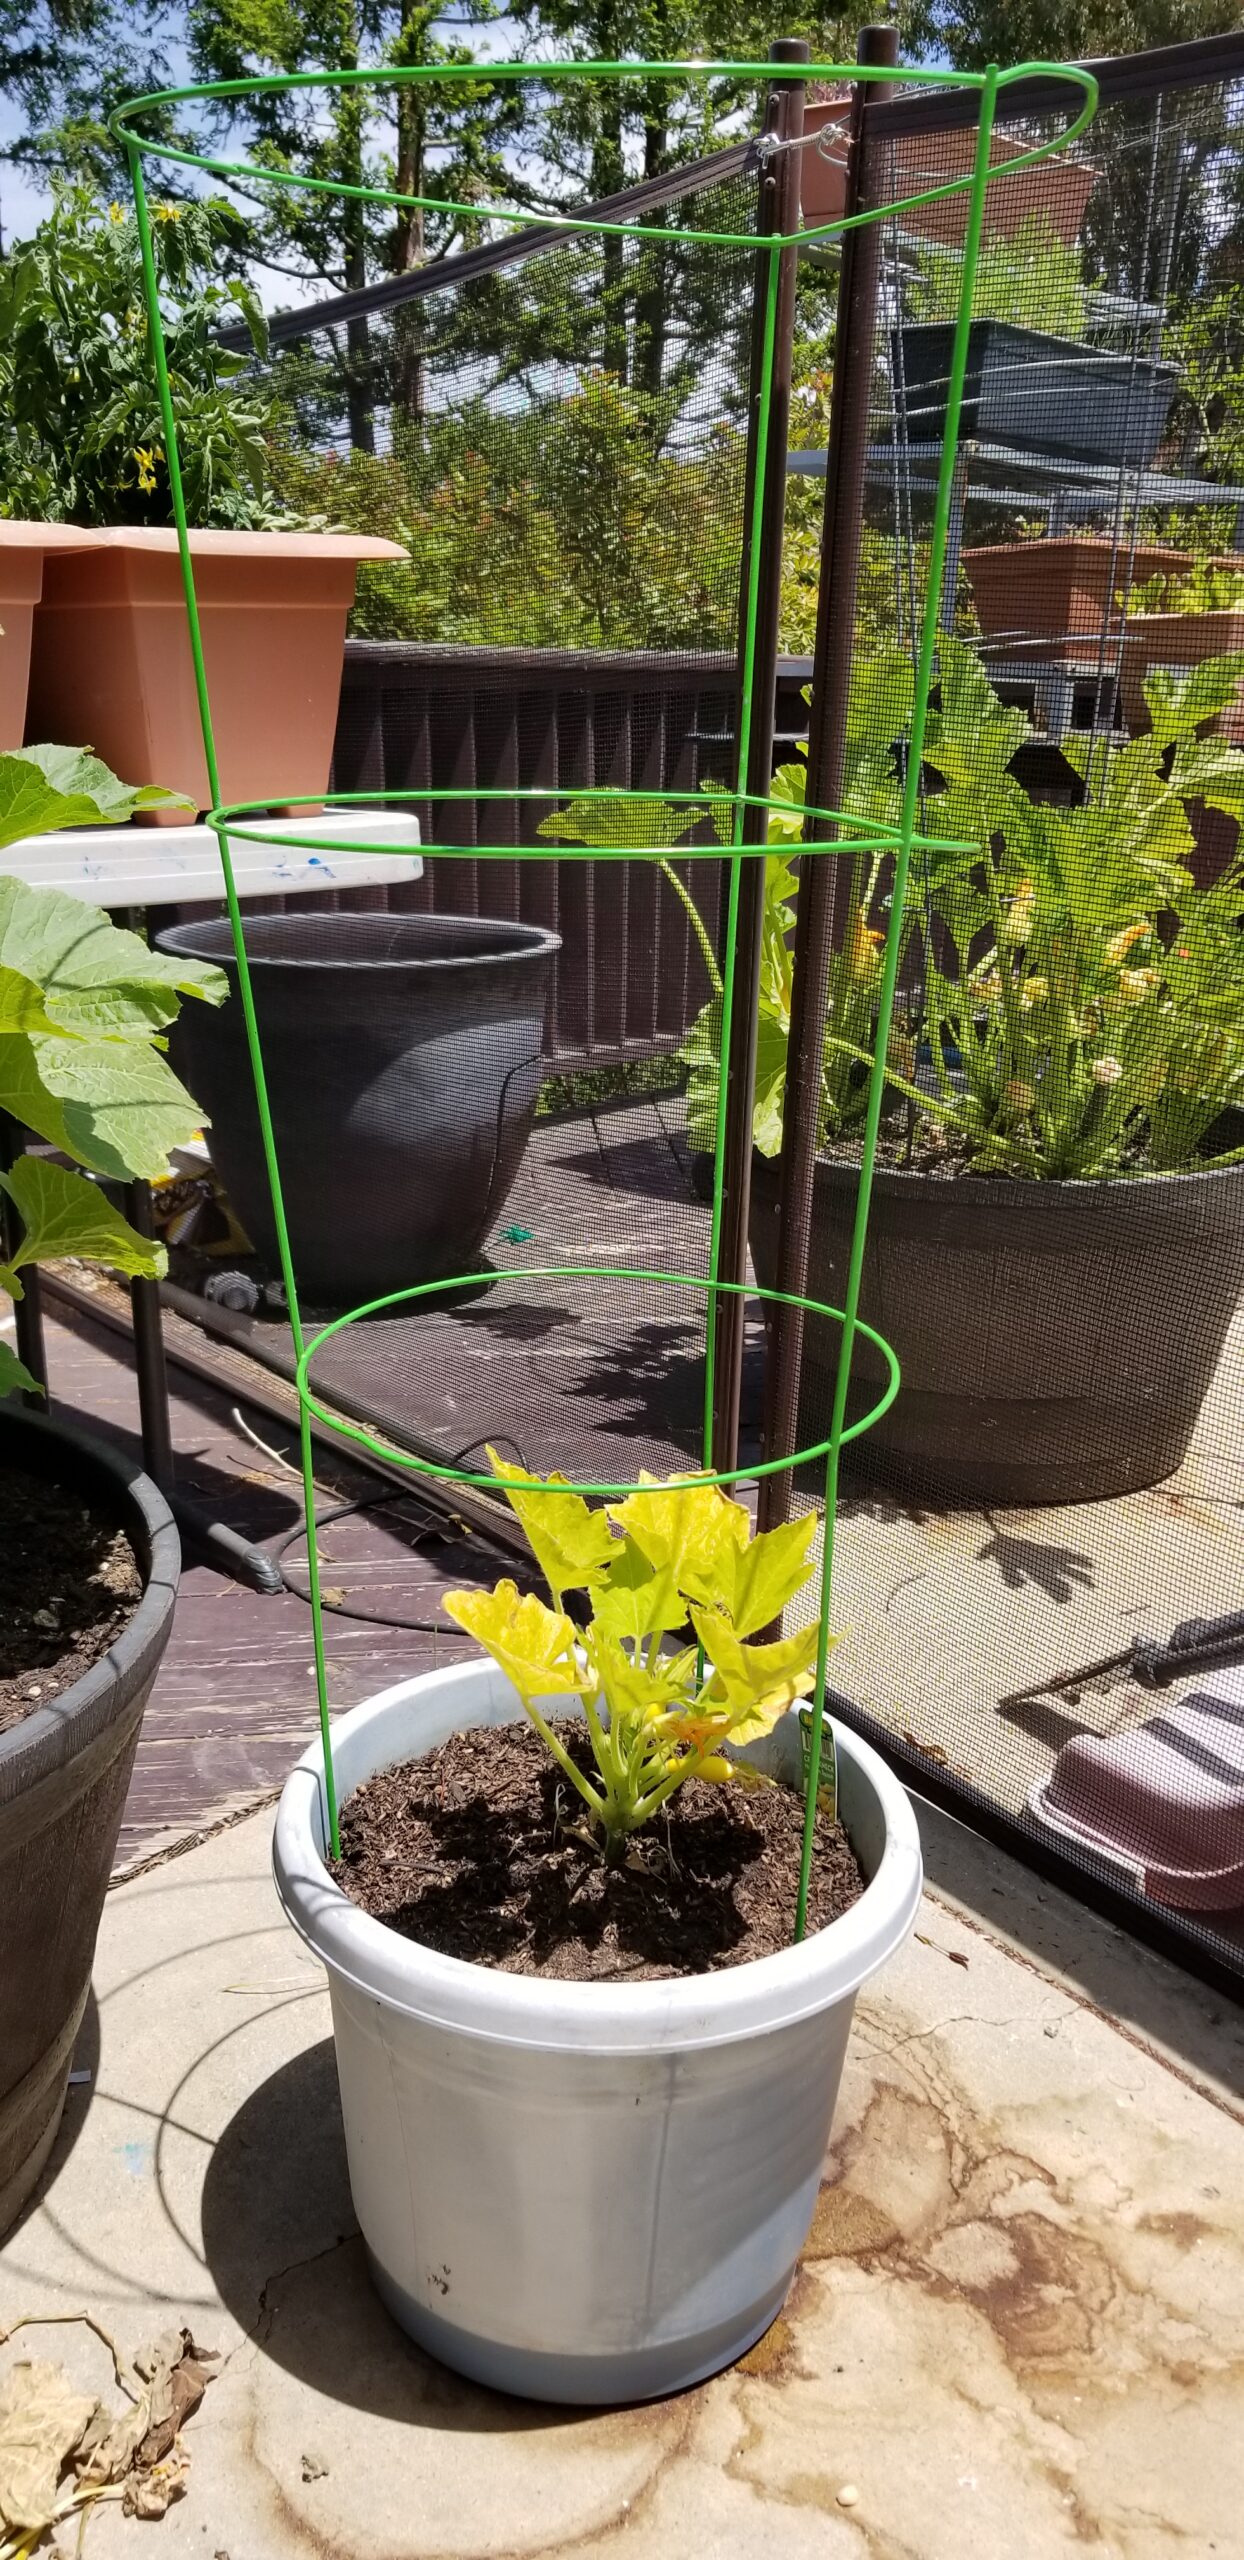
“Golden Zucchini” has pushed up at least 2 if not 3 seedlings, and the 49er Hybrid Yellow squash has several strong seedlings, so I need to get another Big Blue SIP up and running ASAP. Plus a 3rd for a 2nd batch of winter squash, and 4th for the last batch of summer squashes. That will surely cover us for squashes, and will exhaust the 2 barrels I bought for the purpose – though I could certainly steal one more from the 2 I had set aside to add to my single rain barrel.
We also (Maya and I) dug up some sod and planted a patch of flowers right in front of the kitchen window. Hope that turns out!
COVID-19 “Stay Safe At Home” order drags on and on…
Tonight I harvested a single zucchini, from the Home Depot purchased transplant that was one of the very first COVID-19 Lockdown plants. It was 123 grams and about 7″ long, and a bit weirdly shaped. Wasn’t sure whether this was exactly the best time to cut it off, as it’s the first? There are 3-4 more following right behind though.
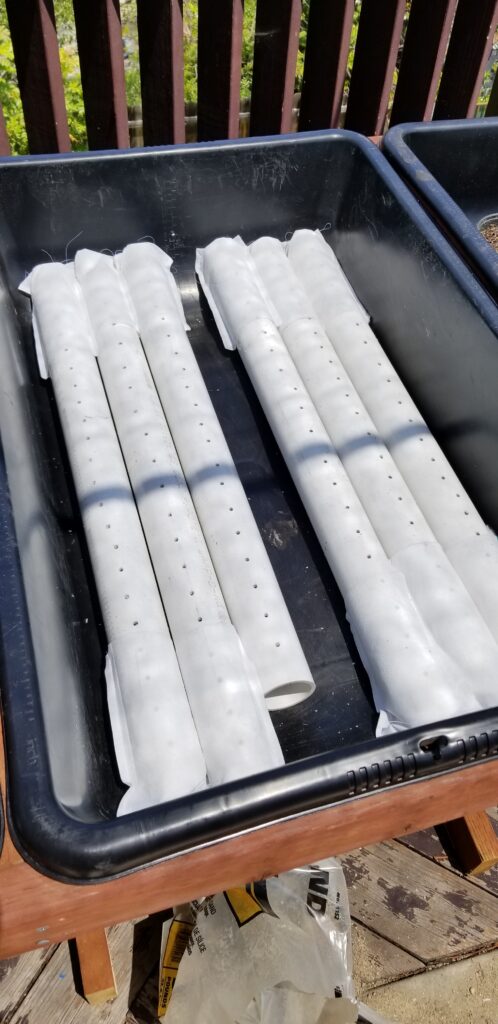
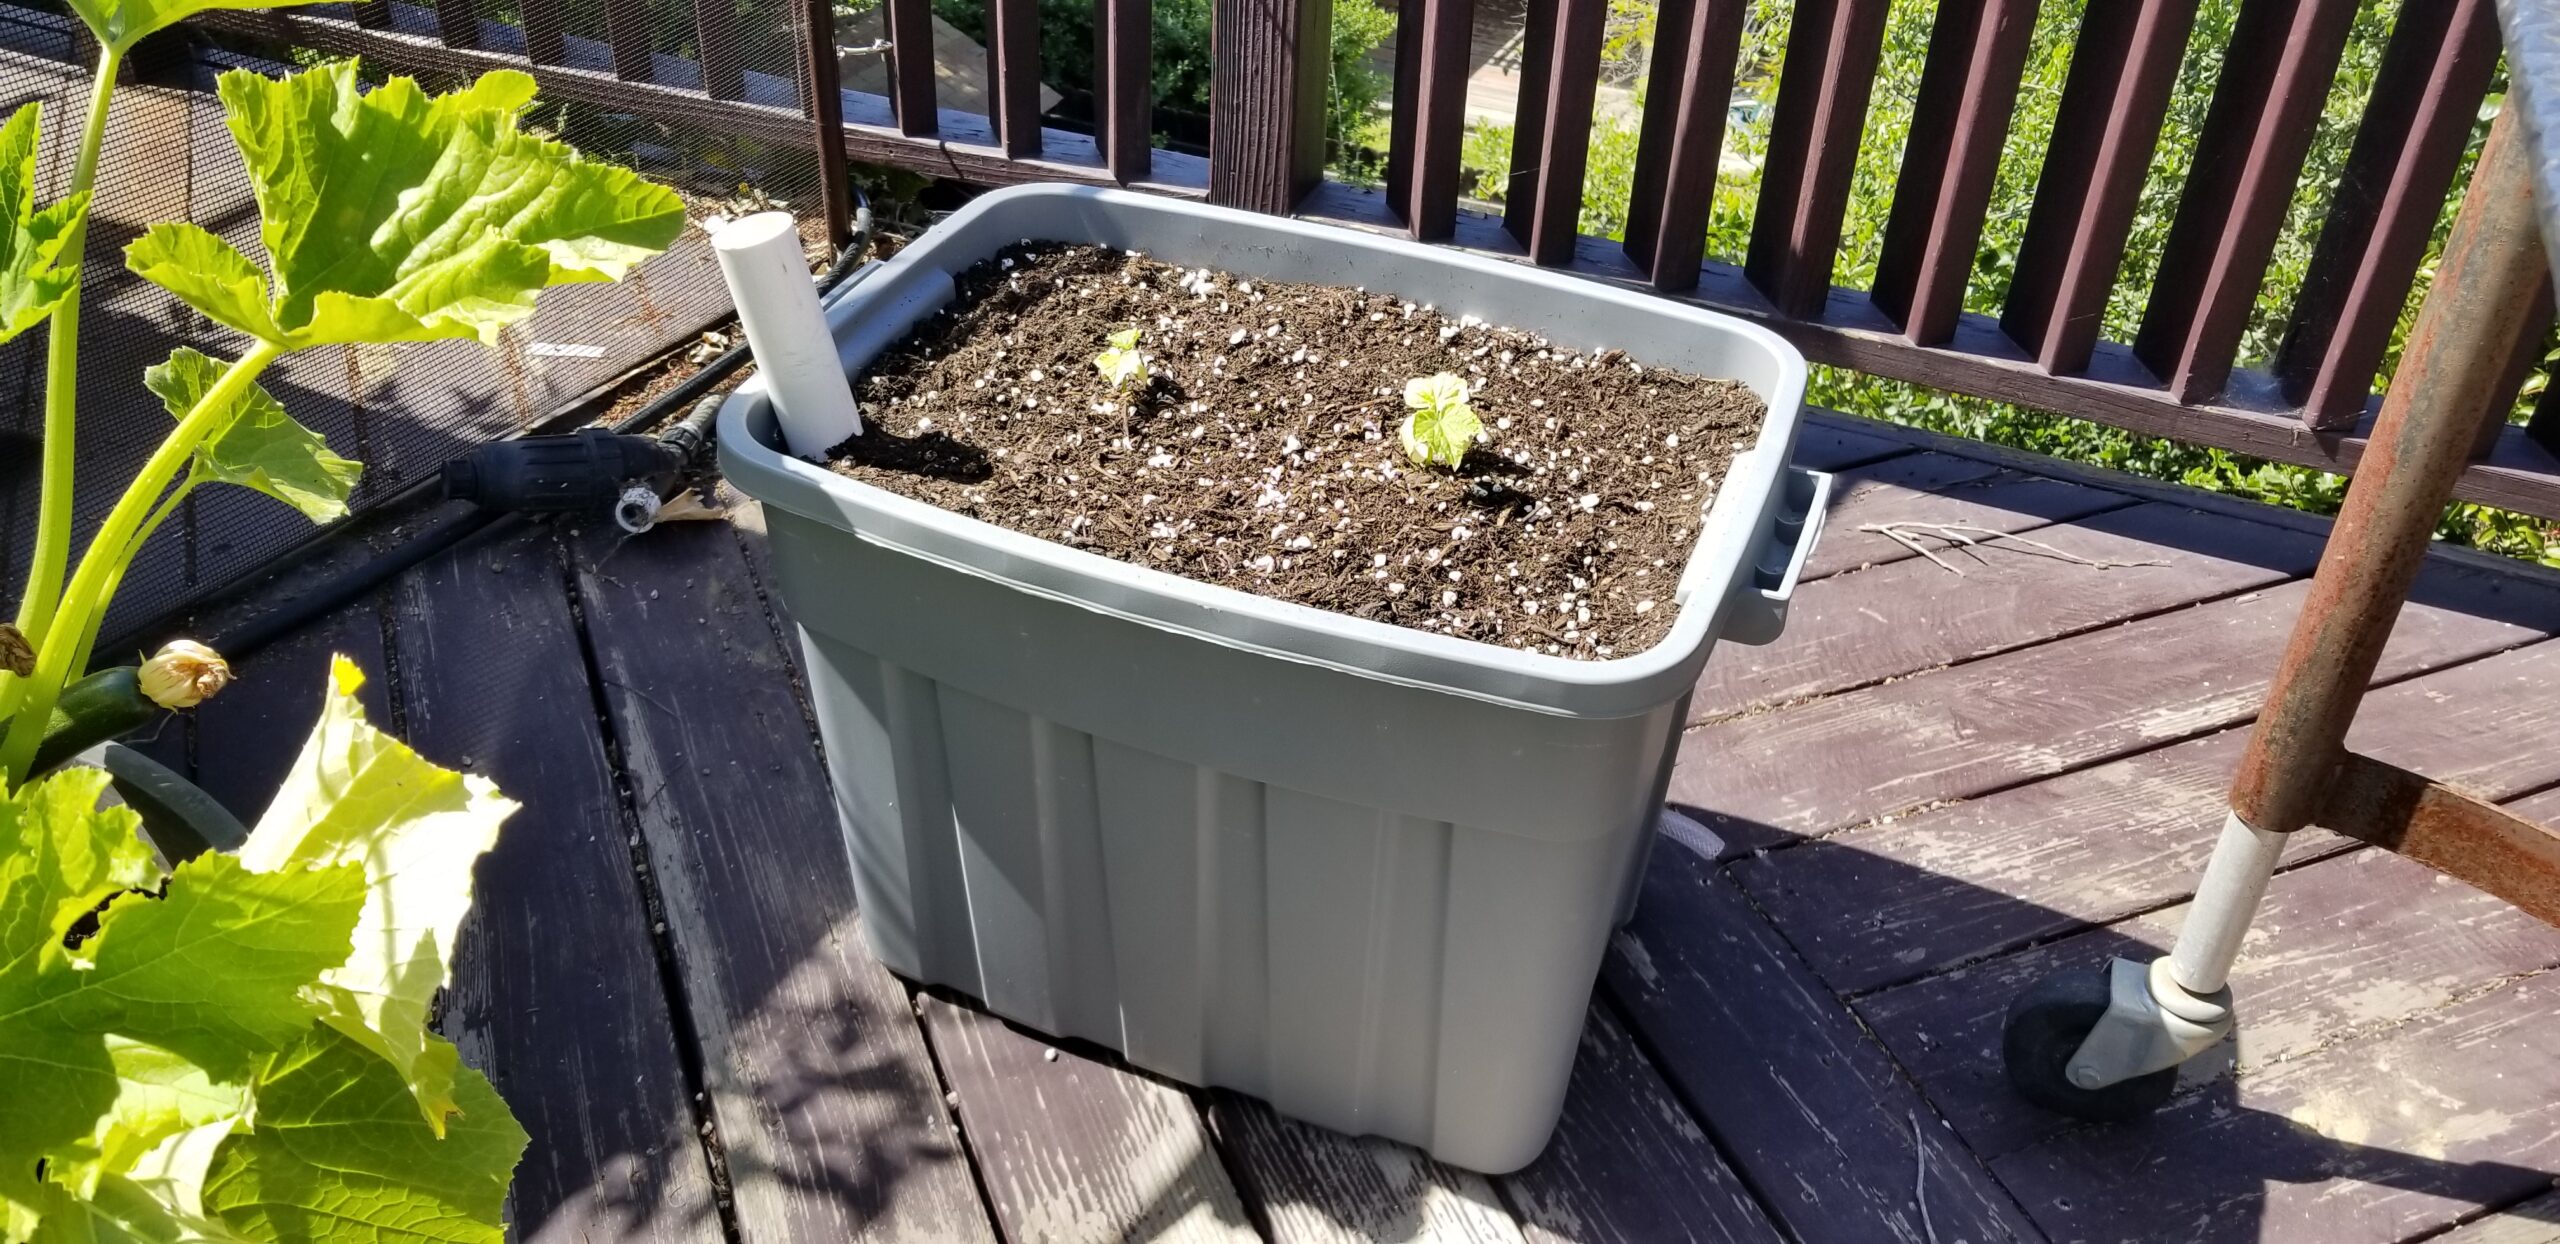
Today I filled a new 18 gallon utility bin SIP, and planted a couple of cucumbers grown from seed over the last few weeks. They have been looking pretty yellow – hopefully their big new home will perk them up. This SIP is layered with.
4″ perforated corrugated pipe.
Sand (generic coarse construction sand)
Sphagnum peat moss (just enough to cover the sand)
Custom mix of the cheapest Kellog “Garden Soil” (which is like 99% poorly composted wood chips), plus a LOT of perlite, plus sand, Kellog organic fertilizer, and epsom salt.
Finally a pre-bagged Kellog premium potting mix called “Patio Plus” that I beefed up with perlite, sand, and fertilizer. Finally a light top-dressing of organic fertilizer and mulch.
Spacemaster Cukes in an 18 gallon sub-irrigated planter.
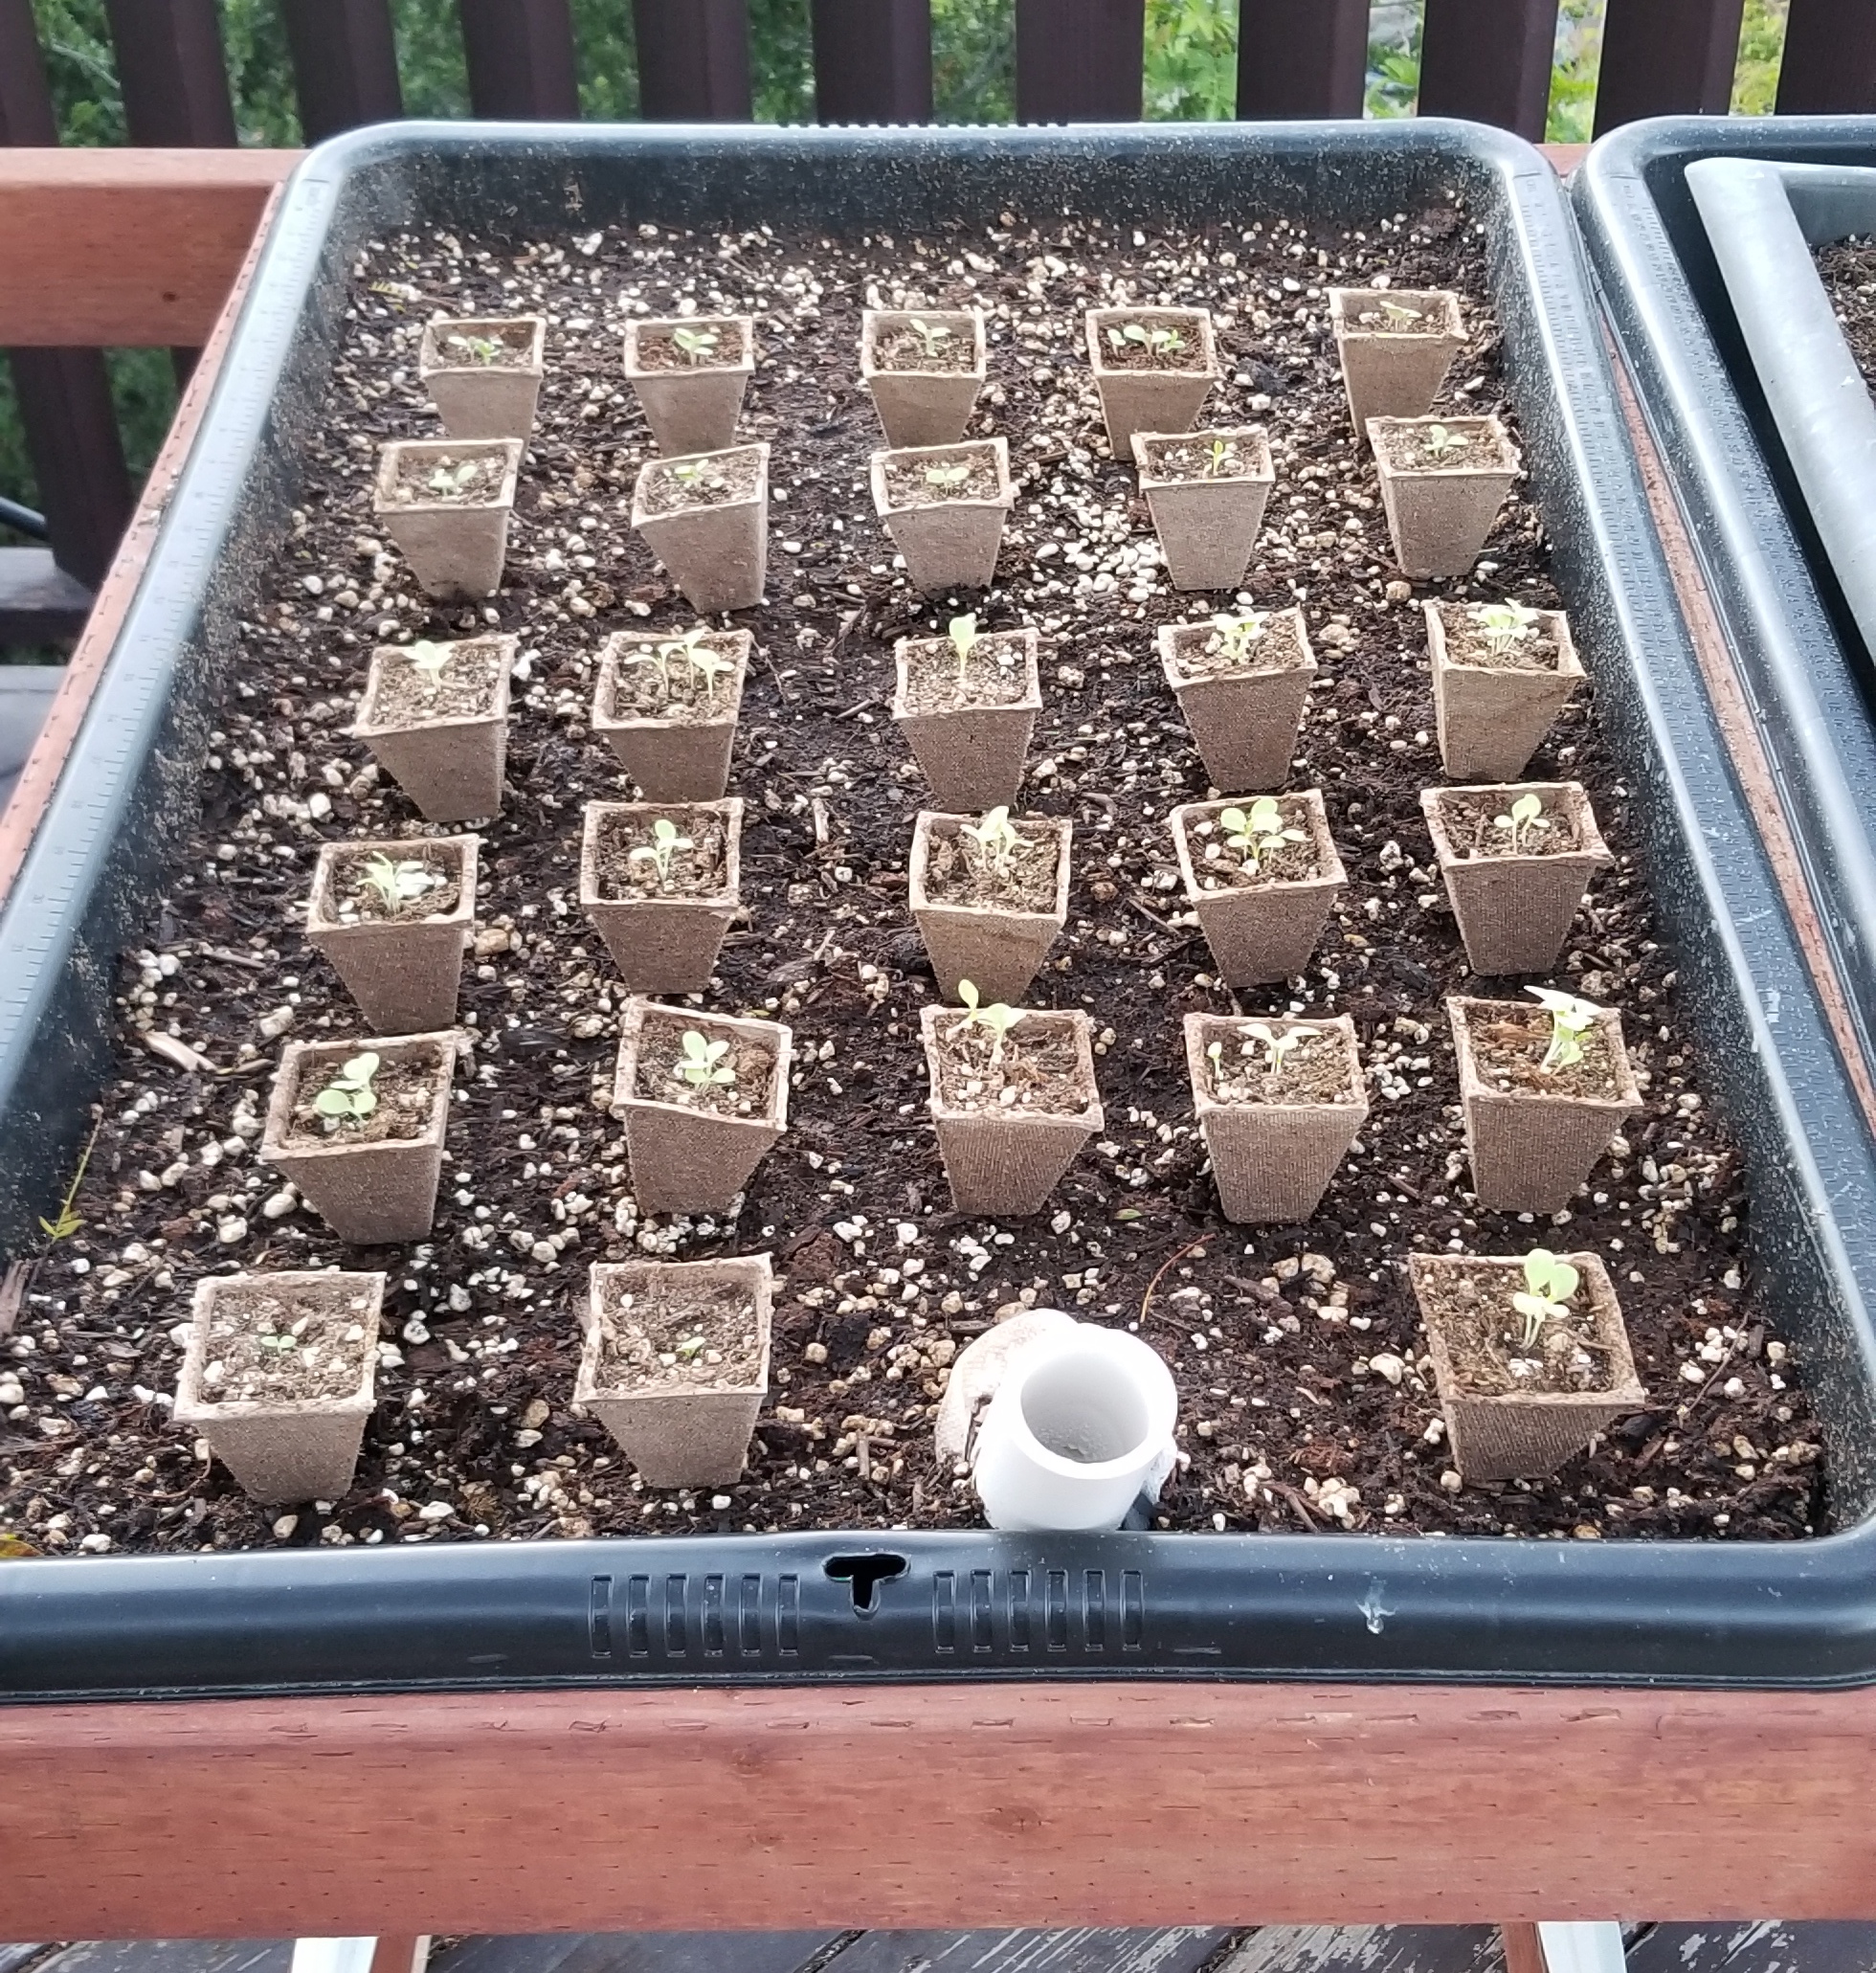
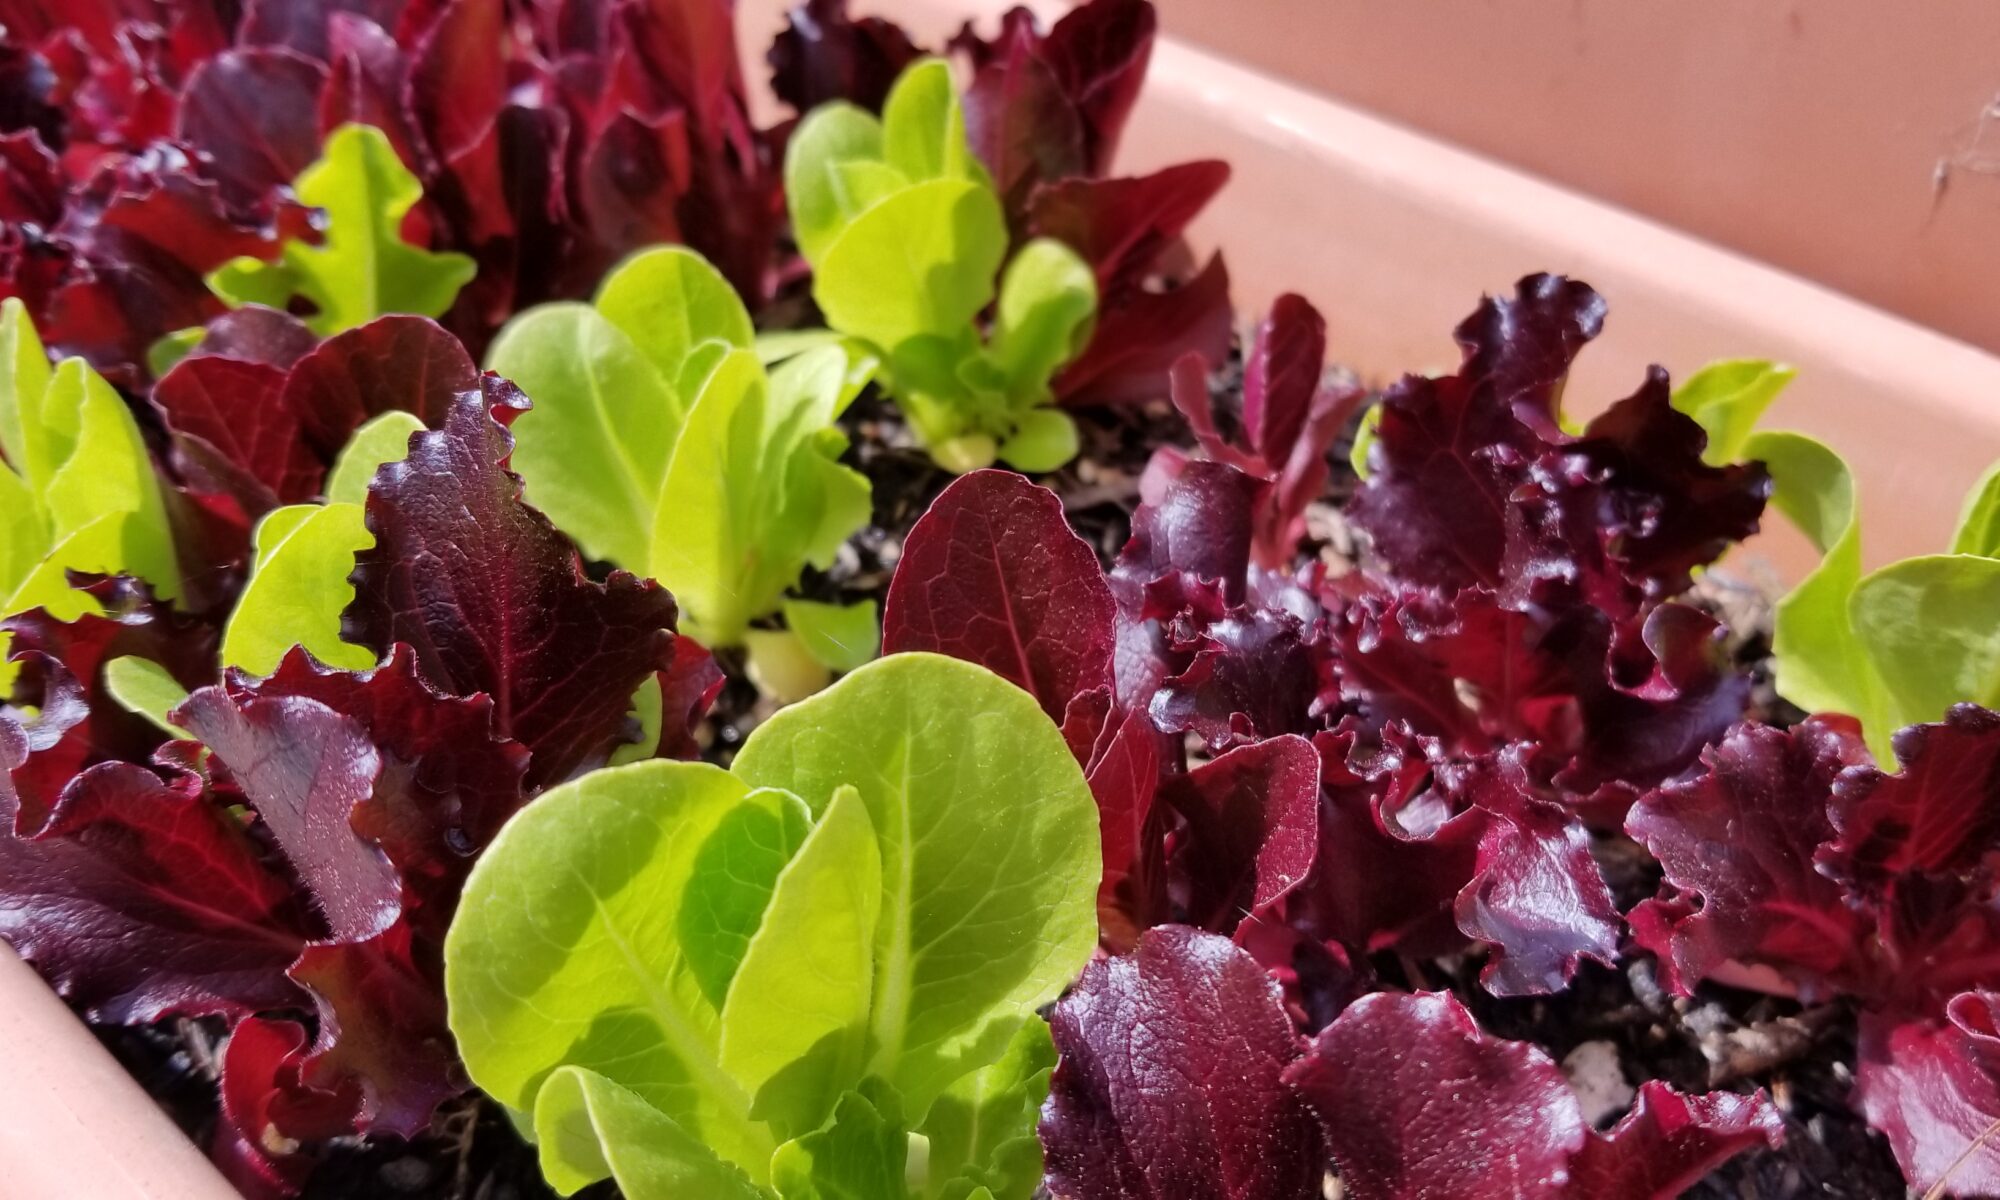
Also transplanted 28 leaf lettuce seedlings into the first of the elevated/shaded SIP bins, in position #2. That was bloody hard work for being such tiny things, there were just so many.
Future self: sow directly next time! I’m beginning to think there are only two good reasons to sow separately and transplant later:
You want to get an early start indoors because it’s too cold outside for whatever slow-germinator you want to get started (like maybe tomatoes and peppers).
Very low expected germination rate and you don’t want to tie up bed space just waiting and wondering whether something is going to germinate or not.
This happened with bush beans in one of my containers earlier this spring. I sowed 4 beans in a 24″ extra-wide window box and not a single one of them germinated. I’ve since ditched that packet of beans and bought two others – one of which showed some green this morning for the first time (sown in peat pots over a week ago).
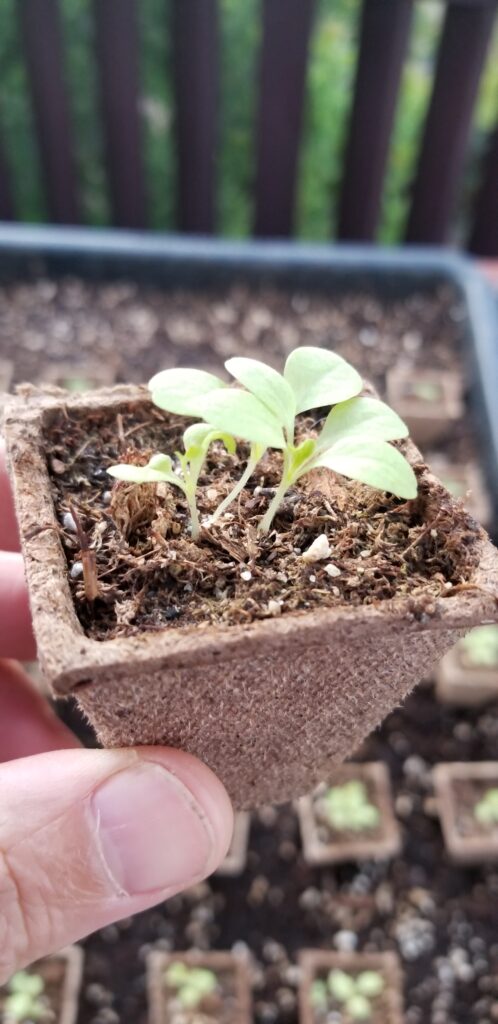
Lettuce seedling
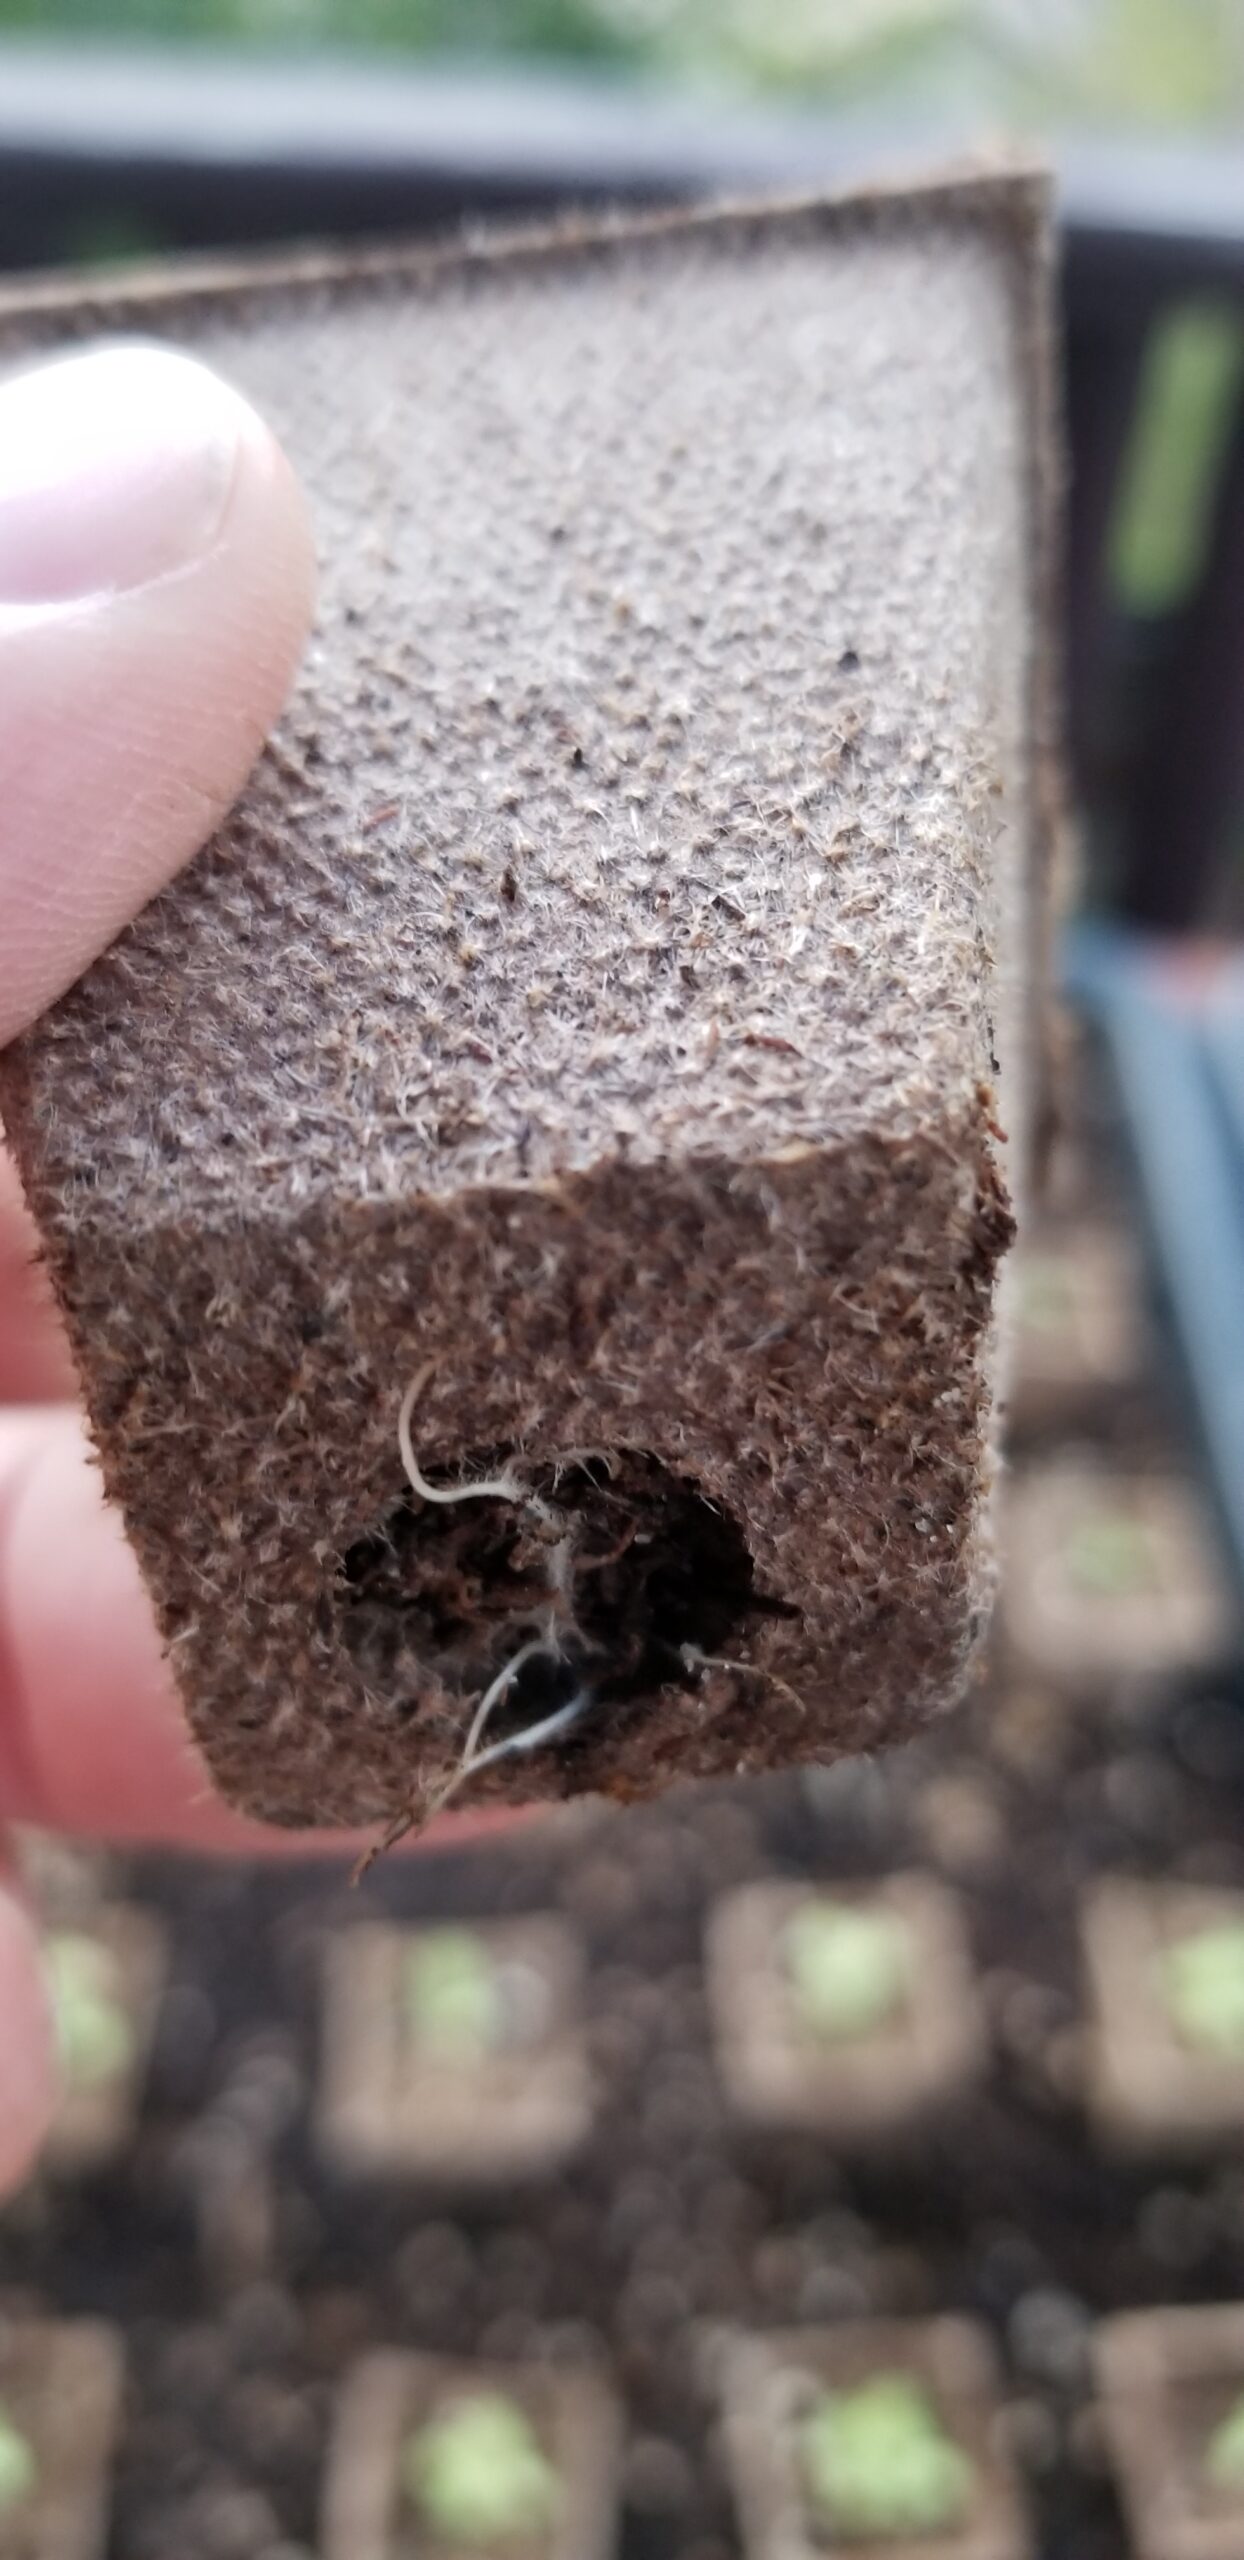
Roots of lettuce seedling
Peat pots were a waste, but I wasn’t ready with the elevated SIP and I wanted to get a head start on the lettuce germination and growth. Next time – direct sow if at all possible!Transplanting 28 leaf lettuce seedlings is time-consuming and tiring, even into an elevated bed.
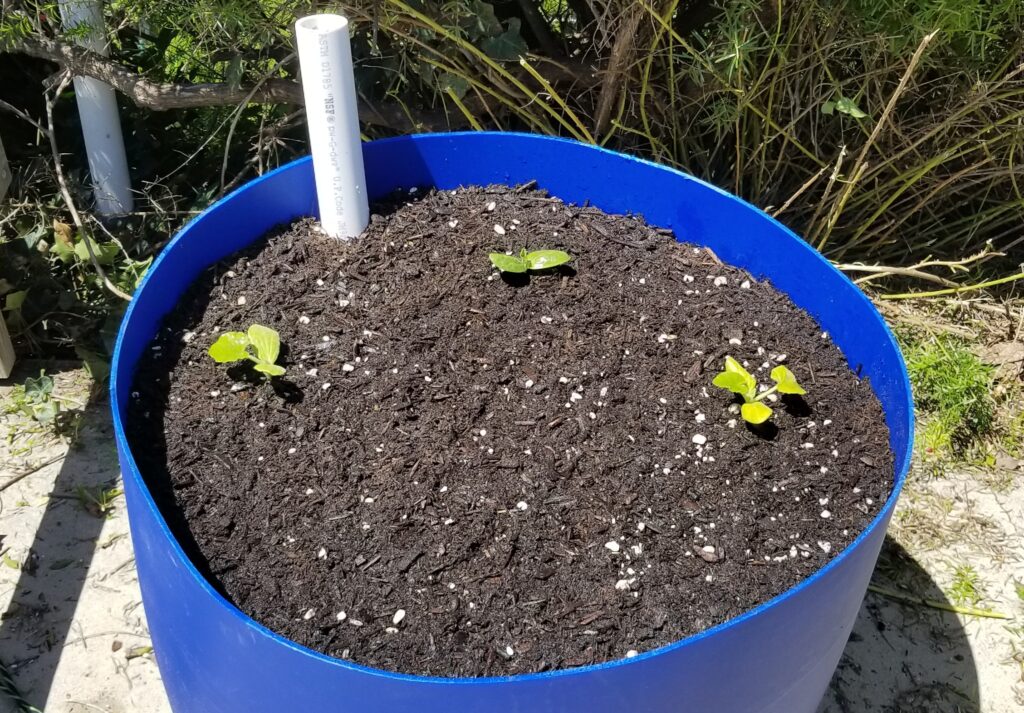
Got the first 55 gallon drum (half) SIP (Sub-Irrigated Bed, AKA “wicking bed” AKA “giant self-watering flower pot”) filled with media and 3 winter squashes transplanted in. Yay! On the left is Butternut Squash, the middle/back is a “Sugar Baby Pumpkin” and the right is Acorn Squash. These were all planted from seed, with the pumpkin started at least a week after the other two (unfortunately). In the middle/front, Maya planted a bunch of mixed flower seeds from a packet called “Fireworks”. We top-watered very heavily, but did not actually fill the base of the SIP yet. I don’t really have a convenient way to do that until I get the DC/solar water pump rigged up to run a hose from the water barrel. The base should hold nearly 4.5 gallons, and right now all I have is the normal garden hose connected to chlorinated tap water (rather not), or a tiny 1L watering can. 🙂 I’ll hopefully make a page about my construction of this barrel, as I did take several photographs along the way. But I still need to build 3 more, and I wonder if I won’t improve the process/design along the way.
The media in this planter is layered like this:
Sand (coarse, cheap, building/multi-purpose sand). This goes down to the very bottom of the barrel, between and around the corrugated/perforated drainage pipe curled up down there. Probably used about 15-20 lbs of it.
Sphagnum Peat (just a thin layer on top the sand).
Custom mix of sphagnum peat, perlite, coarse sand, organic fertilizer, lime, epsom salt (in rapidly declining quantities).
Kellog “Patio Plus” bagged mix, about 2/3 of a 2cf bag, with quite a bit of perlite and a couple scoops of coarse sand added, and a dash of organic fertilizer/lime/epsom mixed in as well. This stuff still seems to be 80% semi-composted wood chips, but definitely better than some of their cheaper mixes.
Not in the photo: on top is a very thin scattering of mostly-composted chicken manure, primarily over the mixed flower seeds, and 1/2″ layer of Kellog bagged “Grow-Mulch”. It doesn’t have any perlite at all so it looks quite different. We used it to cover the slightly stinky chicken manure over the flower seeds and the rest of the potting mix.
Before these big boys start to grow tall, I’ll build a humongous triangular trellis around them.
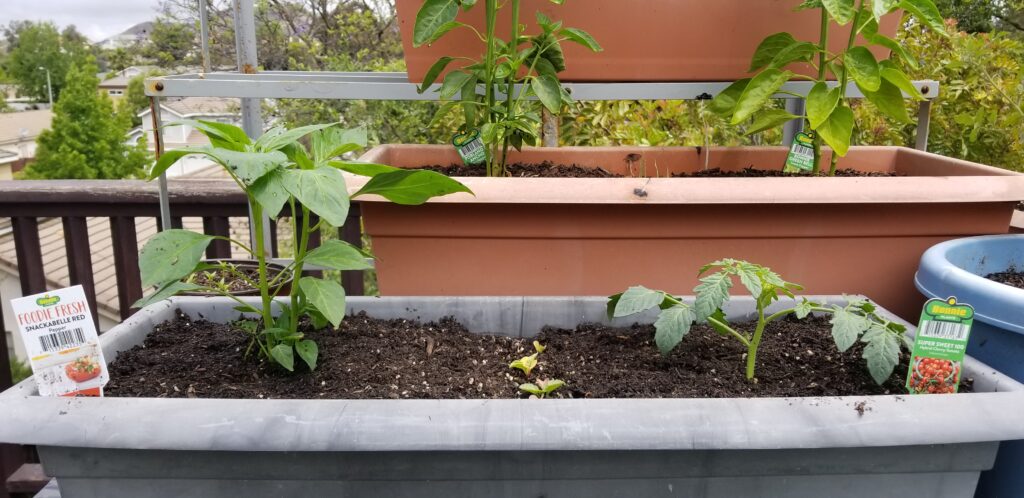
Separately, we also transplanted a sweet red pepper (small peppers, called “Snackabelle Red”) and another cherry tomato “Super Sweet 100″ since the first one is doing so well. Bought these at Lowes at random last night, when I realized that I only had a single red bell pepper plant going (though it is going well). This new pair went into a 24” window planter (one of the thicker ones) that had two completely failed-to-germinate bush beans (WTF happened? Still don’t know) and a row of random radishes down the middle. This is one of the ancient re-used planters that we’ve had since 2015 or 2016, so it has drainage holes (not a SIP). All future planters will be SIPs, that’s all there is to it. There are so many pluses and the only negative being more startup work.
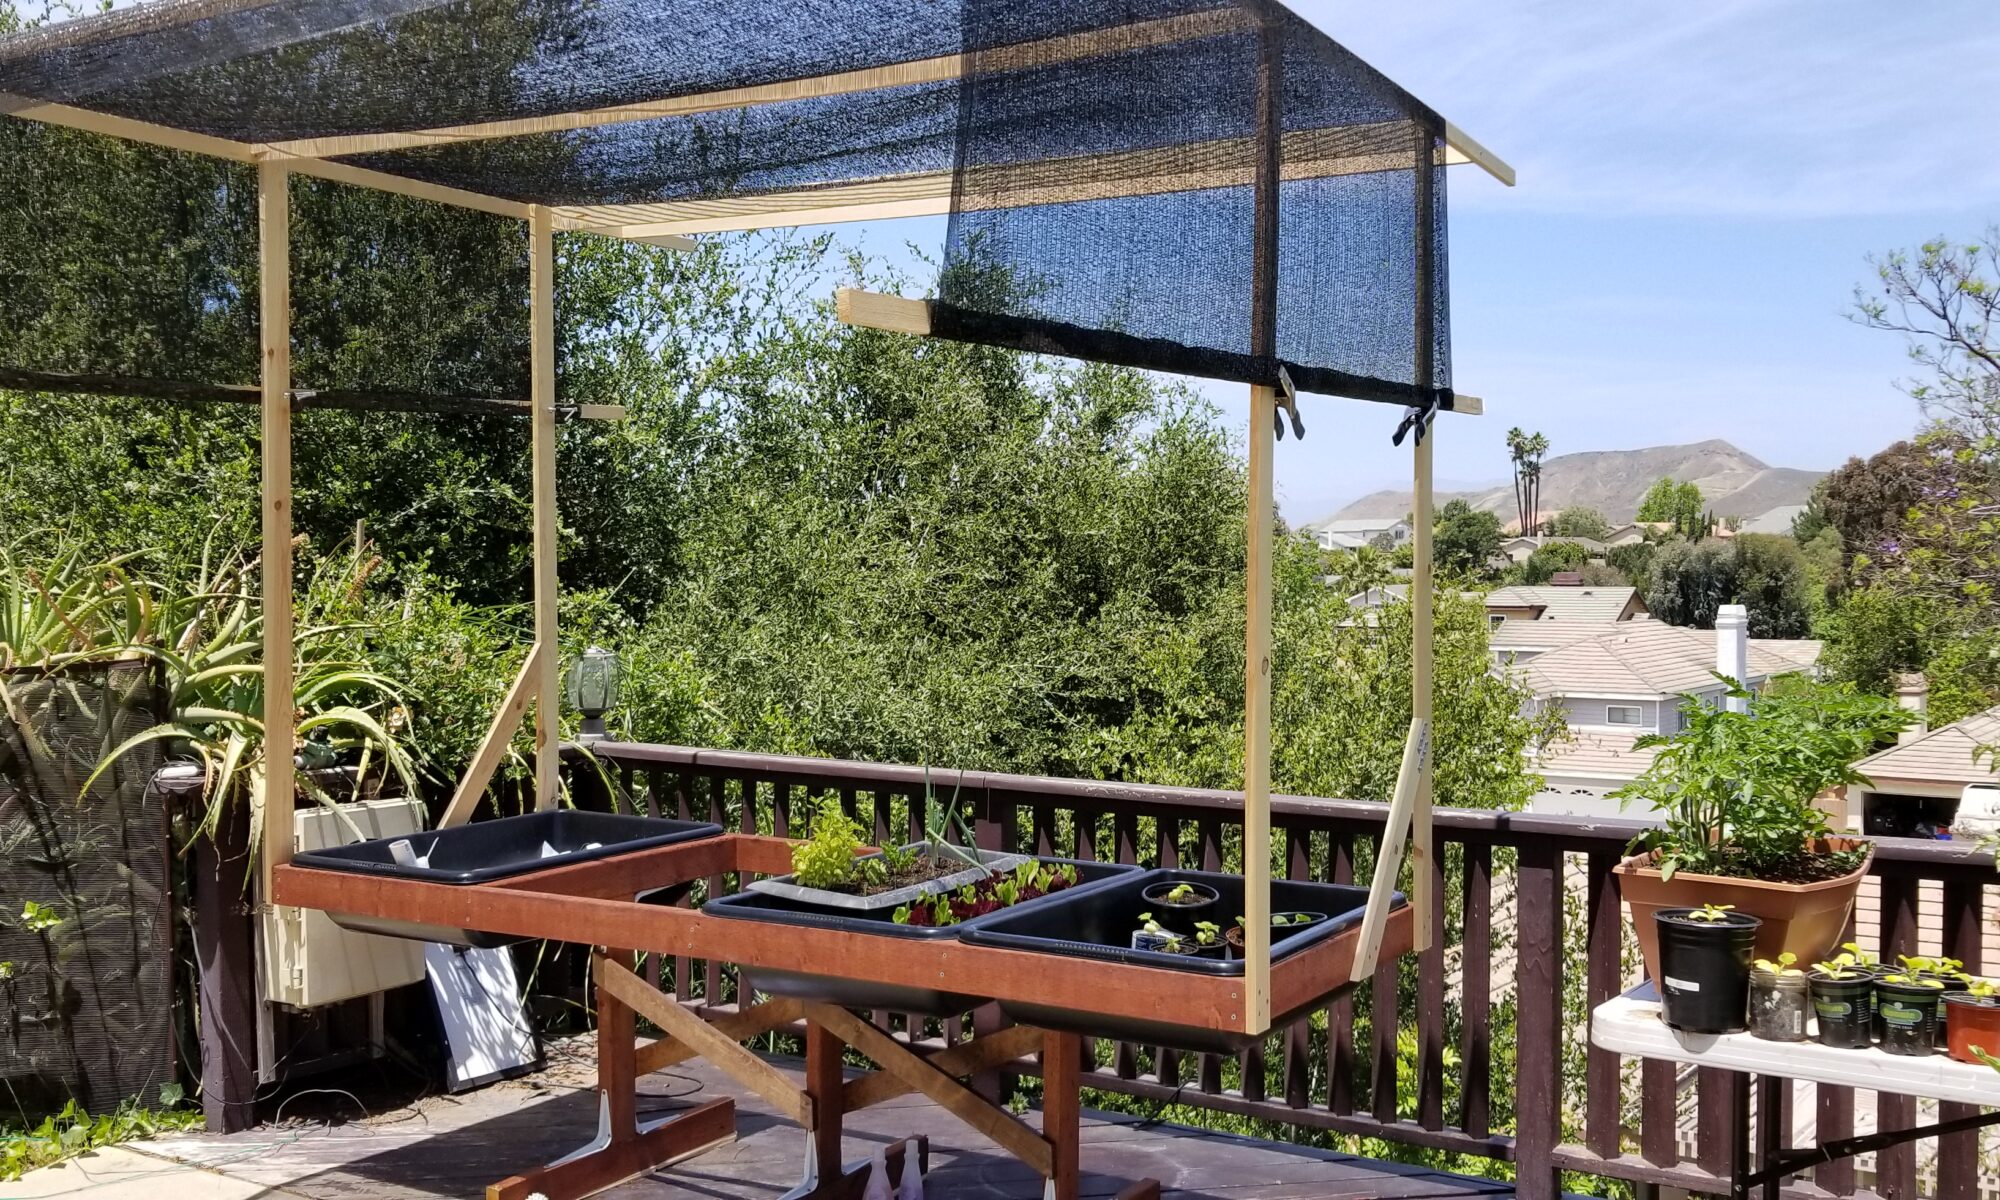
2020-05-15: sowed basil seeds in takeout containers, “Italian Large Leaf” and “Purple” (something Greek?). Finished construction of the shade structure (50% shade cloth) over the elevated SIP containers.
Elevated Sub-Irrigated Planters with 50% shade cloth.
Basil seeds scattered, Italian Large Leaf and Purple something or other.
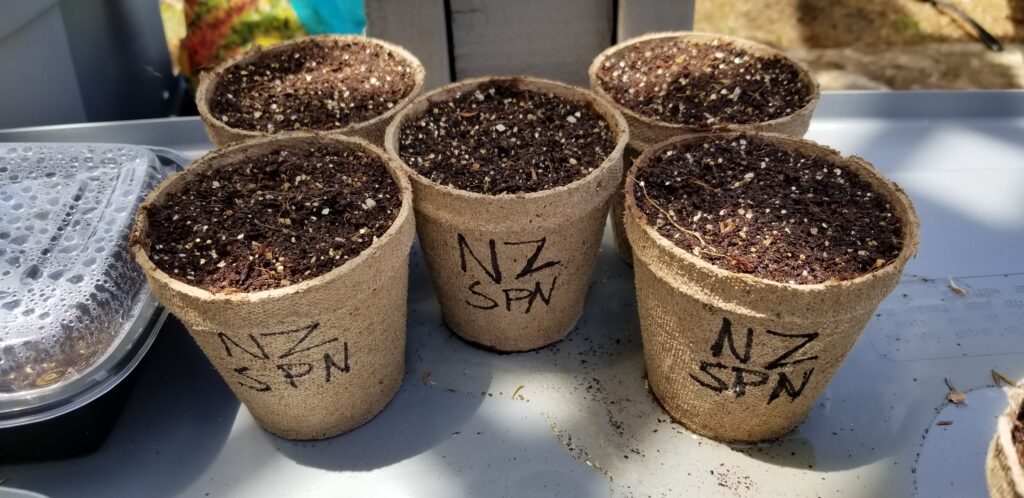
2020-05-16: sowed New Zealand Spinach in peat pots (5 seeds in 5 pots). Reseeded bare spots in front lawn after repairing busted sprinkler heads (finally!). Built out first “elevated SIP container” to receive the leaf lettuces that have germinated in the kitchen window sill and the arugula that germinated outside. (first signs of the latest chard sprouts in the outside nursery container as well).
2020-05-17: Sowed Malabar Spinach in peat pots (8 seeds in 6 pots). Rearranged the tables and moved the yellow crookneck squash out to the pool section. Mixed the planting medium for that first elevated SIP container, and filled it up. Started construction of the first of a few big SIP containers from cut 55-gallon drums, intended to receive squashes and cukes. Going to need a lot more potting mix. 🙁 Construction and planting of these Big Blue Self-Watering Pots(tm) will be a blog entry unto itself.
Here are some more photos of the plants on this day:
Roma tomatoes in my first SIP build. This one with no watering tube!
Struggling Yellow Crookneck Squash. Does have 2 fruits though!
Swiss Chard from seed in late March.
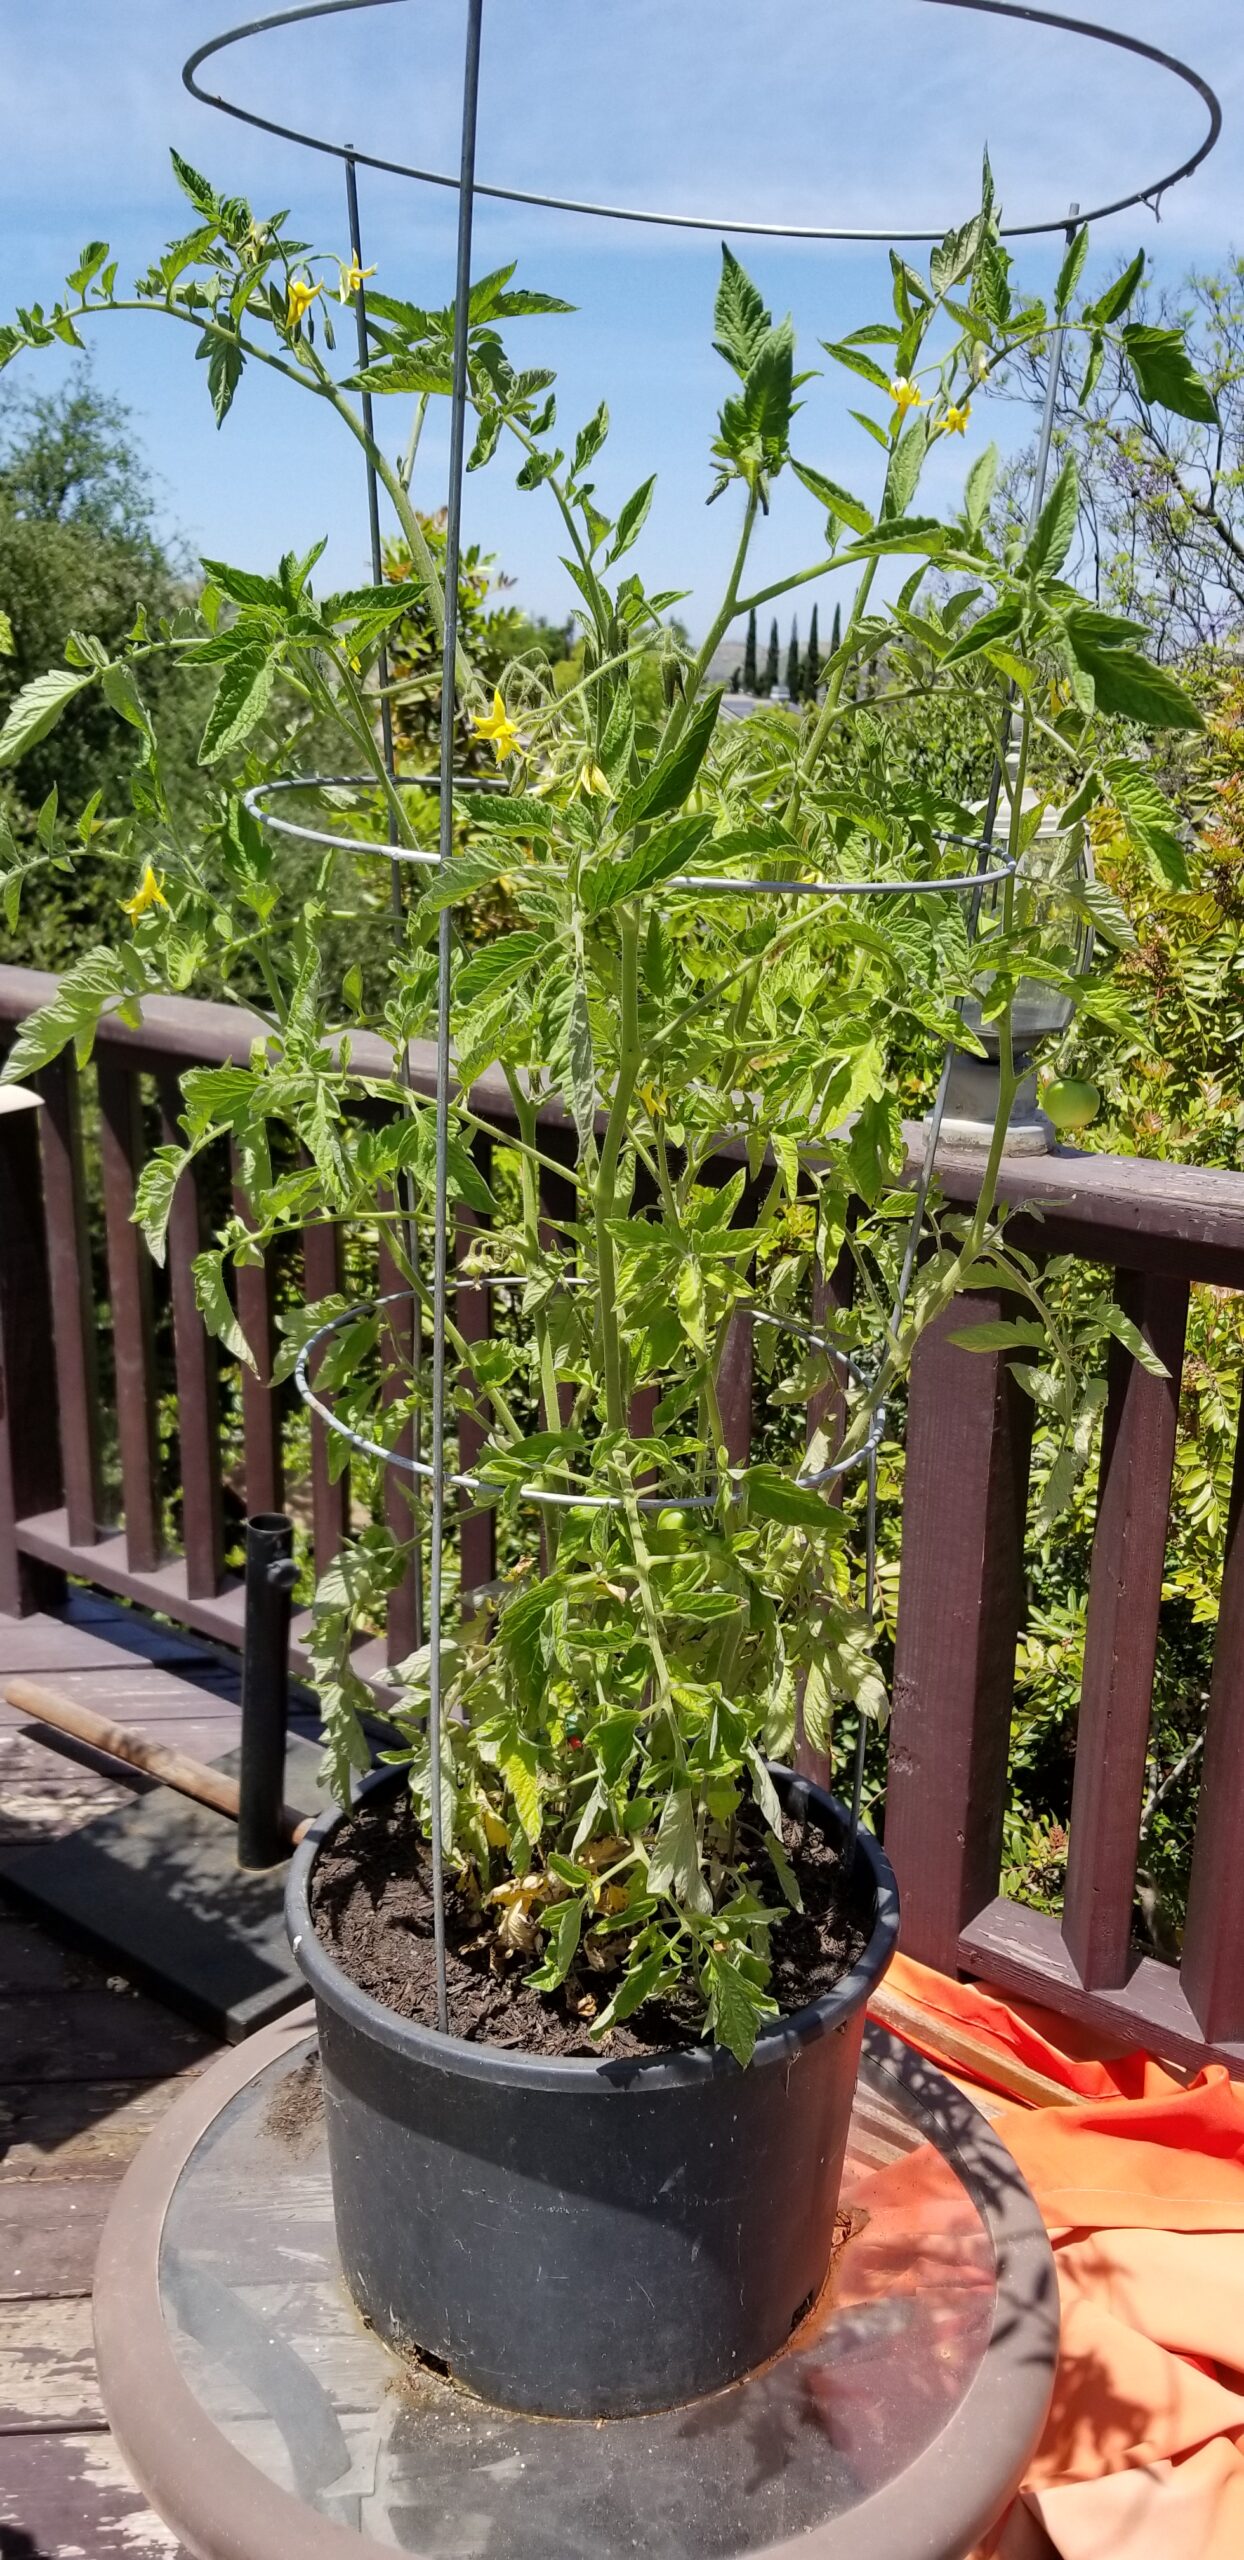
Yellow Cherry Tomatoes of three different varieties. Transplanted 3 weeks ago.
Dill and Chives from seed.
Calabacita, from seed sown in early-mid-March.
Calabacita Zuccs planted from seed in mid-March.
Black Beauty Zucchini purchased as a small transplant at the beginning of COVID-19 lockdown.
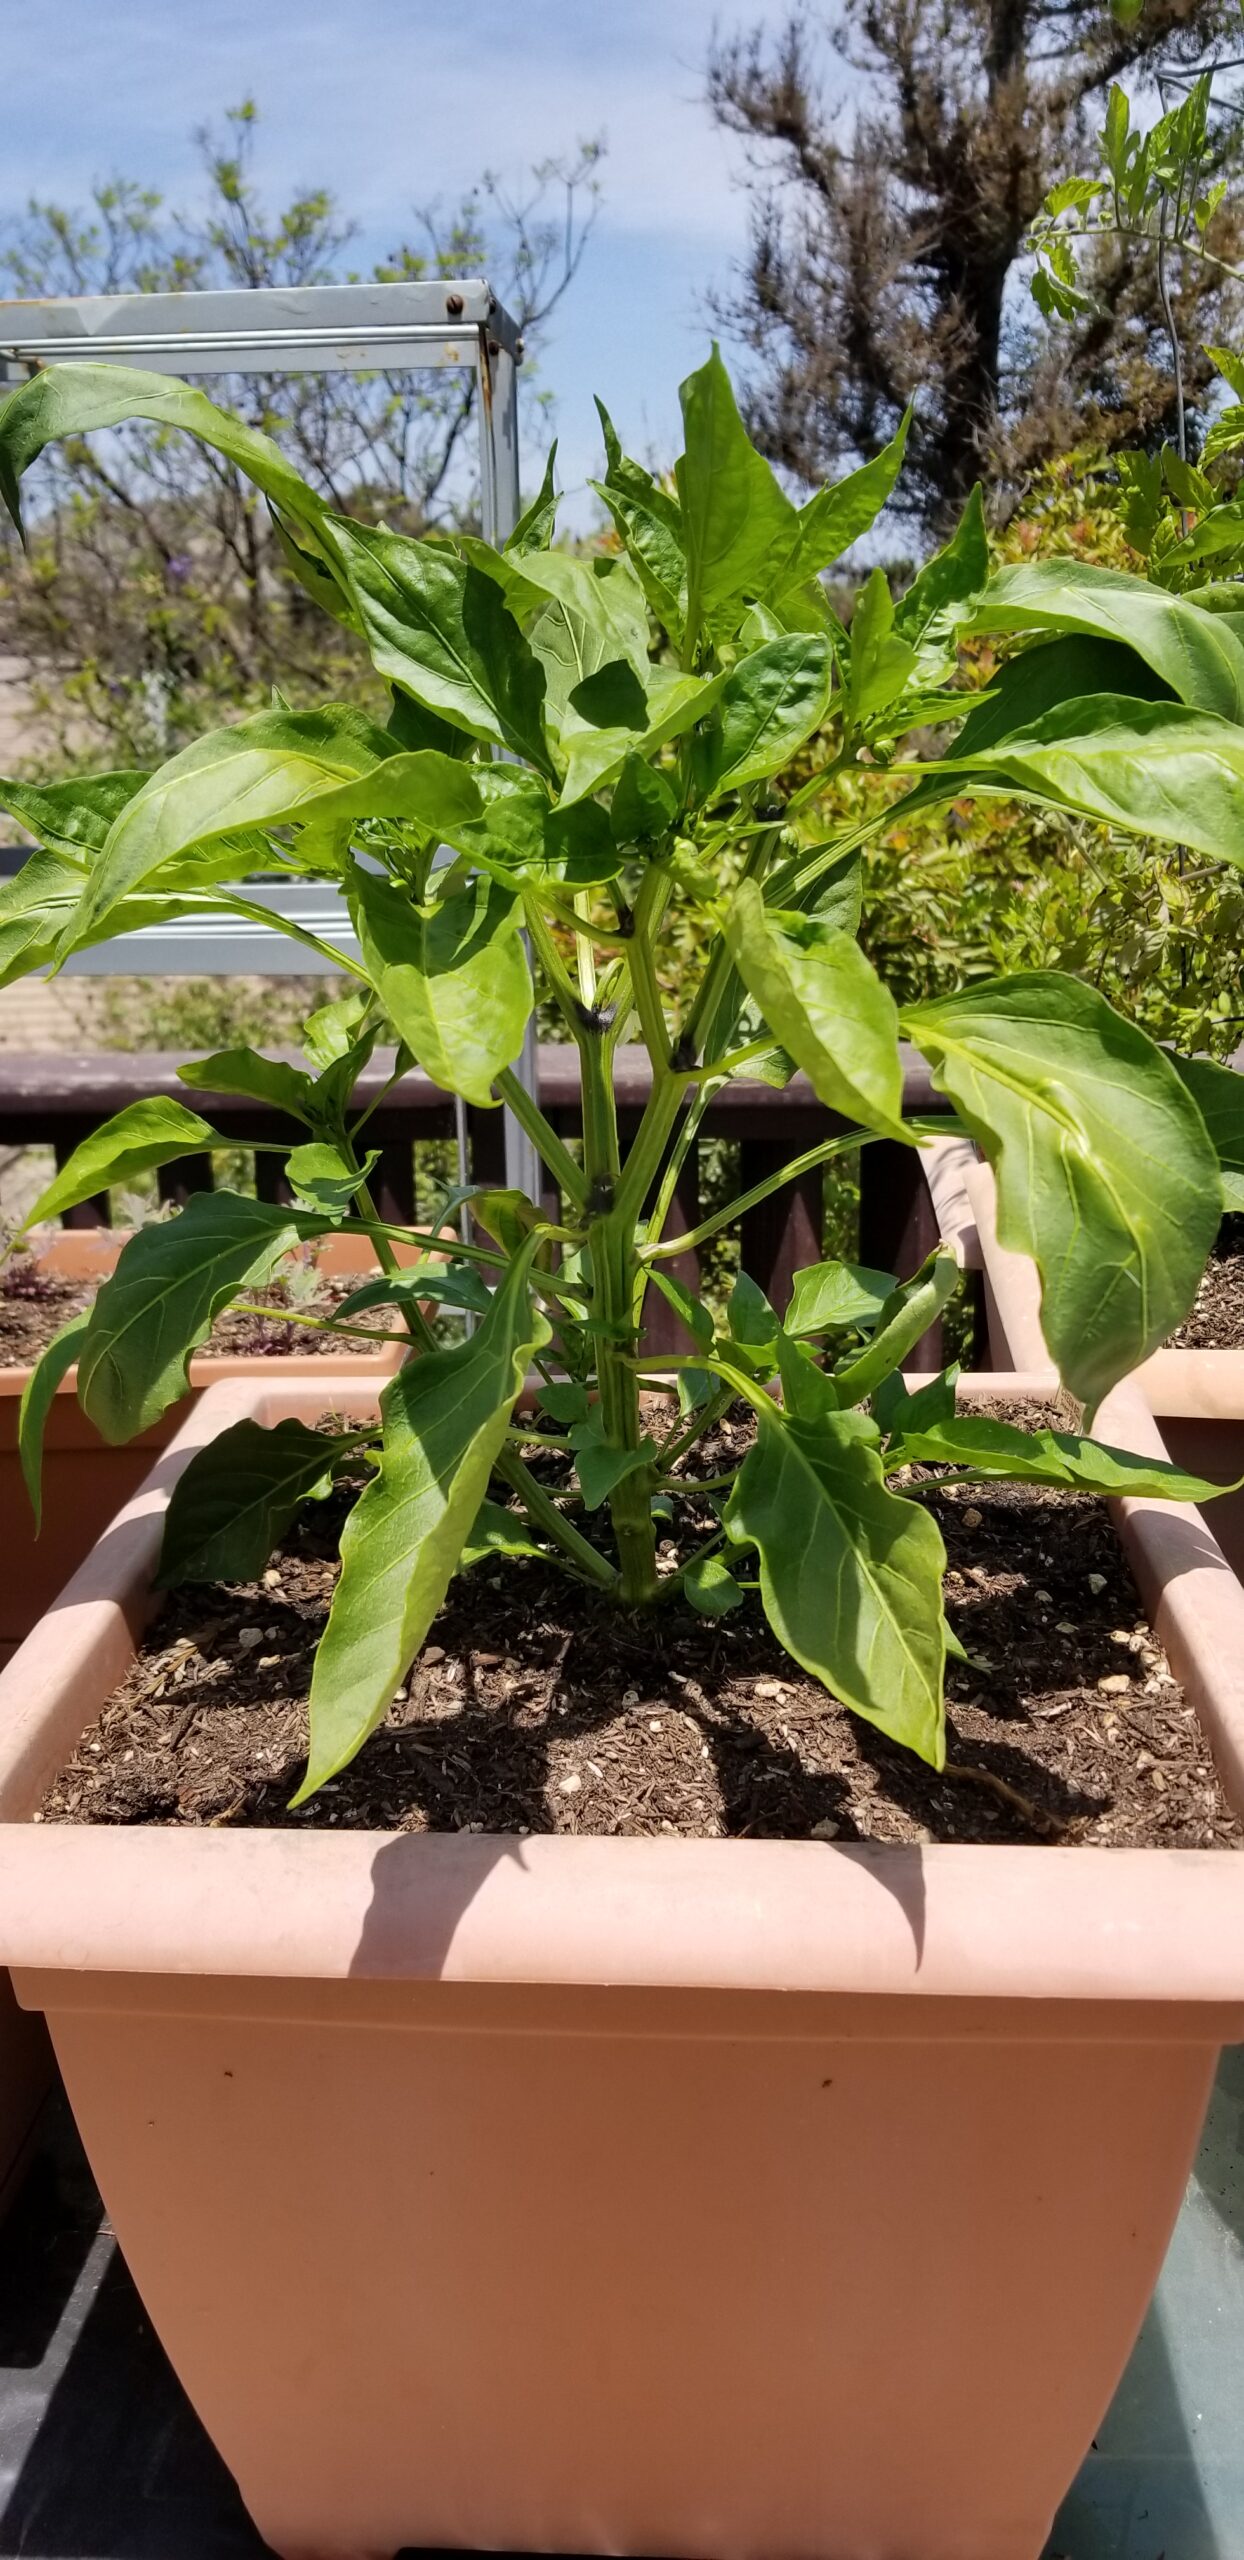
Red Bell Pepper from the first COVID-19 cohort.
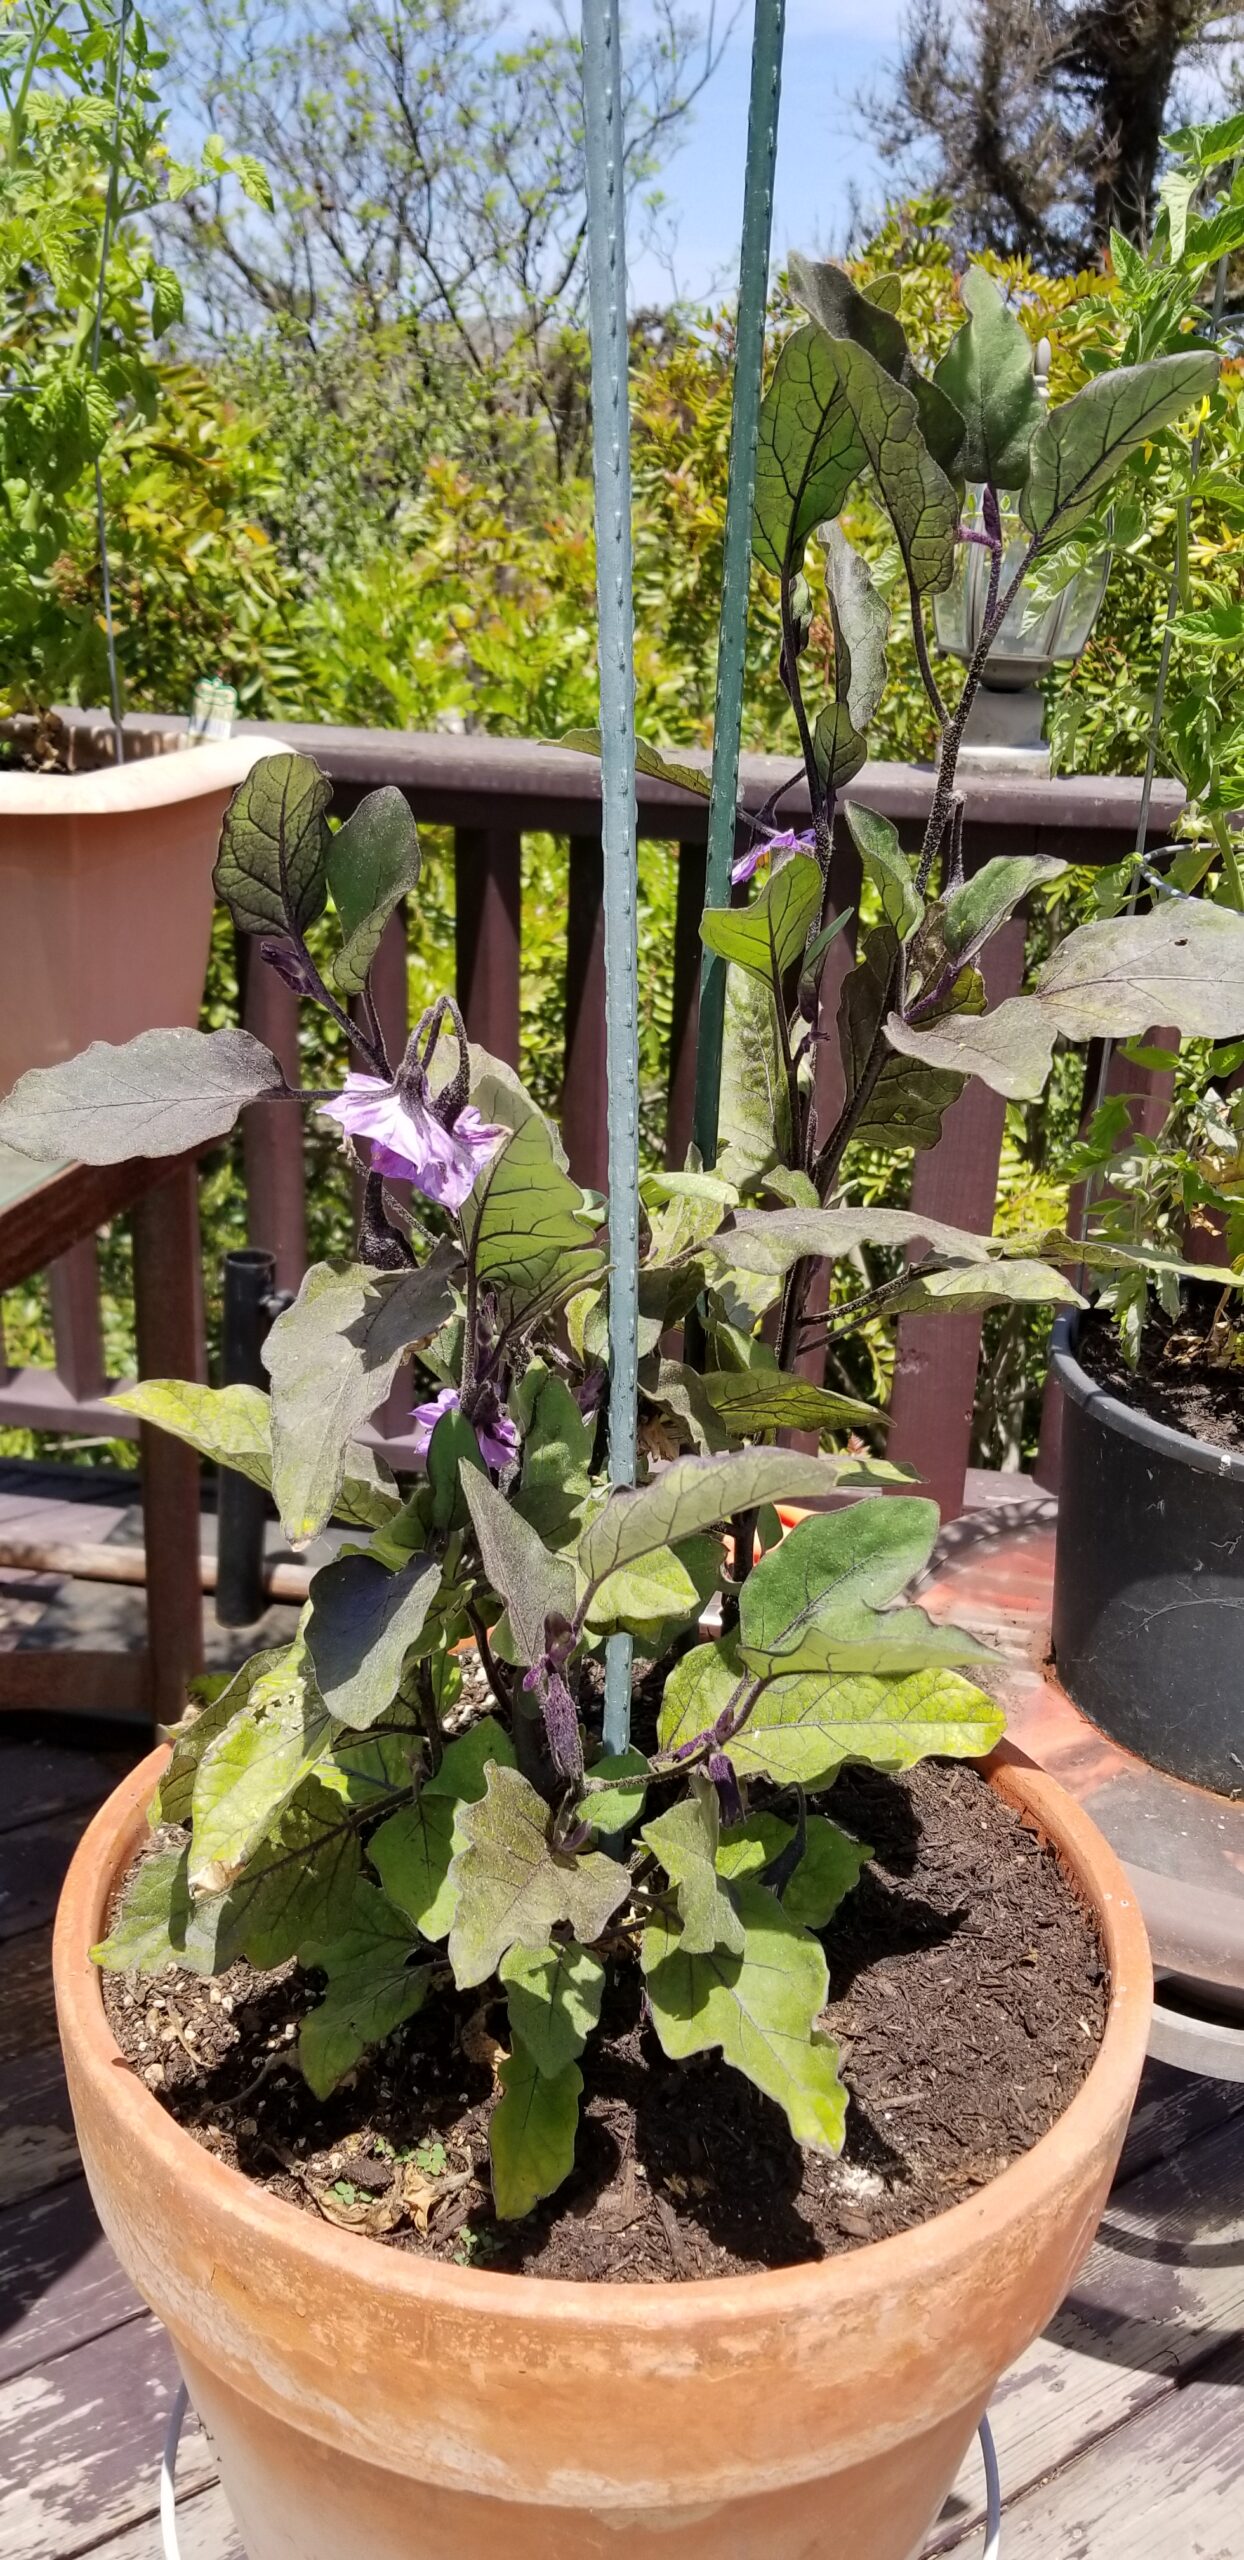
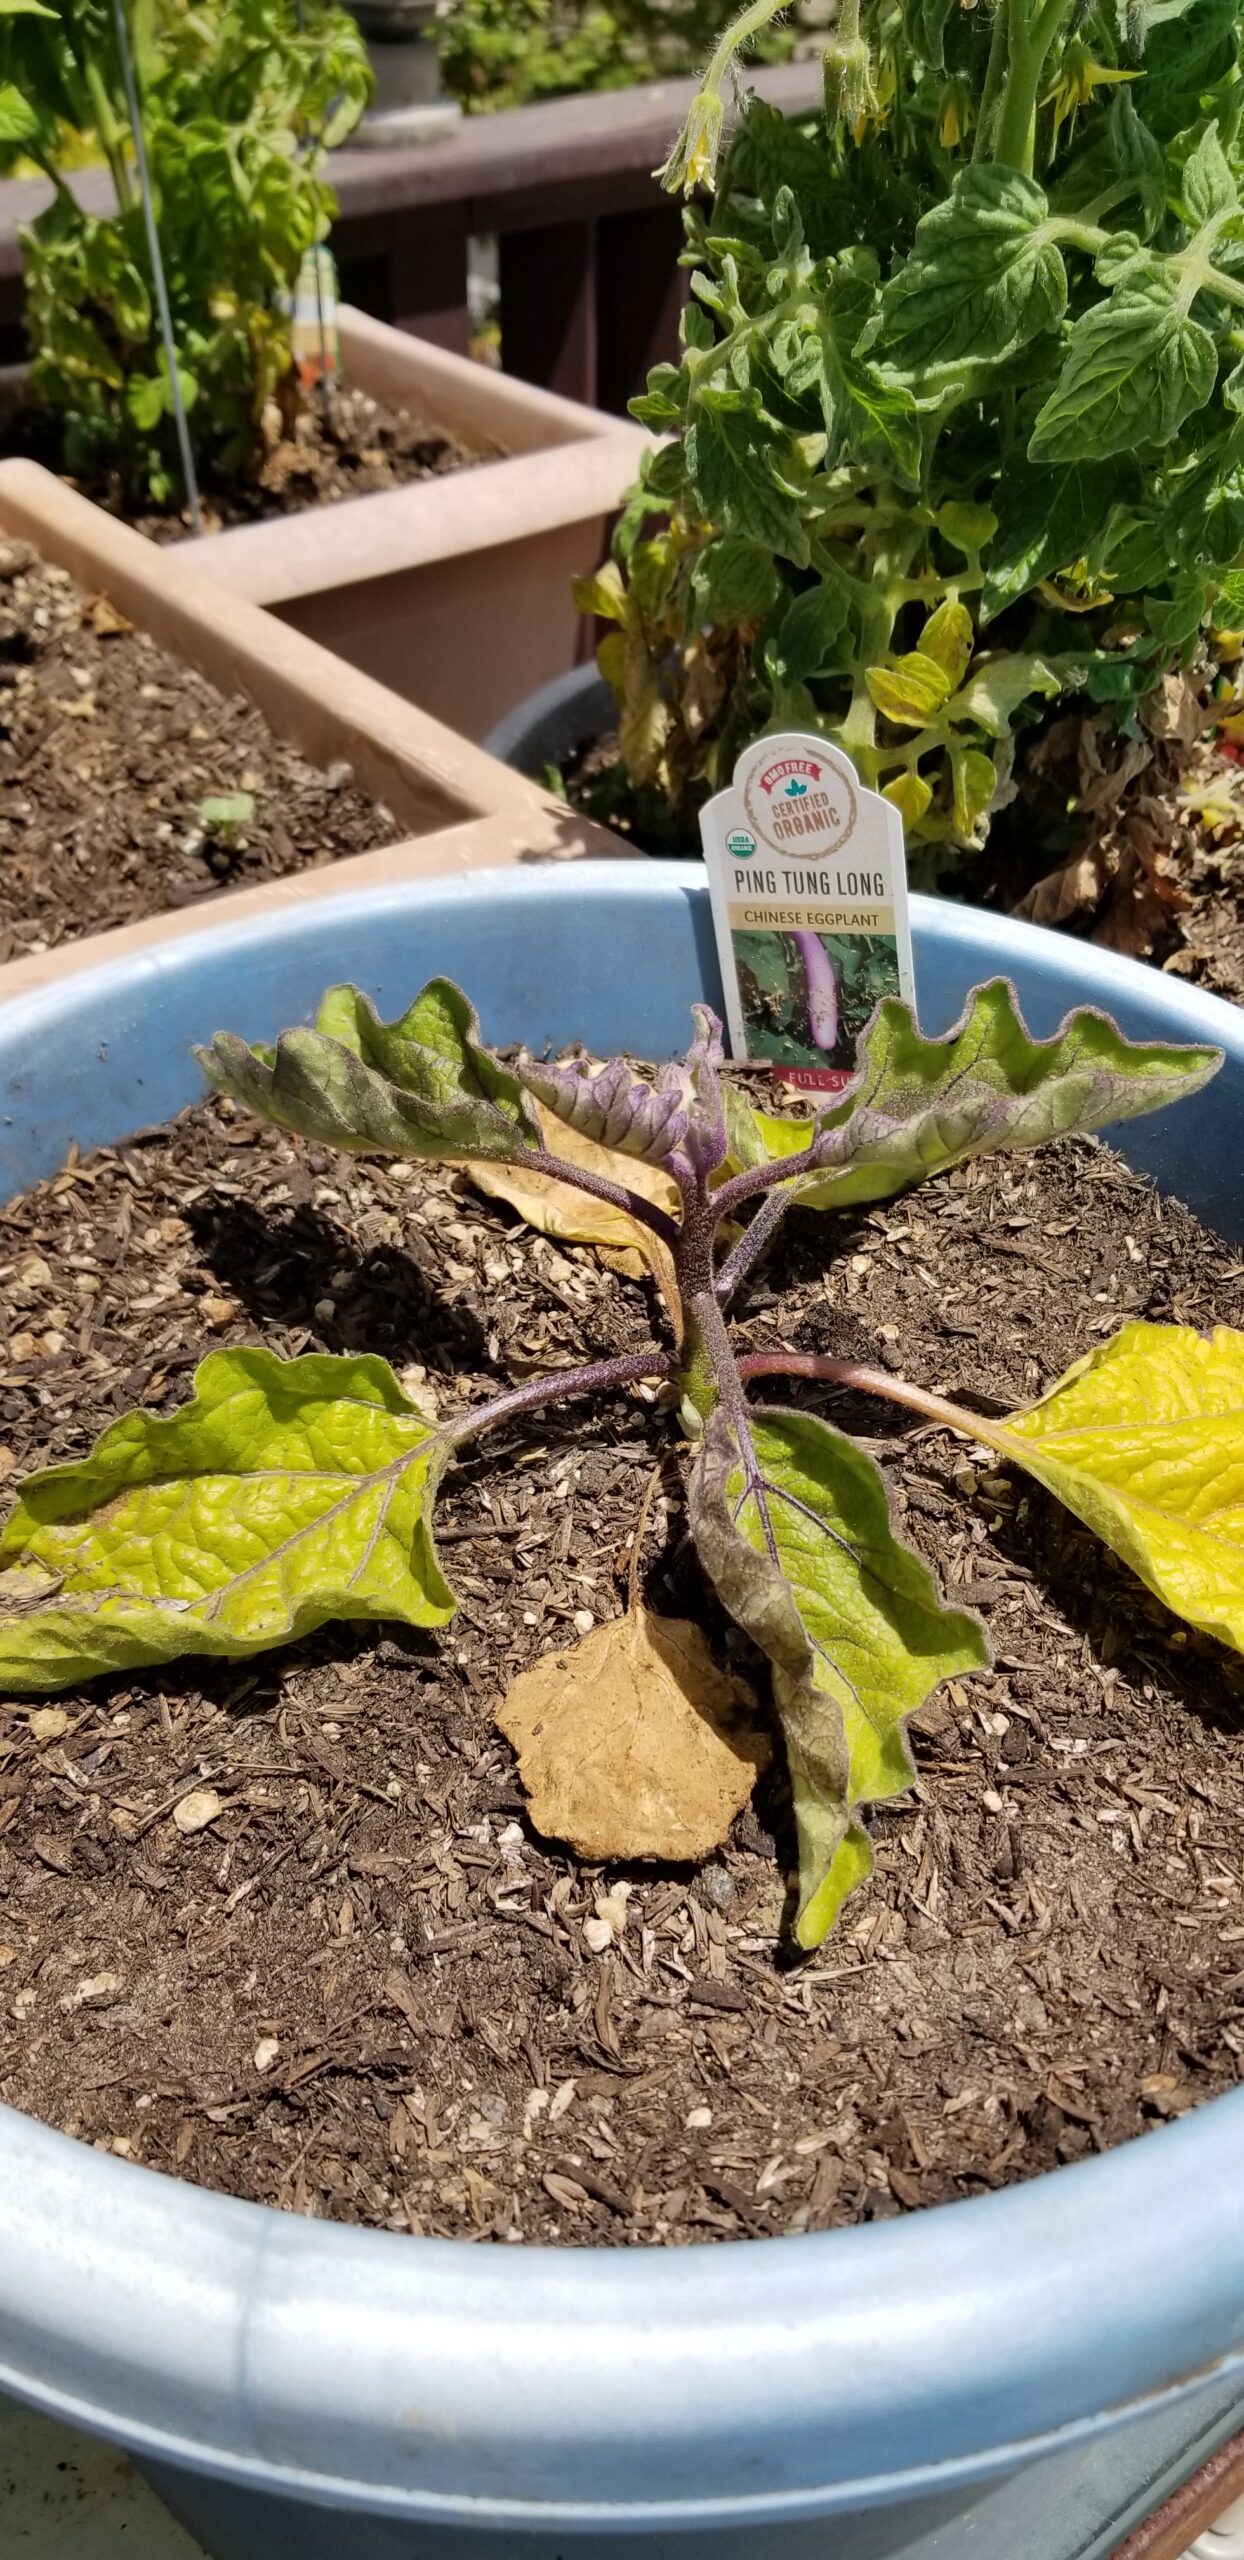
Eggplant from the first COVID-19 batch.
This “Early Girl” is from the first COVID-19 Lockdown batch. It’s doing awesome.
Pathetic eggplant! Let’s get going! (two weeks after transplant!)
I’ve found a few mistakes I’ve made and wish I could take back. So here are some current thoughts. Some apply specifically to containers, some to gardening in general, since this was originally a response to a neighbor’s query on Nextdoor.com about getting started with container gardening.
1. I wish I had started with Sub-Irrigated Planters (SIP) from the beginning, for all those veggies for which it’s appropriate (doesn’t work for potatoes, sweet potatoes, probably carrots, beets, and other super deep taproot veggies like okra). It’s a lot more work before you can get a plant into the container, but it saves so much water, makes the soil environment more stable between waterings (and you can even go without watering for periods you could not possibly get away with otherwise), and it reduces or completely eliminates mess from the pots draining onto the deck or concrete (you DO have drainage holes in all containers, right? It’s either a SIP, or it NEEDS drainage). Plenty of videos on Youtube explain how it’s done, and it’s probably not for everybody – especially folks with a strong aversion to plastics. But… we’re in a super-drought, folks! Anything to save water is a good thing.
2. I wish I realized the quality differences between bagged soils/potting mixes at the big box stores. The cheapest ones do NOT have enough fertilizer already added, or worse, are nothing but partly/poorly composted wood chips stuffed into a bag – no compost, no fertilizer, no perlite. The most expensive ones are loaded with artificial fertilizers that make your plants “explode” with growth – but… they’re “drug addicts” as I’ve heard one organic gardener describe them. The bagged mixes labeled organic “patio” or “container” are a much better start. But even these WILL need to be augmented with fertilizer as your plants grow – some will need quite a bit. At this point I’m just mixing my own potting mix going forward, as I use up the remainder of my pre-mixed bags (which I’m definitely “improving” with more perlite and more organic fertilizer as I use them). There are many websites with DIY soil mix recipes, and these will even save a BUNCH of money if you need enough of the stuff. Plus you get to customize the mix toward the use (trees vs seedlings, citrus vs tomatoes, etc).
3. Observe your plants carefully. It’s easy to over water when we have consecutive cool days like the last week or so. This will manifest itself in wilting and/or yellowing leaves. And it’s quite easy to UNDER water when the days are super hot, like a 4-5 day heat wave we had about 3 weeks ago – I had to water twice every day. I always water in the morning, as early as I can (these COVID-19 lockdown days, that’s about 9am), and on a hot, dry day, I’ve found many plants are bone dry and wilting by 3pm. If you stick a finger through the mulch layer into the soil a little way from where you think you might damage roots, and about an inch deep, and the soil is cool and feels lightly damp and sticks a tiny bit to your skin when you pull your finger out – that’s great. You’ll notice that un-glazed clay pots dry out FAST, and plastic dries out the slowest. Black pots get hotter and dry out faster than lighter colors, etc. And some plants (like eggplant!) wilt quickly and pathetically if their soil gets dry at all.
4. Frequently inspect your garden at NIGHT with a flashlight or better yet, a hands-free headlamp. This is the only time you can observe certain pests and take the necessary steps to quell them. Plus it’s just NICE at night. So cool and even quieter…
5. Take notes and pictures, dates etc, whether in a journal or some other method. This is SO valuable.
I’ve needed to create a plant/garden journal ever since I started planting this Spring. Like many folks this year, the COVID-19 “lockdown” put me into a homesteading mood, and I “plowed in” to my backyard/container vegetable garden.
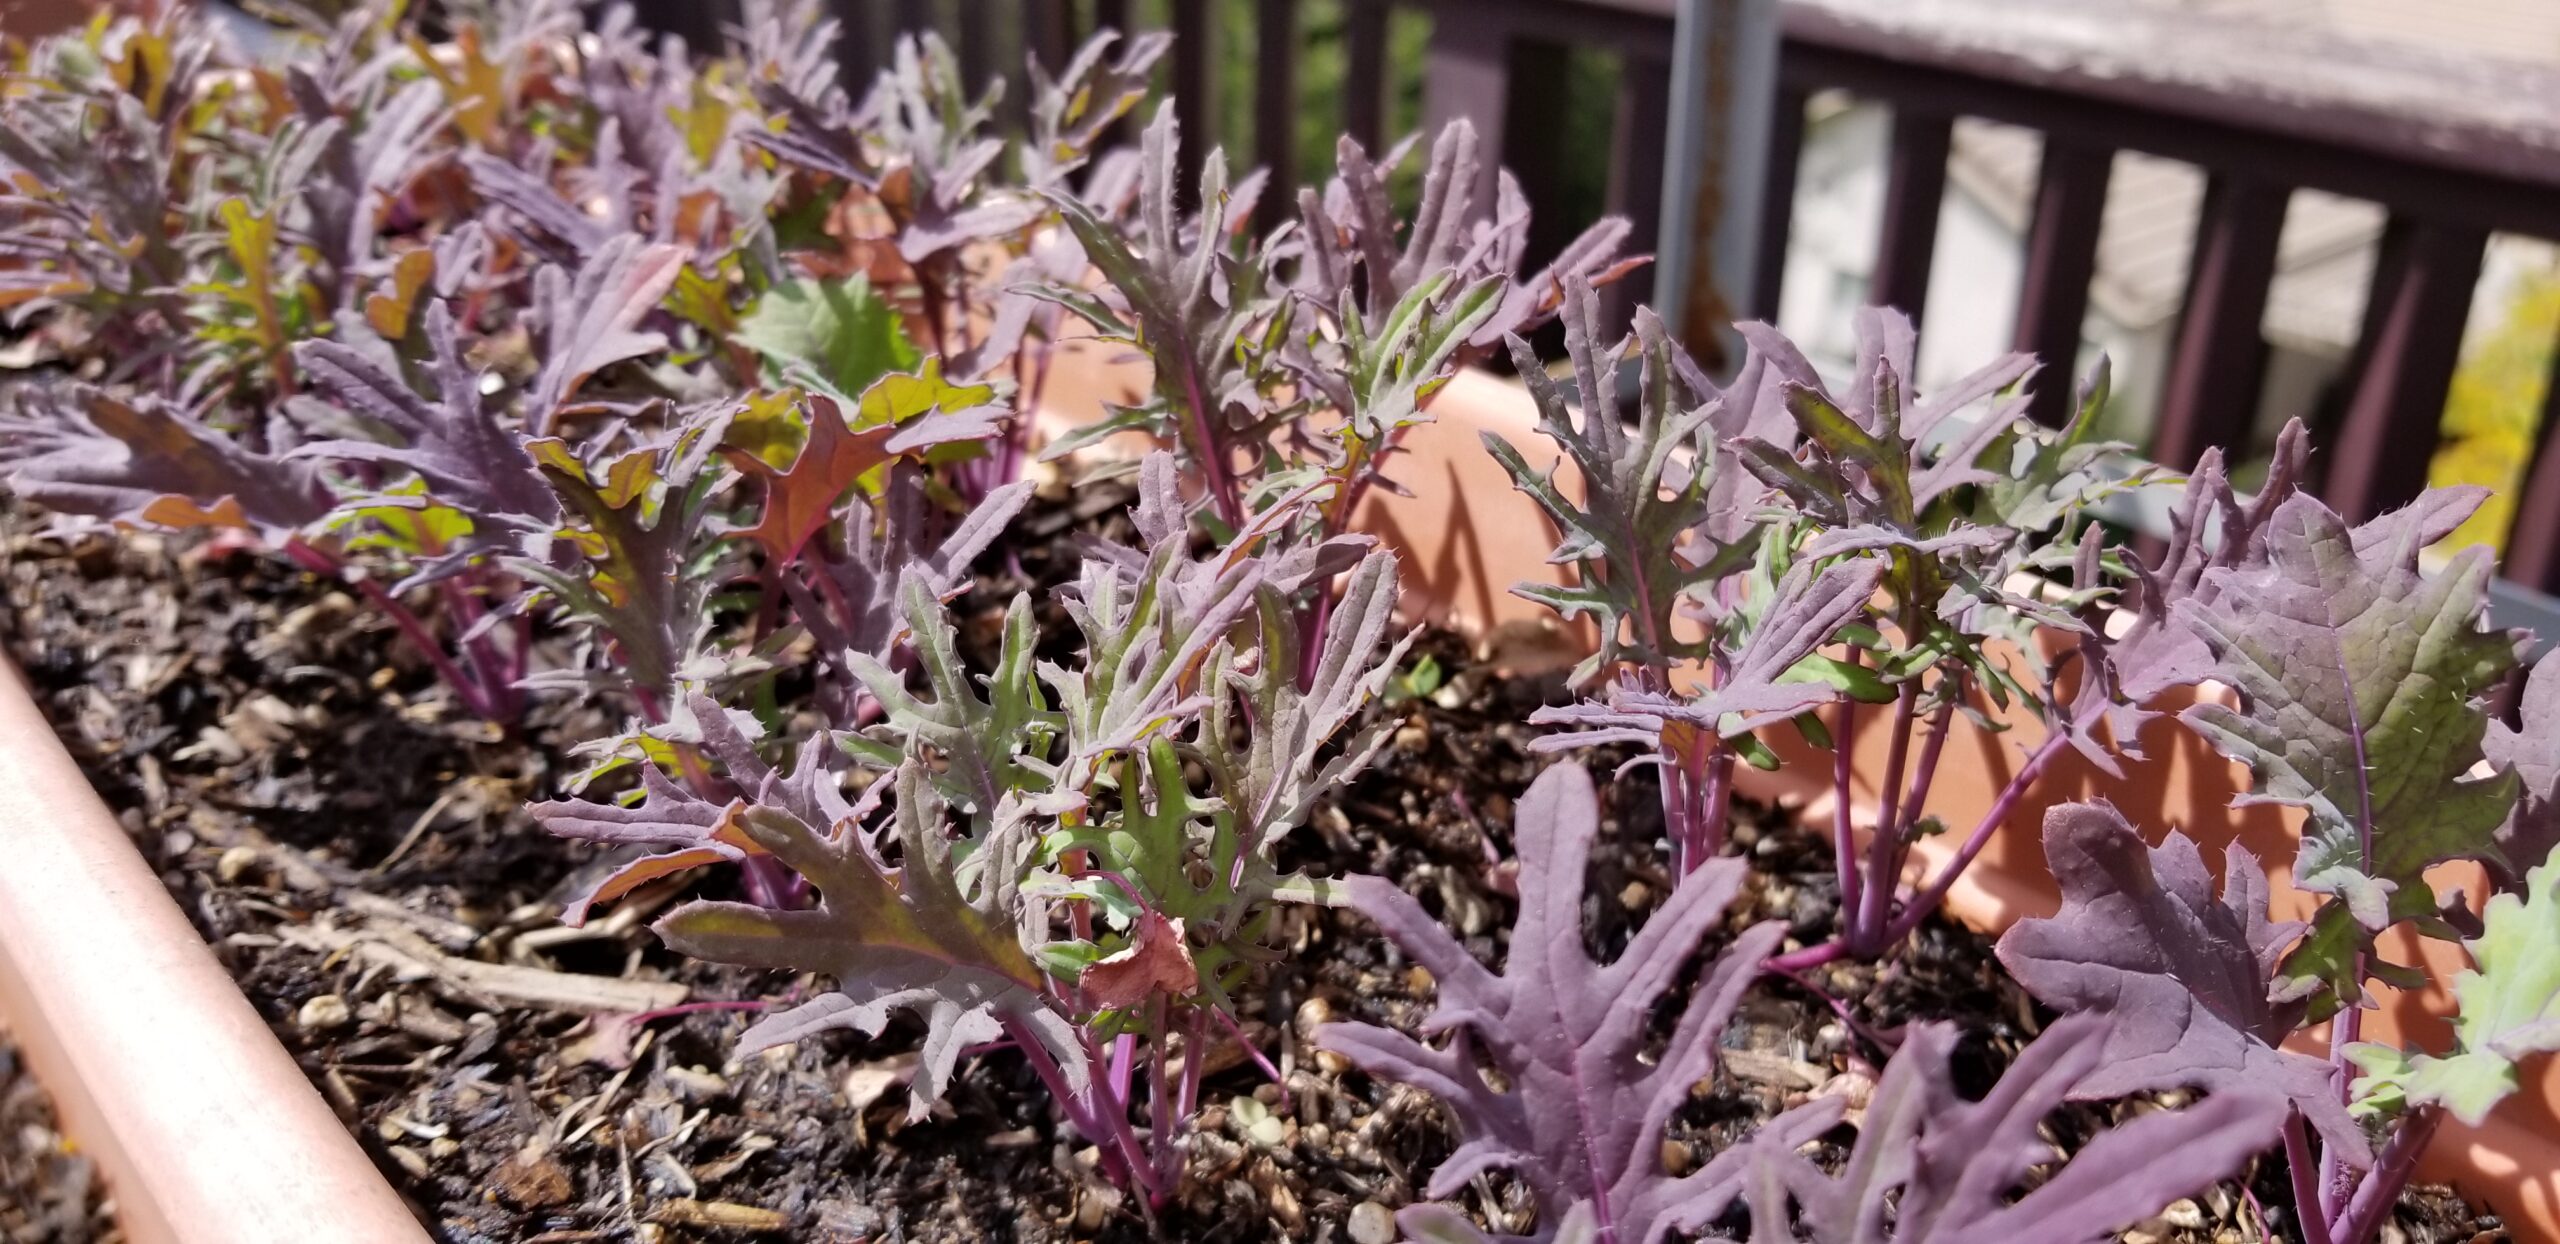
Red Russian Kale in a “window box” container. Probably about 6 weeks old.
My intent with this blog is mostly for my own journaling/learning. First I thought I’d find a phone app to do the job, but I can’t seem to find one I like, and an online blog provides pretty much all the features I want – searchable for text and categories plus sub-categories, and of course pictures. And who knows, maybe I’ll post something that becomes useful to someone somehow, someday.
I’ve already had many seedlings sitting in pots and me wondering “WHEN did I put these in, and should they be up by now? Should I bail on them now – ‘cut bait’ and try something else with this real estate?” Without knowing exactly when something went in, it’s awfully hard to know whether the progress (whether germination, growth, flowering, fruiting) is as expected or needs some remedial steps. Not to mention it’s just FUN and exciting to see how much things have actually grown over time, by looking back.
My wife calls my plants my “babies” and she has a point. Just like children – it’s super fun to look back at their history through photographs and old notes on their progress and growth. The difference here is that a vegetable garden is largely renewed or even rebuilt on a yearly basis, and learnings from previous years and growing seasons can be honed and applied again and again. Unlike kids – you get a second chance! And a third! And a fourth! And…