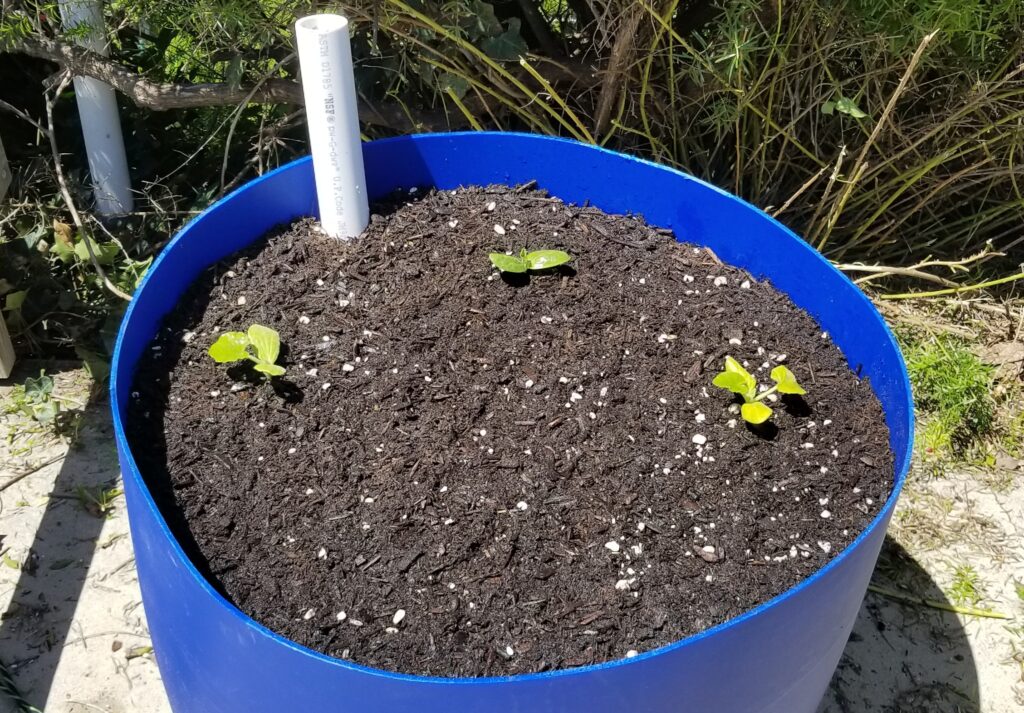
Got the first 55 gallon drum (half) SIP (Sub-Irrigated Bed, AKA “wicking bed” AKA “giant self-watering flower pot”) filled with media and 3 winter squashes transplanted in. Yay! On the left is Butternut Squash, the middle/back is a “Sugar Baby Pumpkin” and the right is Acorn Squash. These were all planted from seed, with the pumpkin started at least a week after the other two (unfortunately). In the middle/front, Maya planted a bunch of mixed flower seeds from a packet called “Fireworks”. We top-watered very heavily, but did not actually fill the base of the SIP yet. I don’t really have a convenient way to do that until I get the DC/solar water pump rigged up to run a hose from the water barrel. The base should hold nearly 4.5 gallons, and right now all I have is the normal garden hose connected to chlorinated tap water (rather not), or a tiny 1L watering can. 🙂 I’ll hopefully make a page about my construction of this barrel, as I did take several photographs along the way. But I still need to build 3 more, and I wonder if I won’t improve the process/design along the way.
The media in this planter is layered like this:
- Sand (coarse, cheap, building/multi-purpose sand). This goes down to the very bottom of the barrel, between and around the corrugated/perforated drainage pipe curled up down there. Probably used about 15-20 lbs of it.
- Sphagnum Peat (just a thin layer on top the sand).
- Custom mix of sphagnum peat, perlite, coarse sand, organic fertilizer, lime, epsom salt (in rapidly declining quantities).
- Kellog “Patio Plus” bagged mix, about 2/3 of a 2cf bag, with quite a bit of perlite and a couple scoops of coarse sand added, and a dash of organic fertilizer/lime/epsom mixed in as well. This stuff still seems to be 80% semi-composted wood chips, but definitely better than some of their cheaper mixes.
- Not in the photo: on top is a very thin scattering of mostly-composted chicken manure, primarily over the mixed flower seeds, and 1/2″ layer of Kellog bagged “Grow-Mulch”. It doesn’t have any perlite at all so it looks quite different. We used it to cover the slightly stinky chicken manure over the flower seeds and the rest of the potting mix.
Before these big boys start to grow tall, I’ll build a humongous triangular trellis around them.
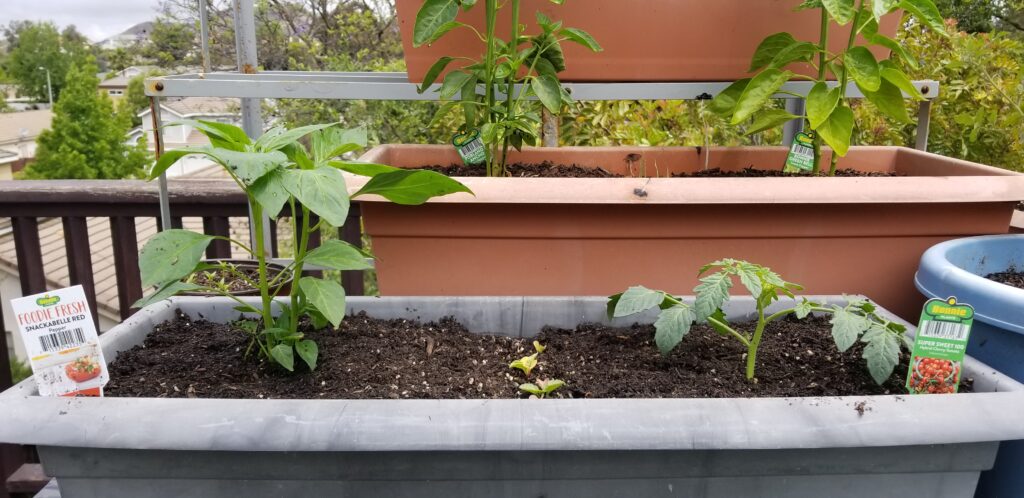
Separately, we also transplanted a sweet red pepper (small peppers, called “Snackabelle Red”) and another cherry tomato “Super Sweet 100″ since the first one is doing so well. Bought these at Lowes at random last night, when I realized that I only had a single red bell pepper plant going (though it is going well). This new pair went into a 24” window planter (one of the thicker ones) that had two completely failed-to-germinate bush beans (WTF happened? Still don’t know) and a row of random radishes down the middle. This is one of the ancient re-used planters that we’ve had since 2015 or 2016, so it has drainage holes (not a SIP). All future planters will be SIPs, that’s all there is to it. There are so many pluses and the only negative being more startup work.